(Don’t forget to vote for my Watermelon Mojito story for a #2015EDDY award for food and beverage writing. Vote daily till March 15. Thanks!)
Today was yet another snow day in a winter that has been the coldest in decades and during which we’ve been snowed on an awful lot. Most of us are well sick of the disruption and the winter coats and gloves and hats and the shoveling and the slush.

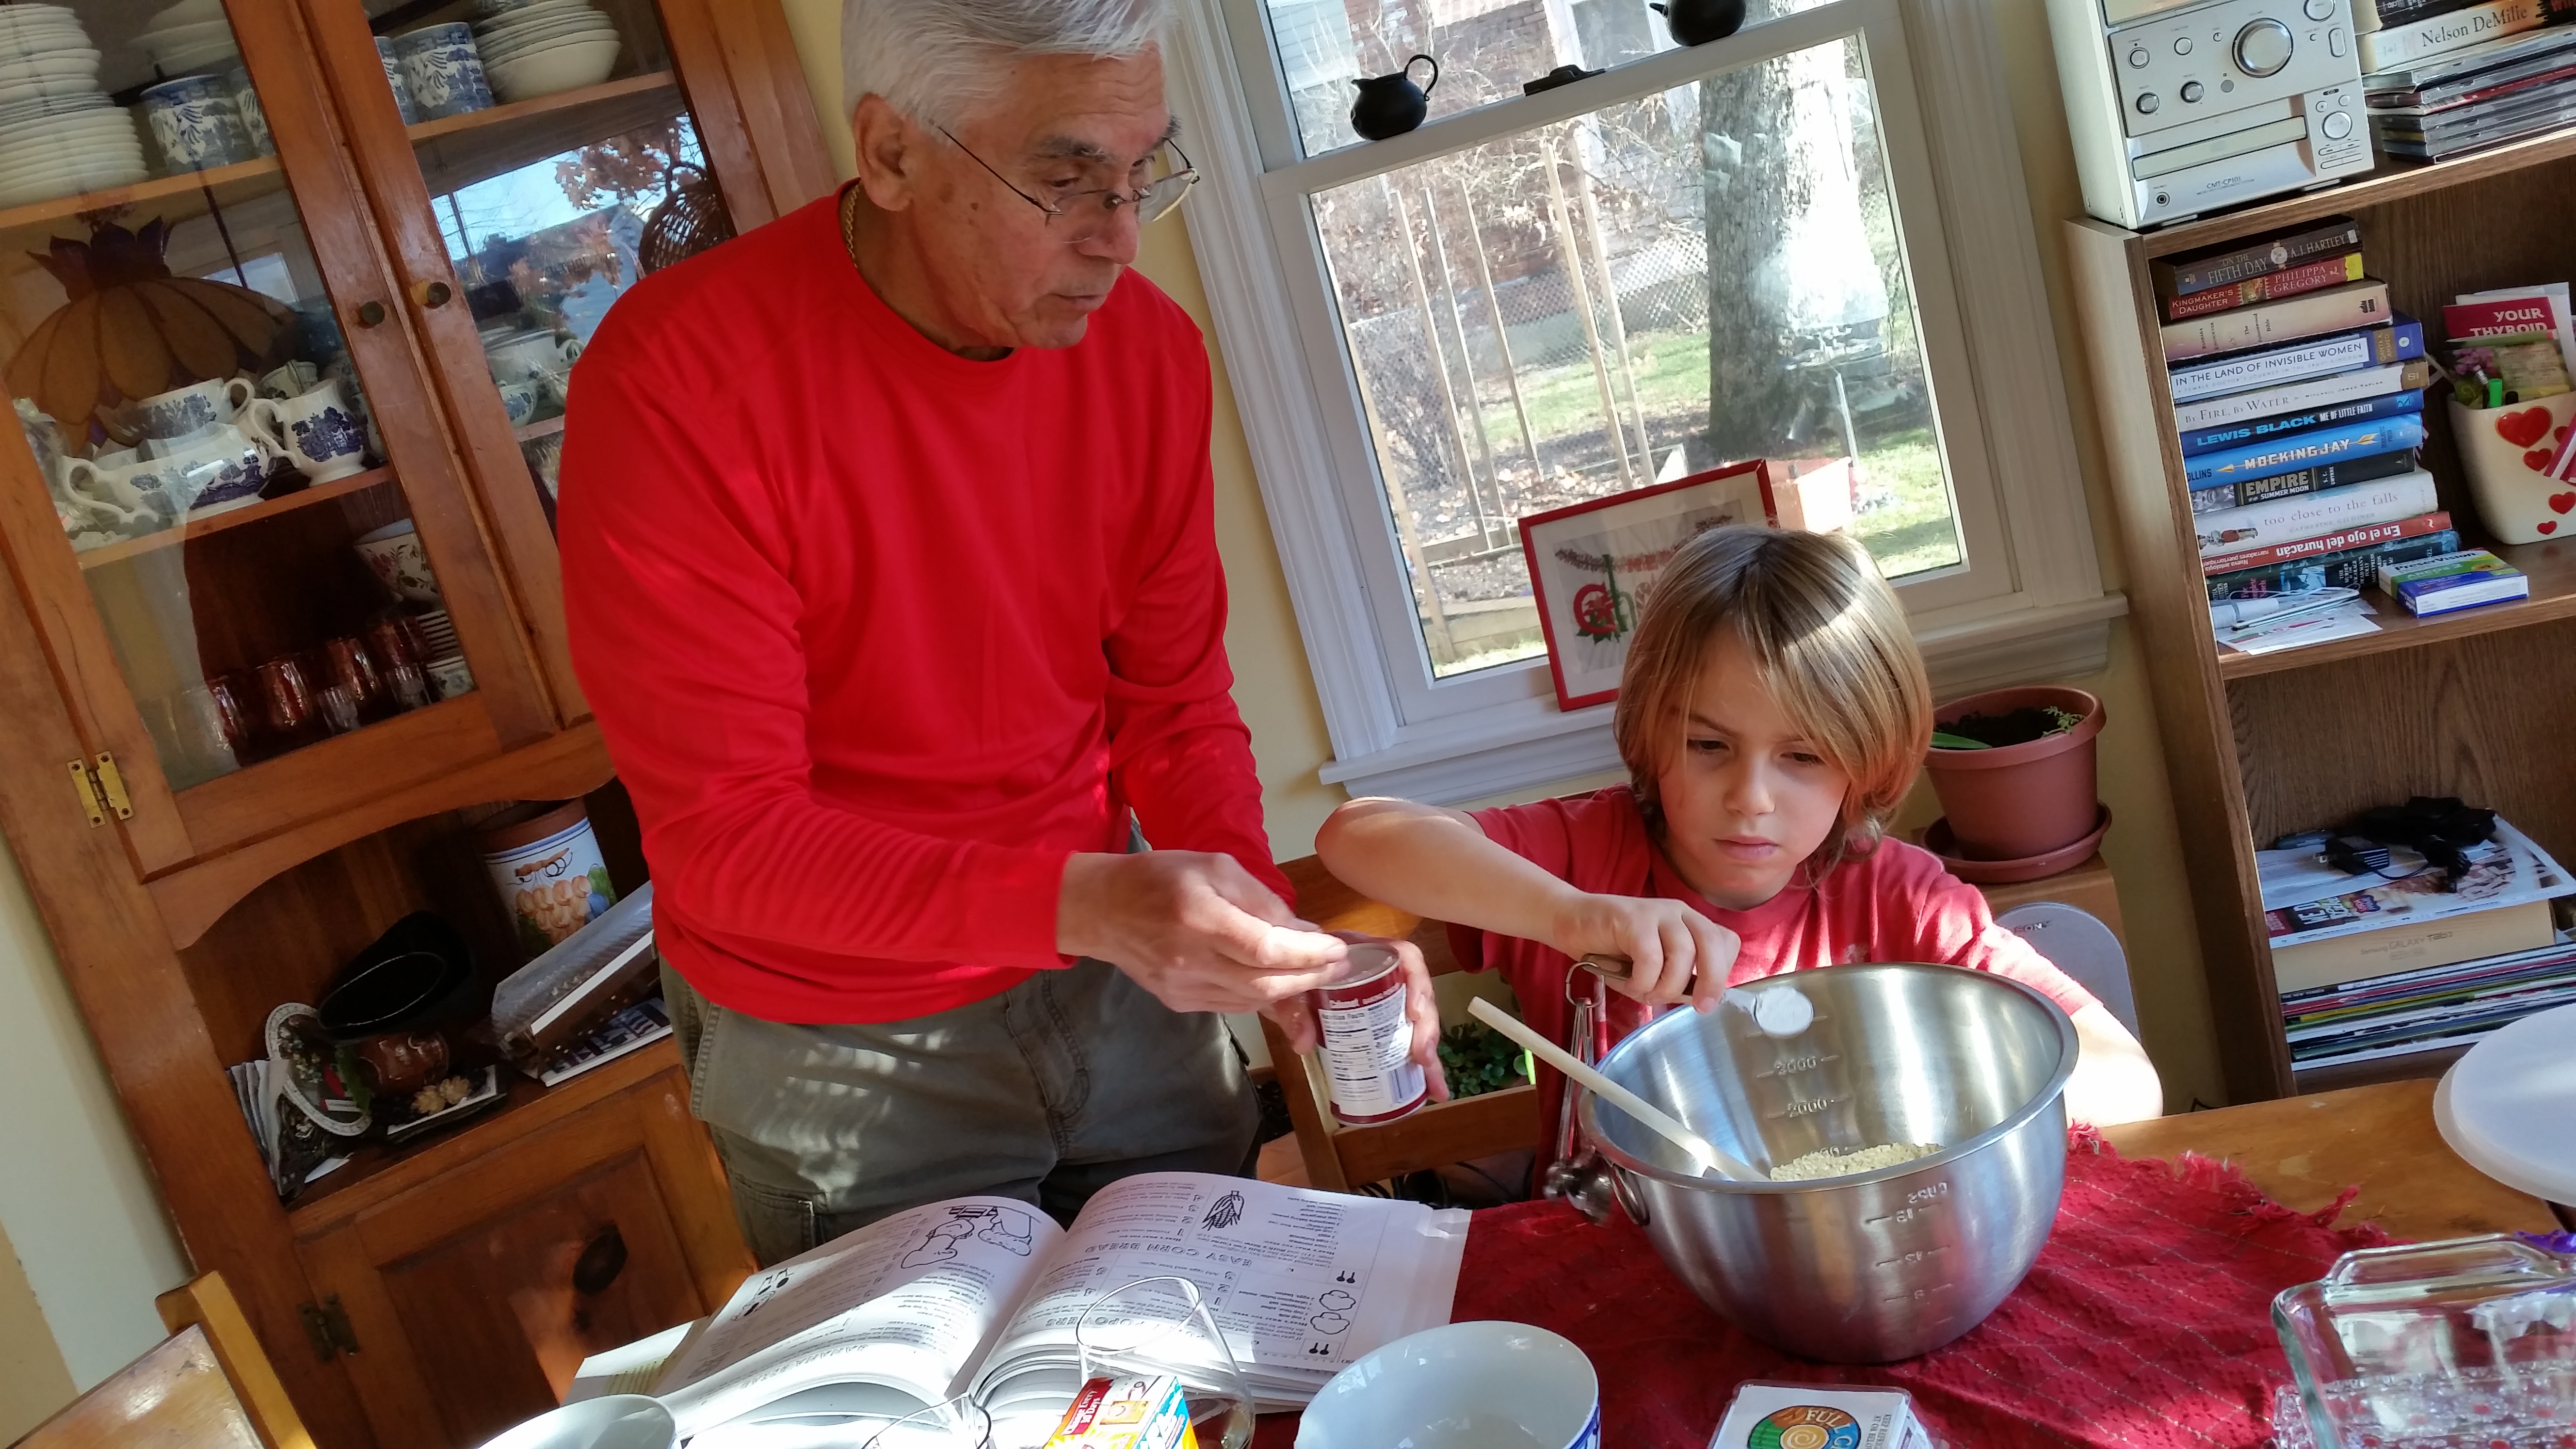
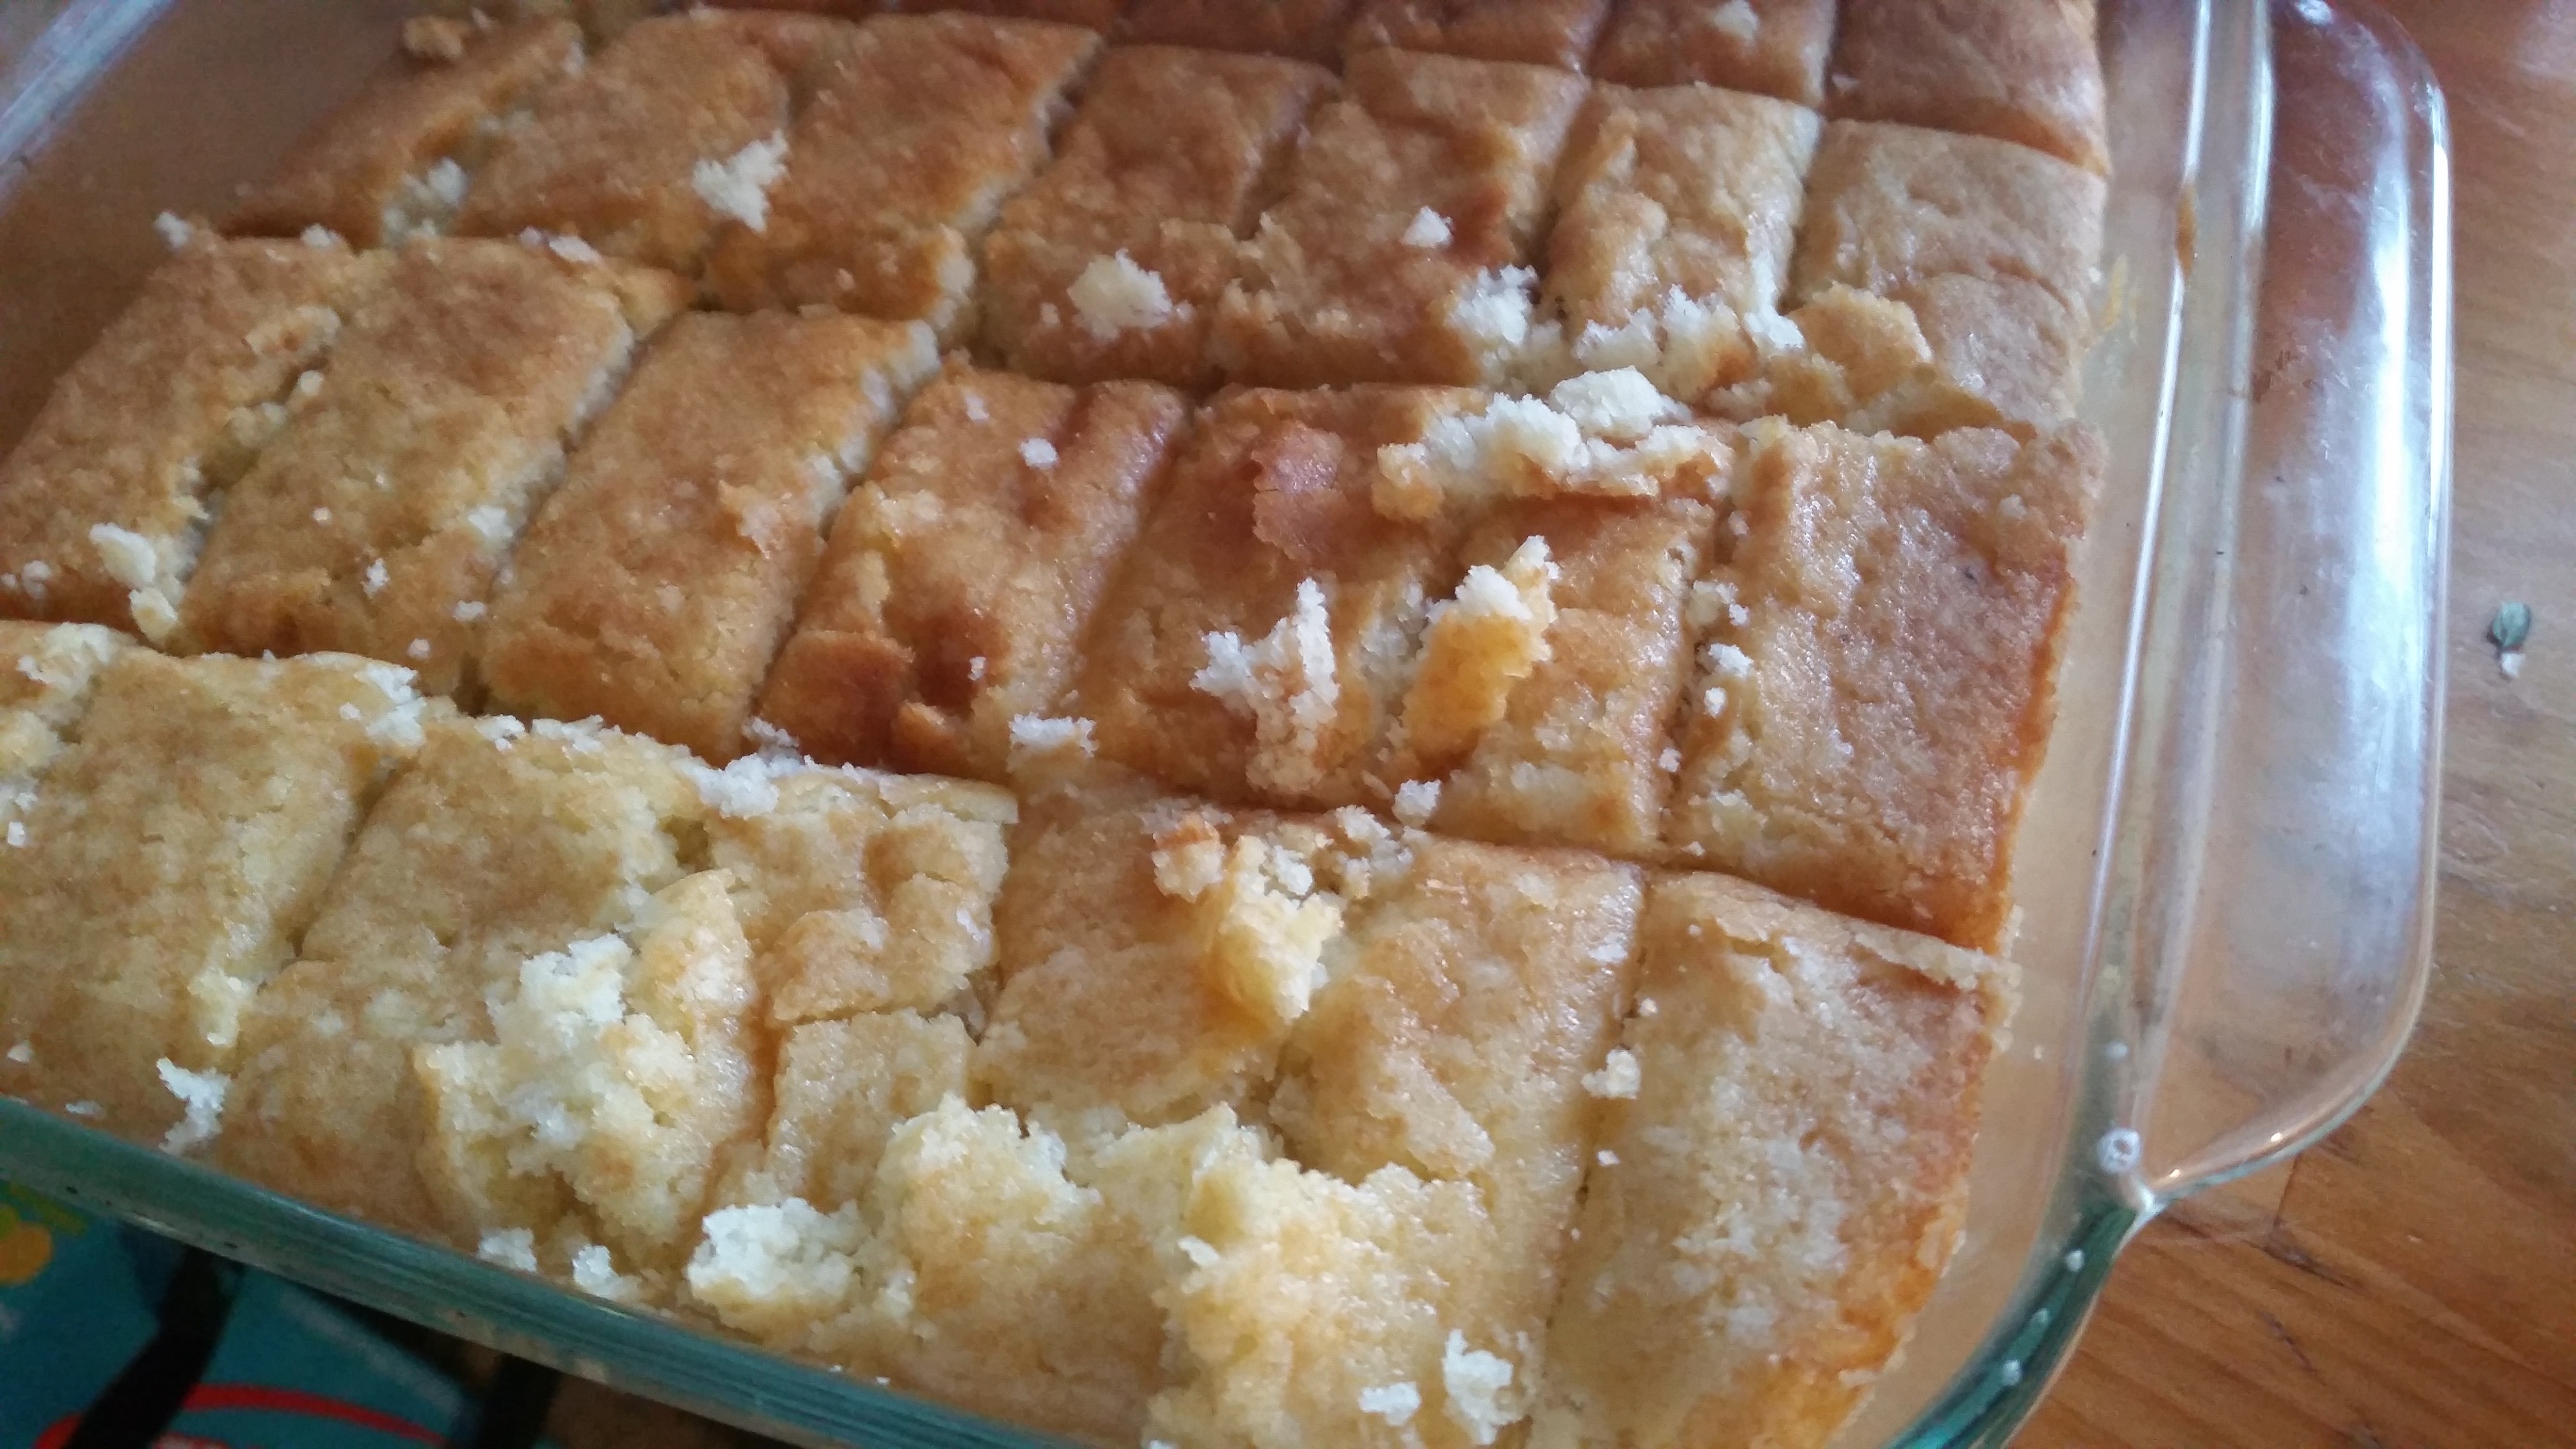
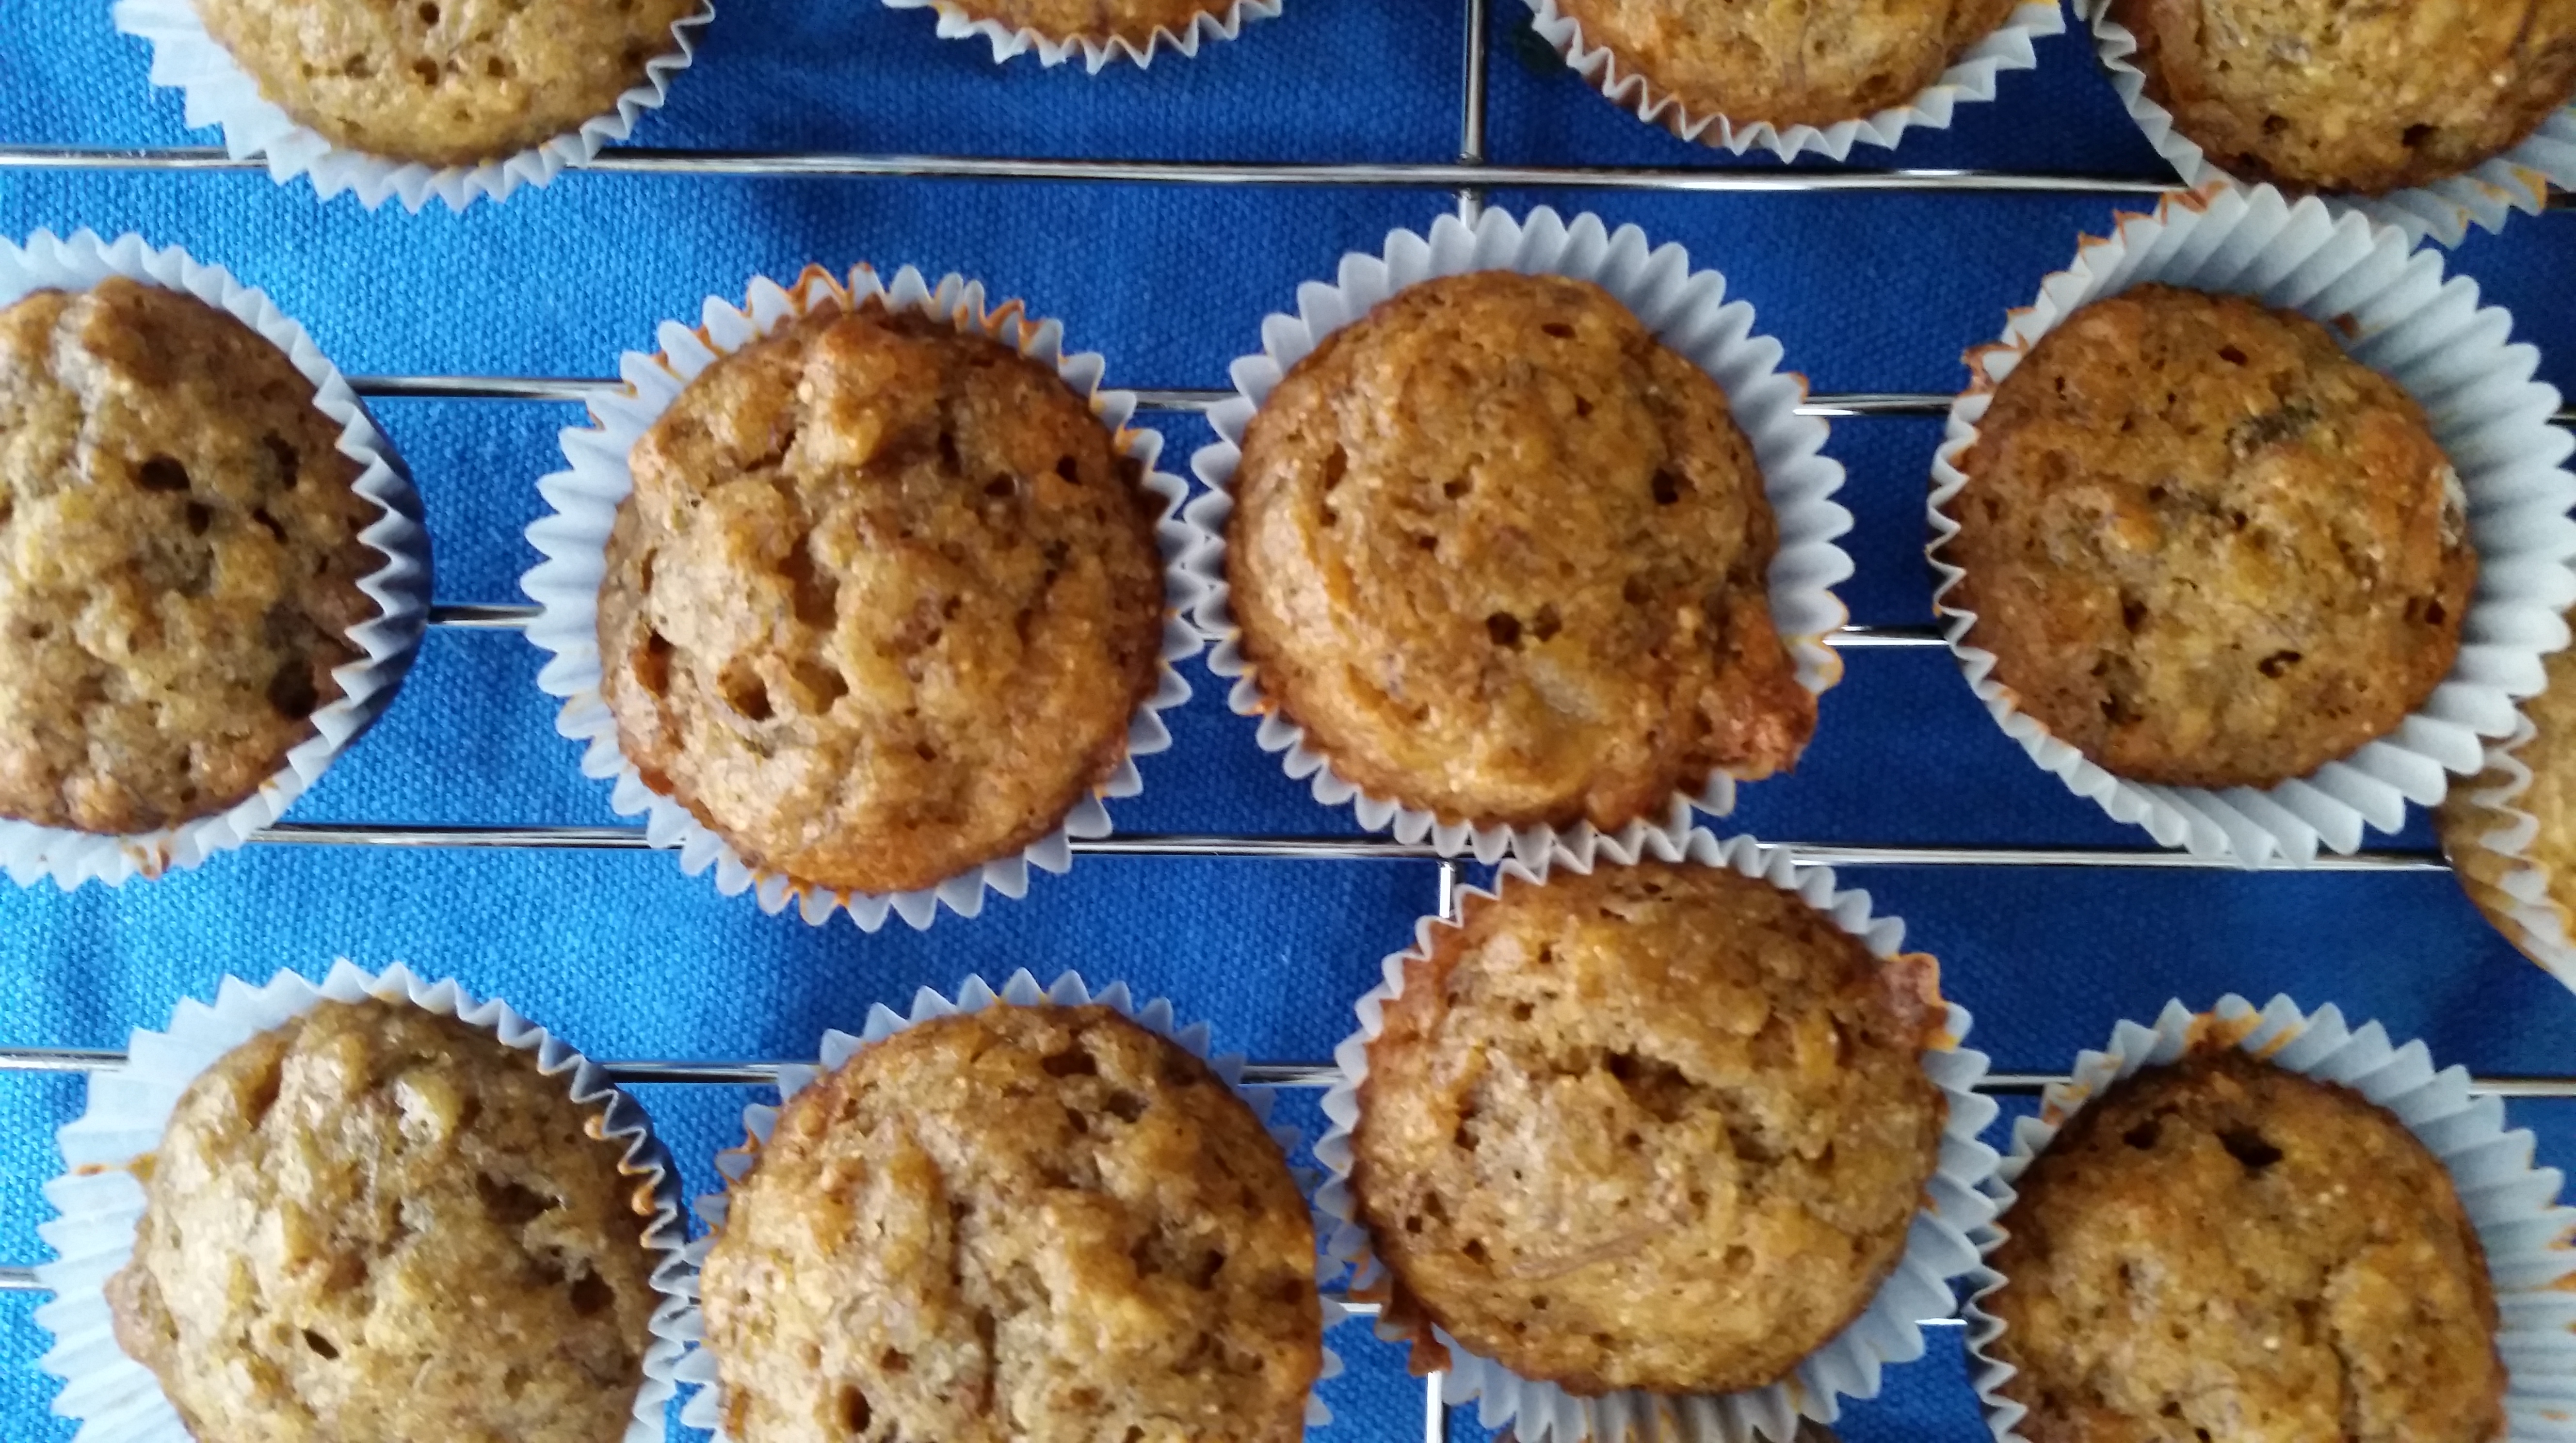
The bakers did very well!
But there are small pleasures with unexpected days off…like sleeping in and — if your seven-year-old shuts up long enough to allow you to complete a thought or a blog post or pay a bill or anything for the love of God — finishing little tasks you wouldn’t have time for otherwise. And then there’s baking, because the best defense against the bad weather blues is a house that smells like sweet, warm, doughy things.
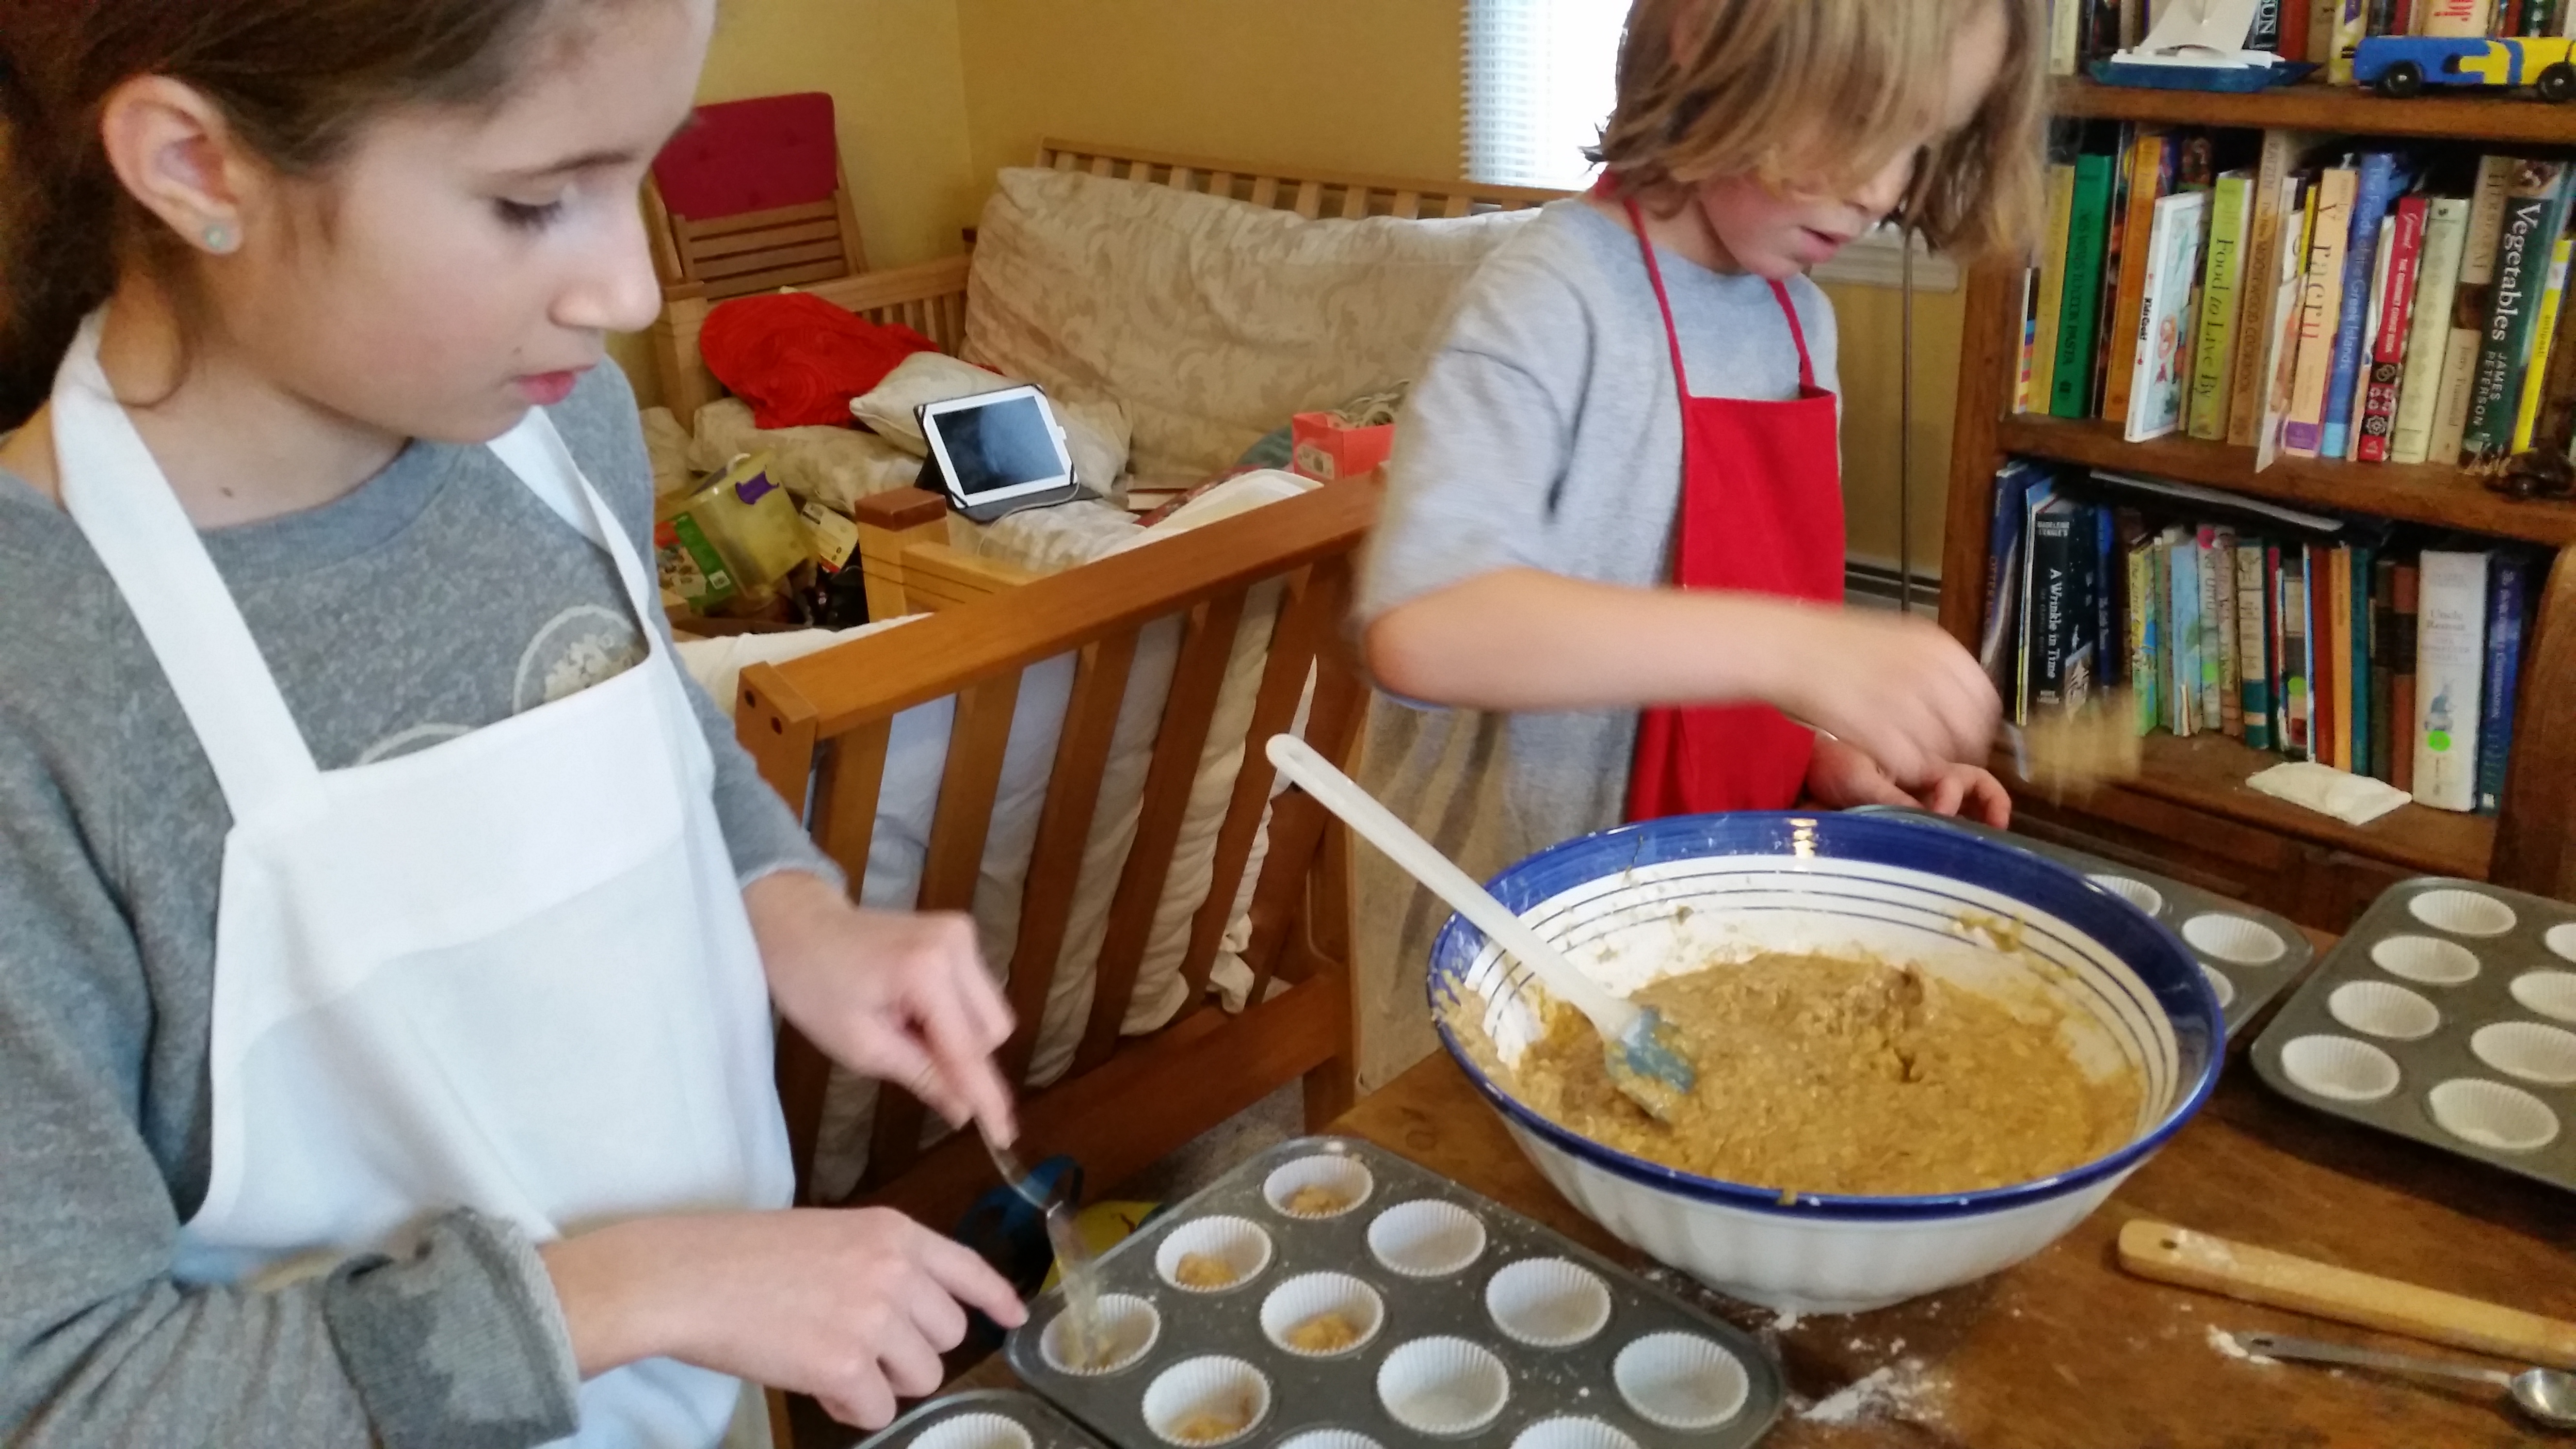
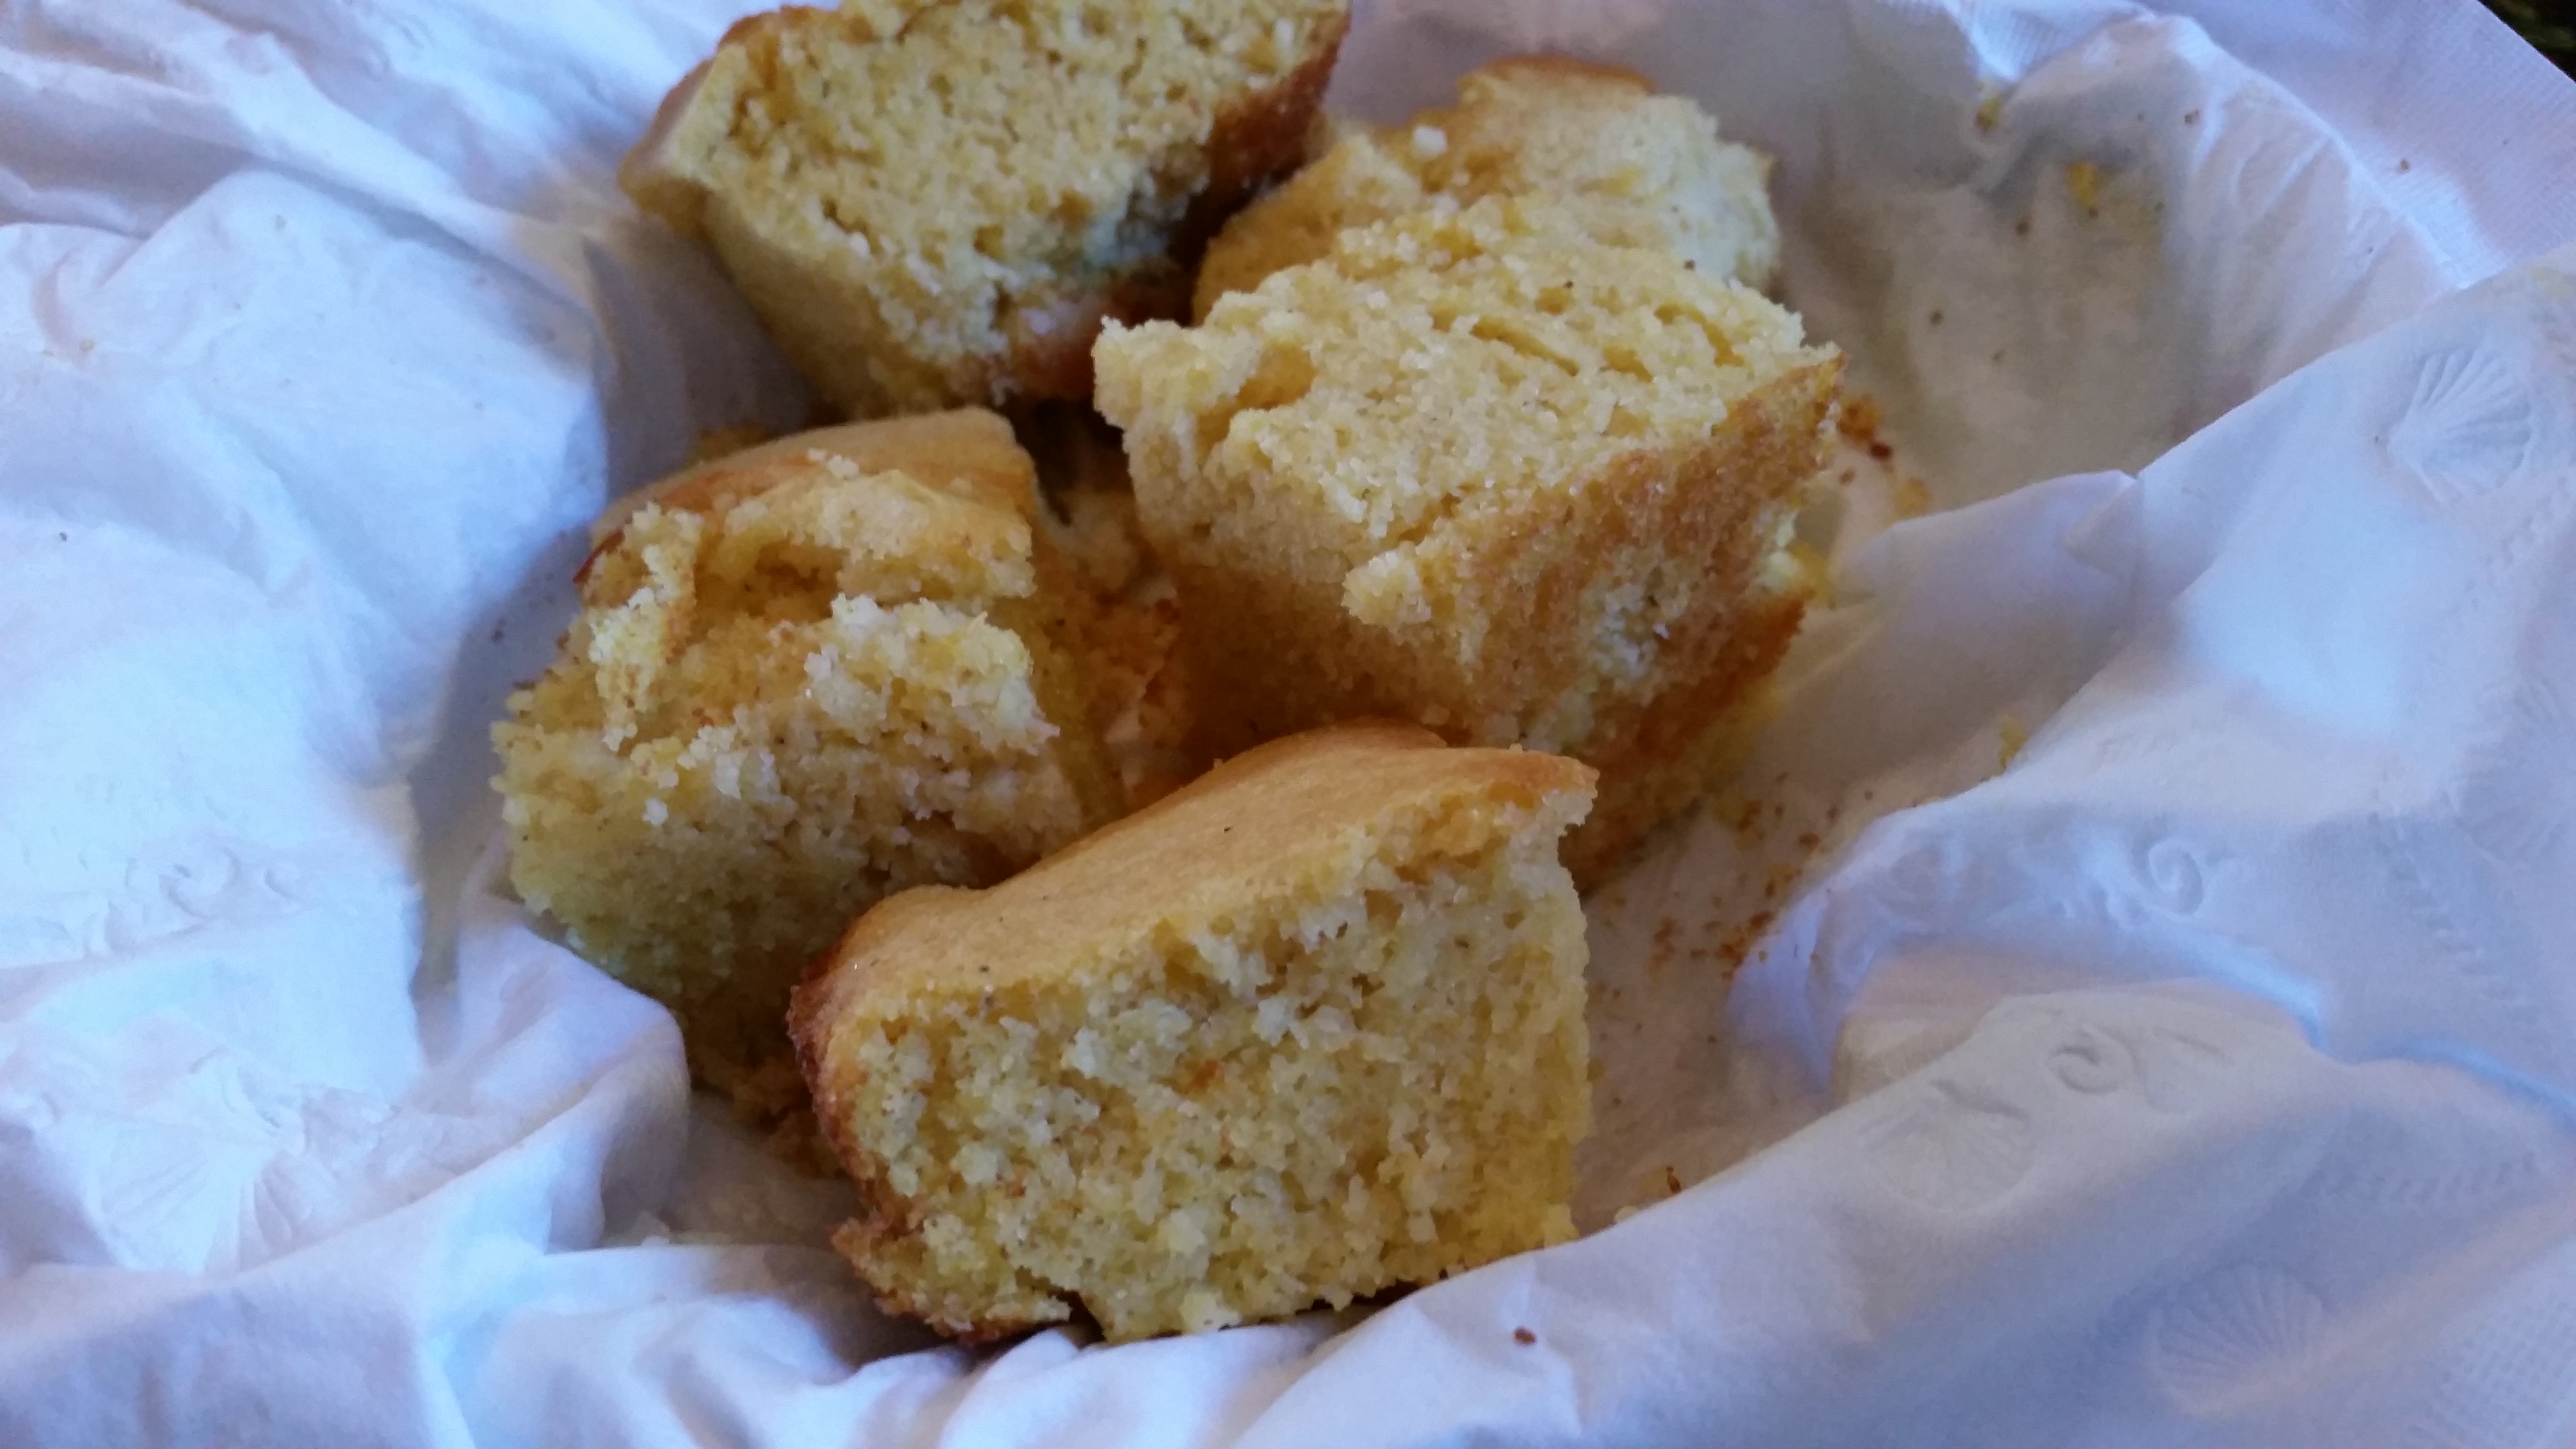
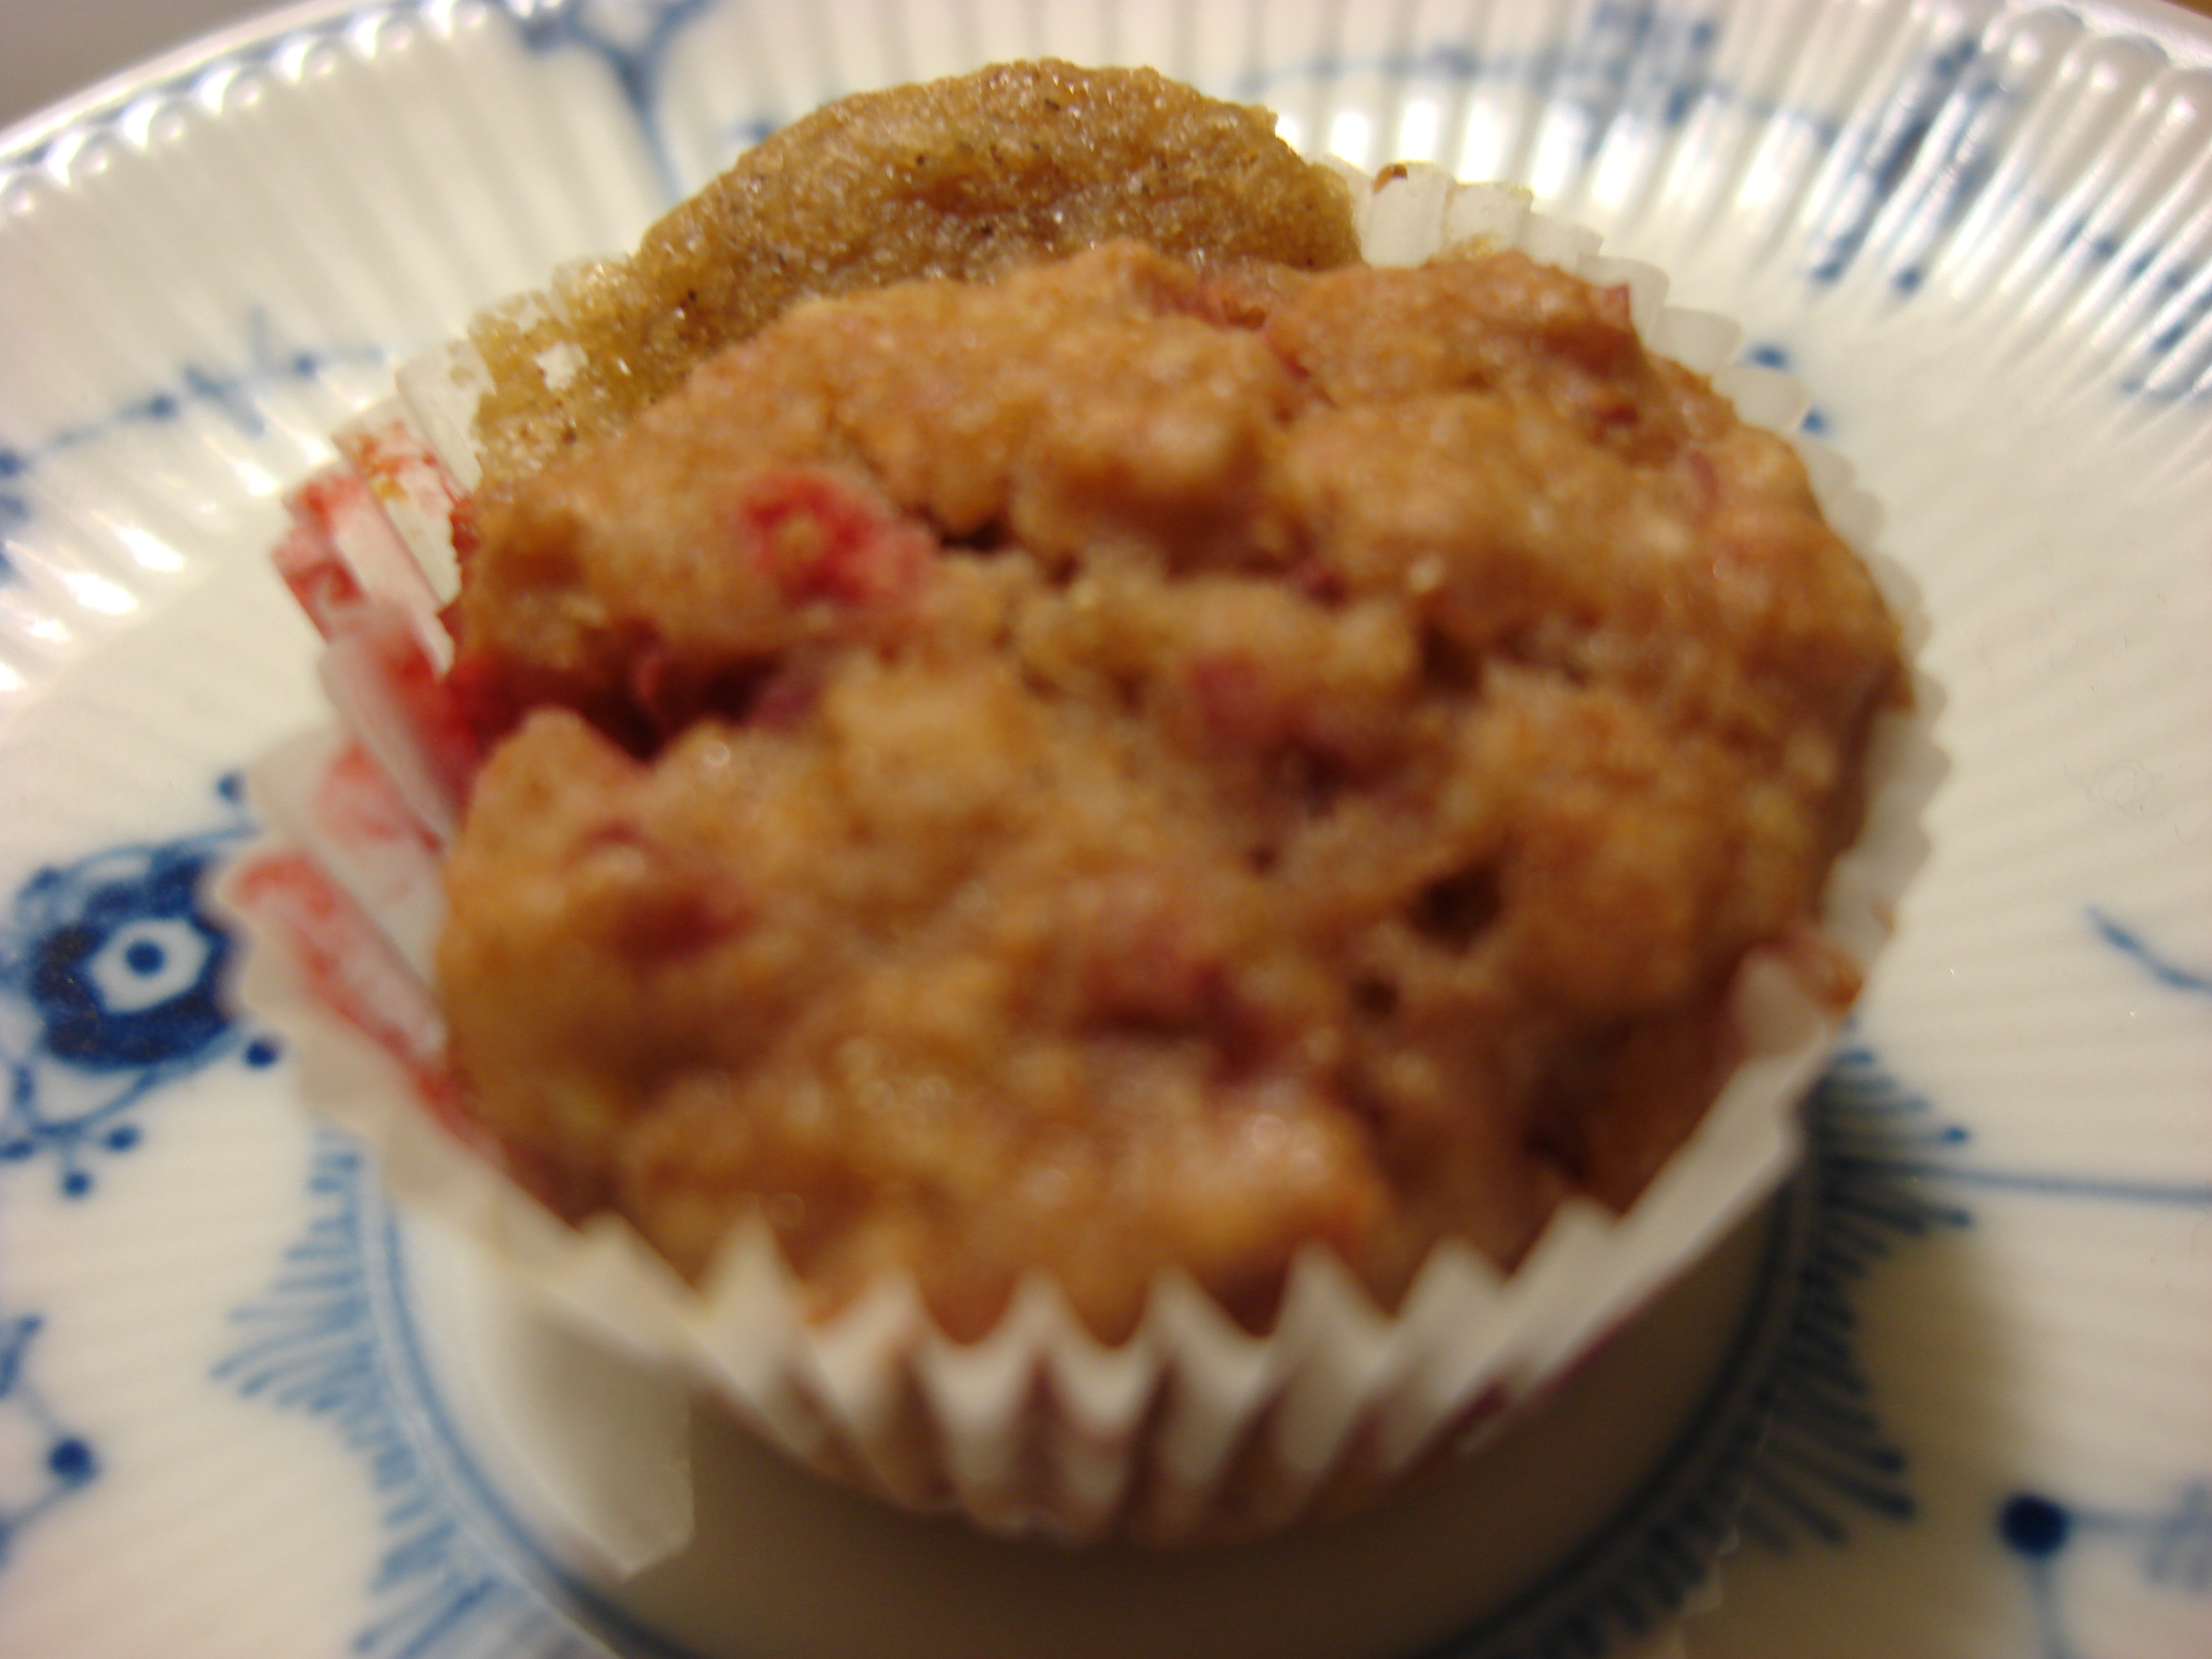
The muffins were not all exactly the same size, but that’s part of the charm of home-made!
So I decided to try a simpler version of our Banana Walnut Maple muffins with my little man and his friend from across the street after they’d been playing in the snow for a couple of hours (remember when you considered that kind of thing fun?) and I had actually completed one report.

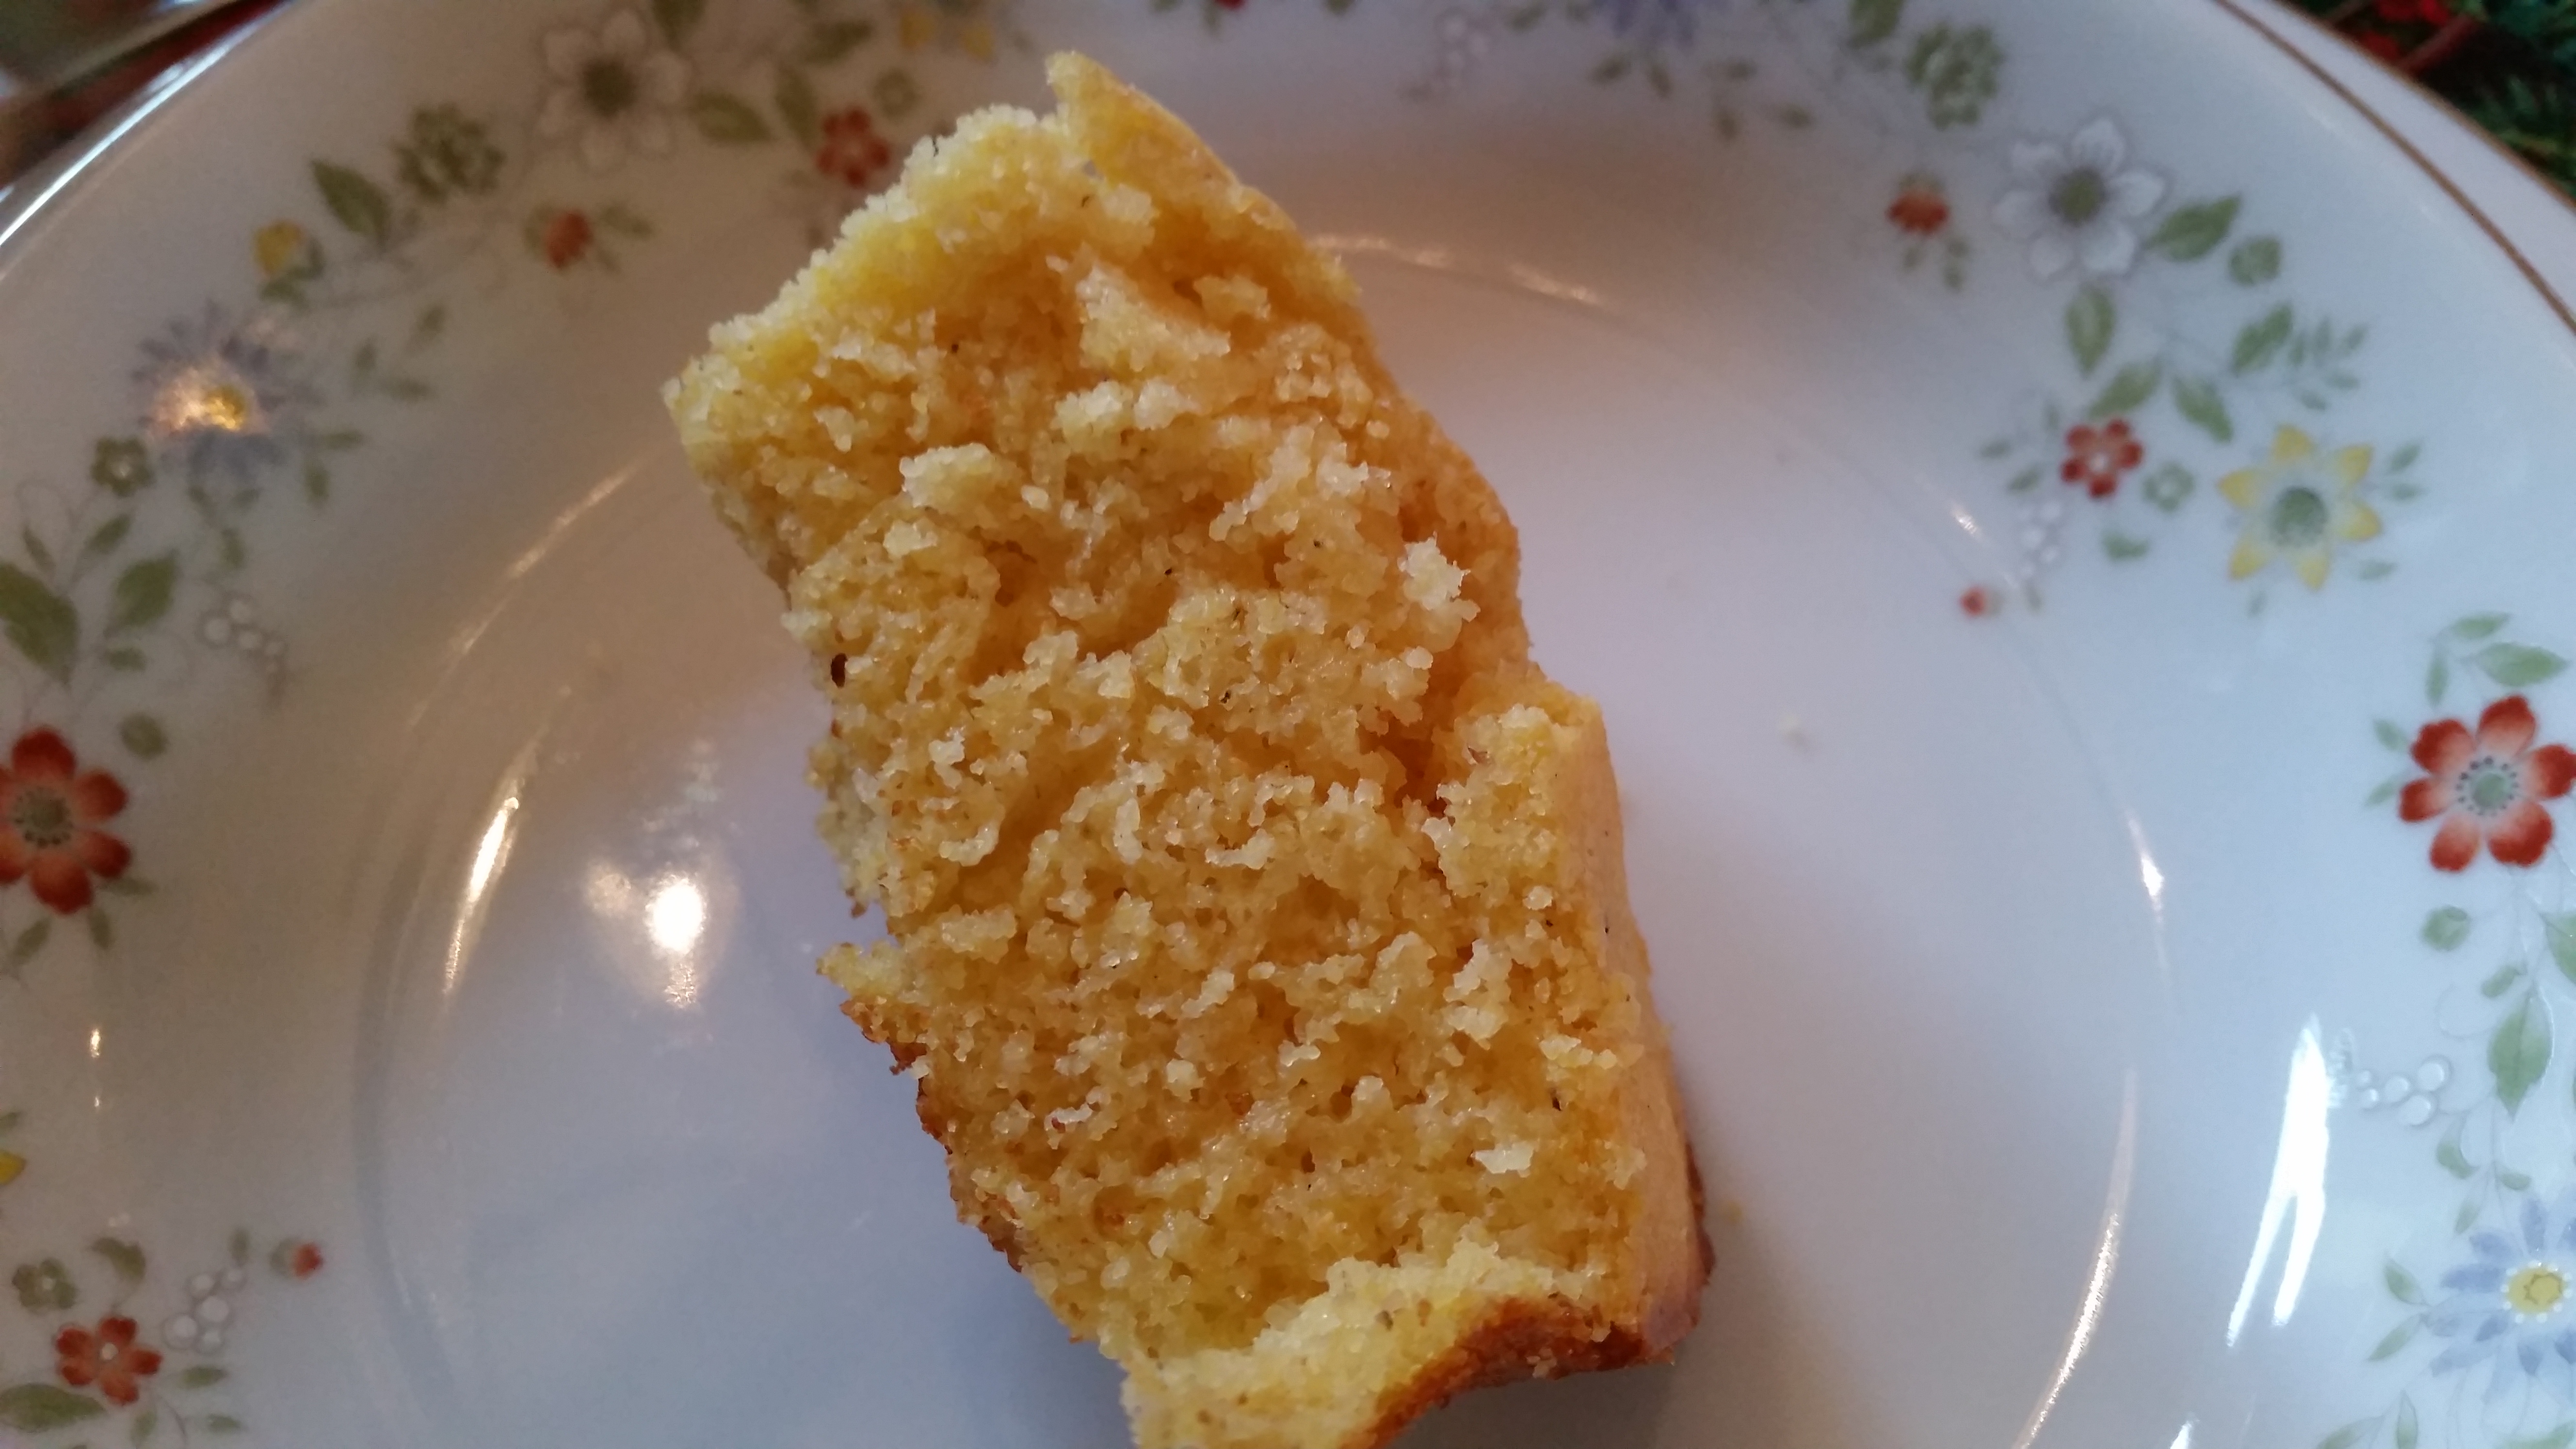
Cute, no?
It was a great success, both the making and the fragrant baking and the tasting, plus being able to send the neighbor home with muffins for her family and having muffins for the guy on the corner who cleared the driveway with his snow blower and for the sweet couple in their 90s across the street. Mini-muffins go so much farther than standard size muffins!
And we still have plenty left over for lunchboxes!
Banana Walnut Maple Mini Muffins II (simplified)
2 Cups all-purpose flour (or 1 Cup all-purpose and 1 Cup whole wheat)
1.5 tsp baking soda
½ tsp salt
4-5 overripe bananas
1 Cup light brown sugar
¾ Cup (1.5 sticks) unsalted butter, melted and cooled
2 large eggs
1 tsp pure vanilla extract
¼ Cup maple syrup
¾ Cup walnuts, chopped
Preheat the oven to 375˚F and grease or line with cups 2 standard muffin tins (12 muffins) or 4 mini-muffin tins (48 muffins) plus be ready to do an additional six standard muffins. This makes a lot.
In a large bowl, mix the dry ingredients: flour, baking soda and salt. In another, mash the bananas, then add the sugar and mix well with a fork. Add the melted butter, egg, vanilla and beat well. Fold in the dry ingredients and mix until just combined. Fold in the nuts and maple syrup gently with a rubber spatula. Spoon the batter into the muffin tins to fill about halfway.
Bake 12 minutes for mini-muffins and 20 for standard muffins. Allow to cool for a minute before planning them on a rack to cool further or just serve warm. These store well in an airtight container for about three days and also freeze well. I take them out of the freezer and pop them into my son’s lunchbox frozen and they are good to go by snack time.