The best thing about school holidays is that the kids are home. The worst thing about the school holidays is that the kids are home.
Okay, that’s not really how I feel about holidays but it seemed like a catchy way to start this post on cooking with kids.
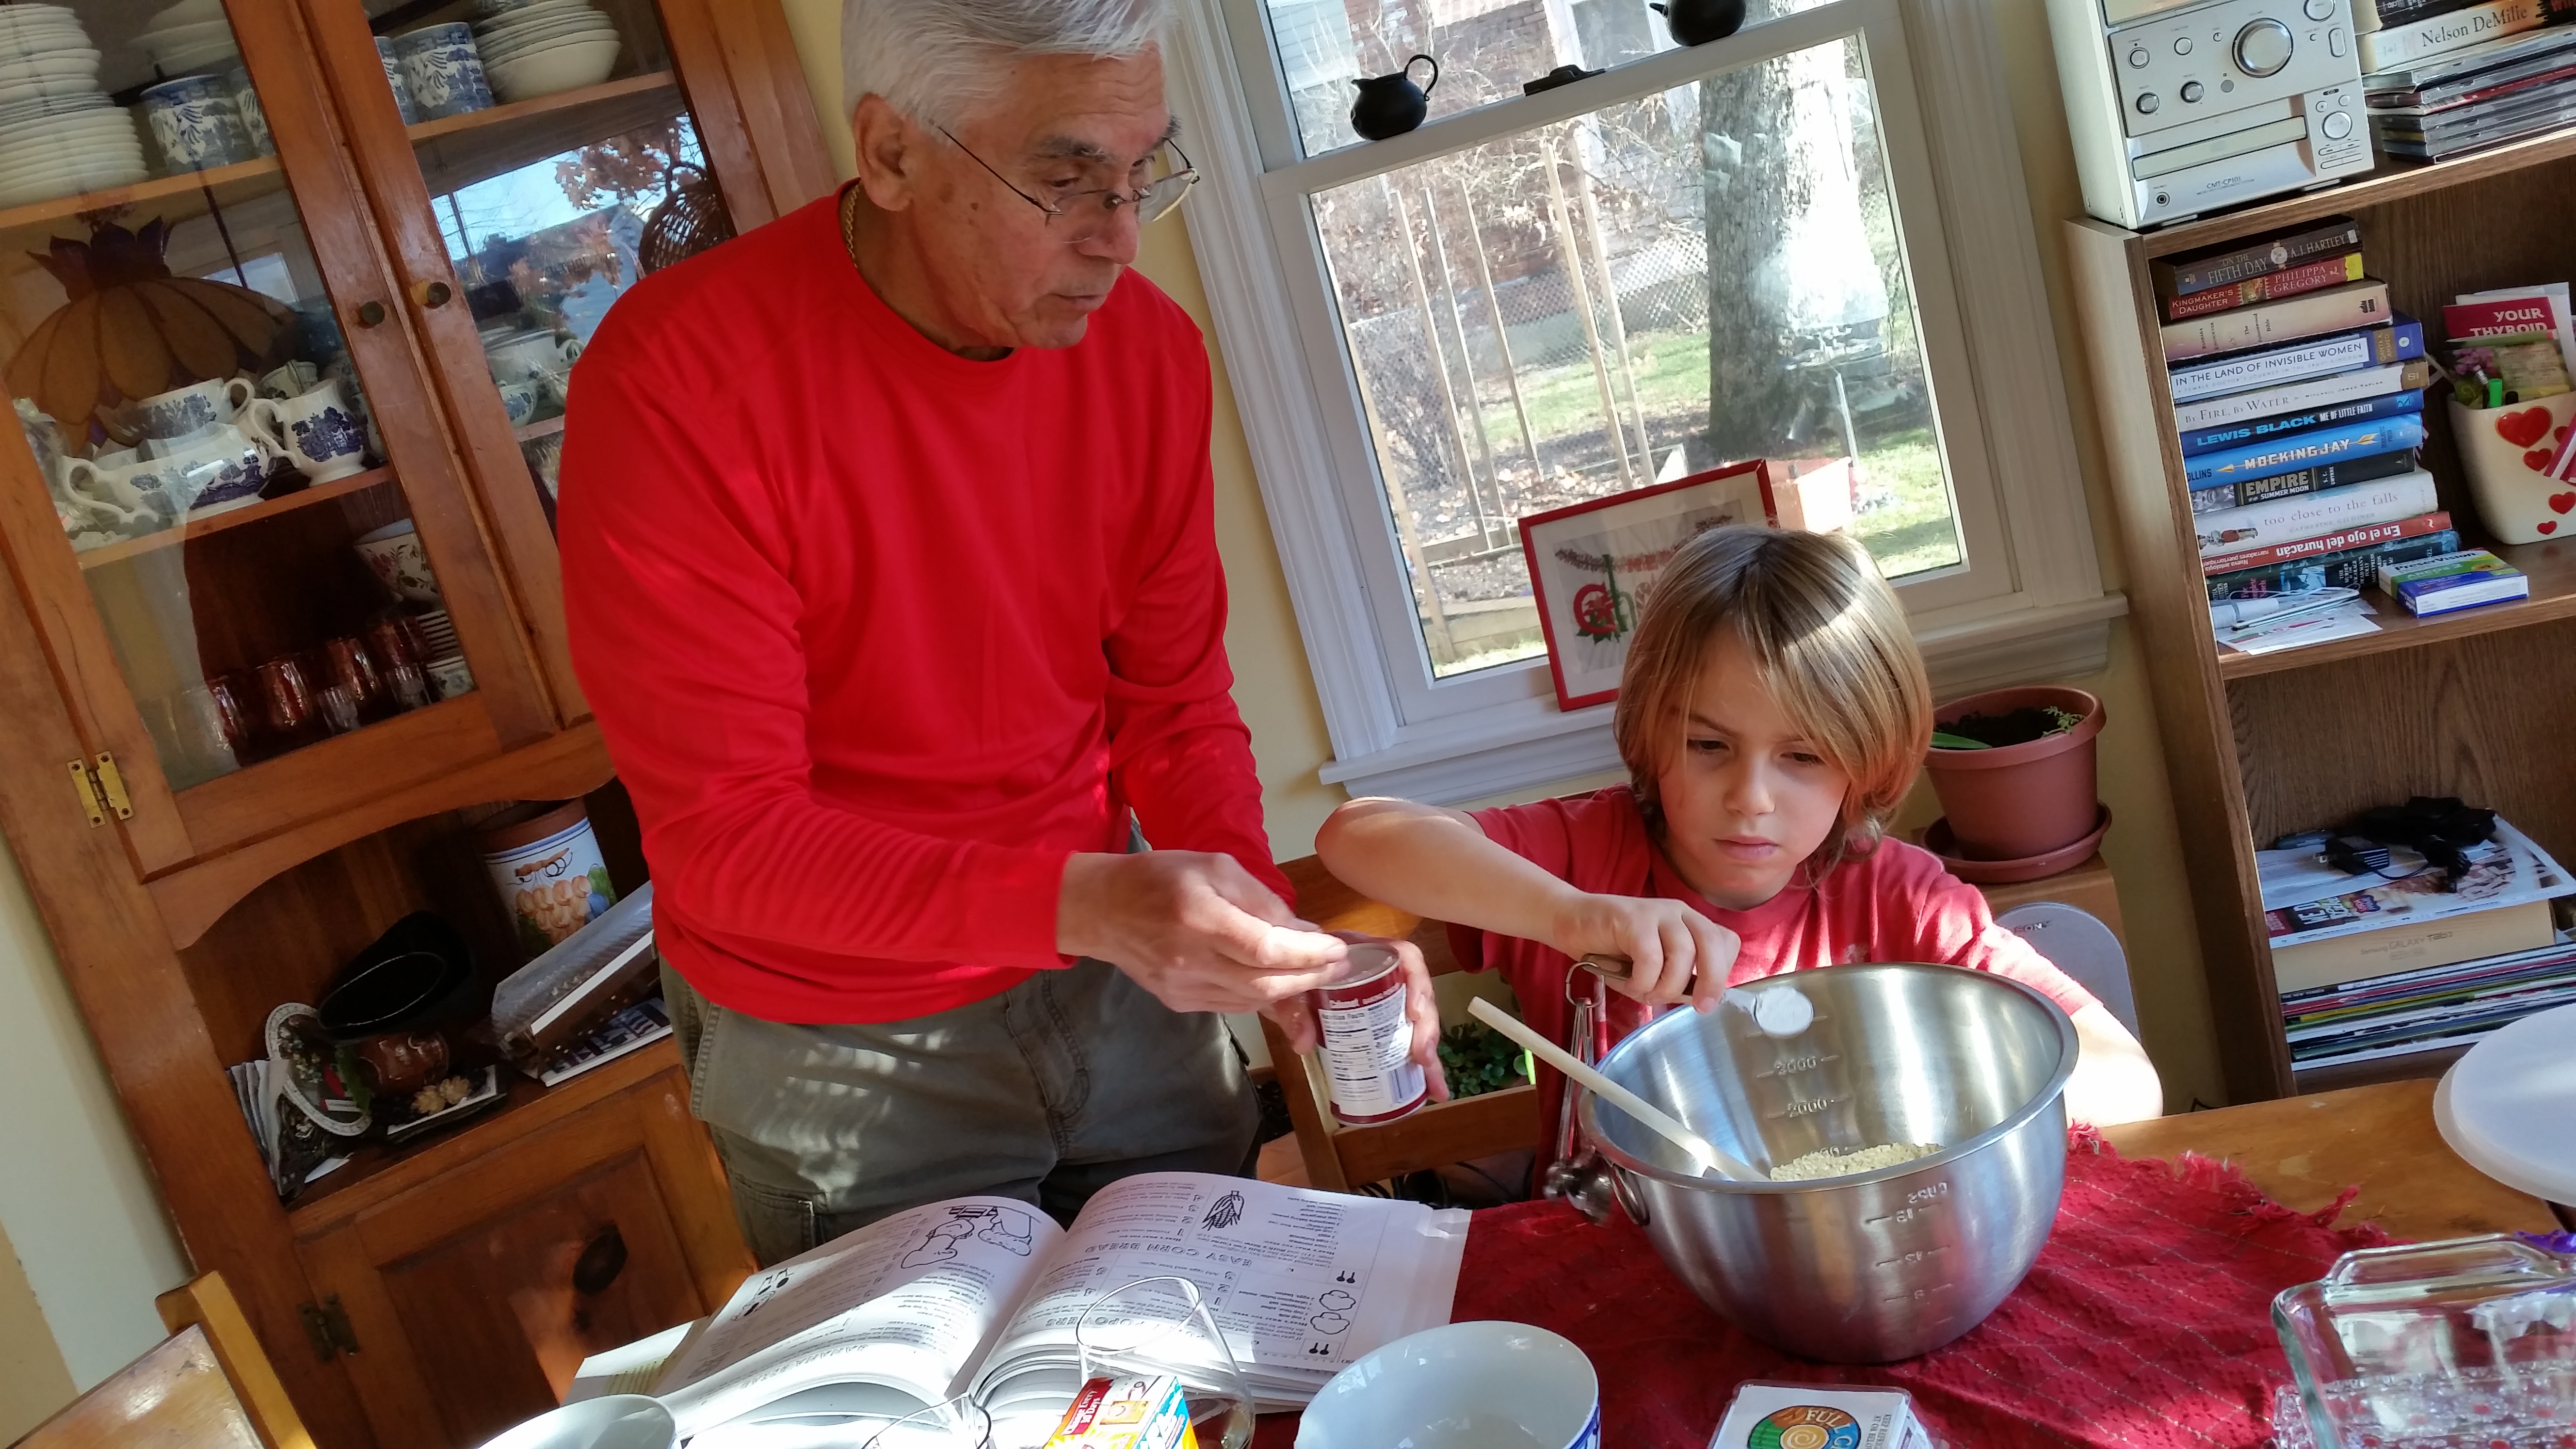
The little man impressed his grandfather by leveling off the measured ingredients
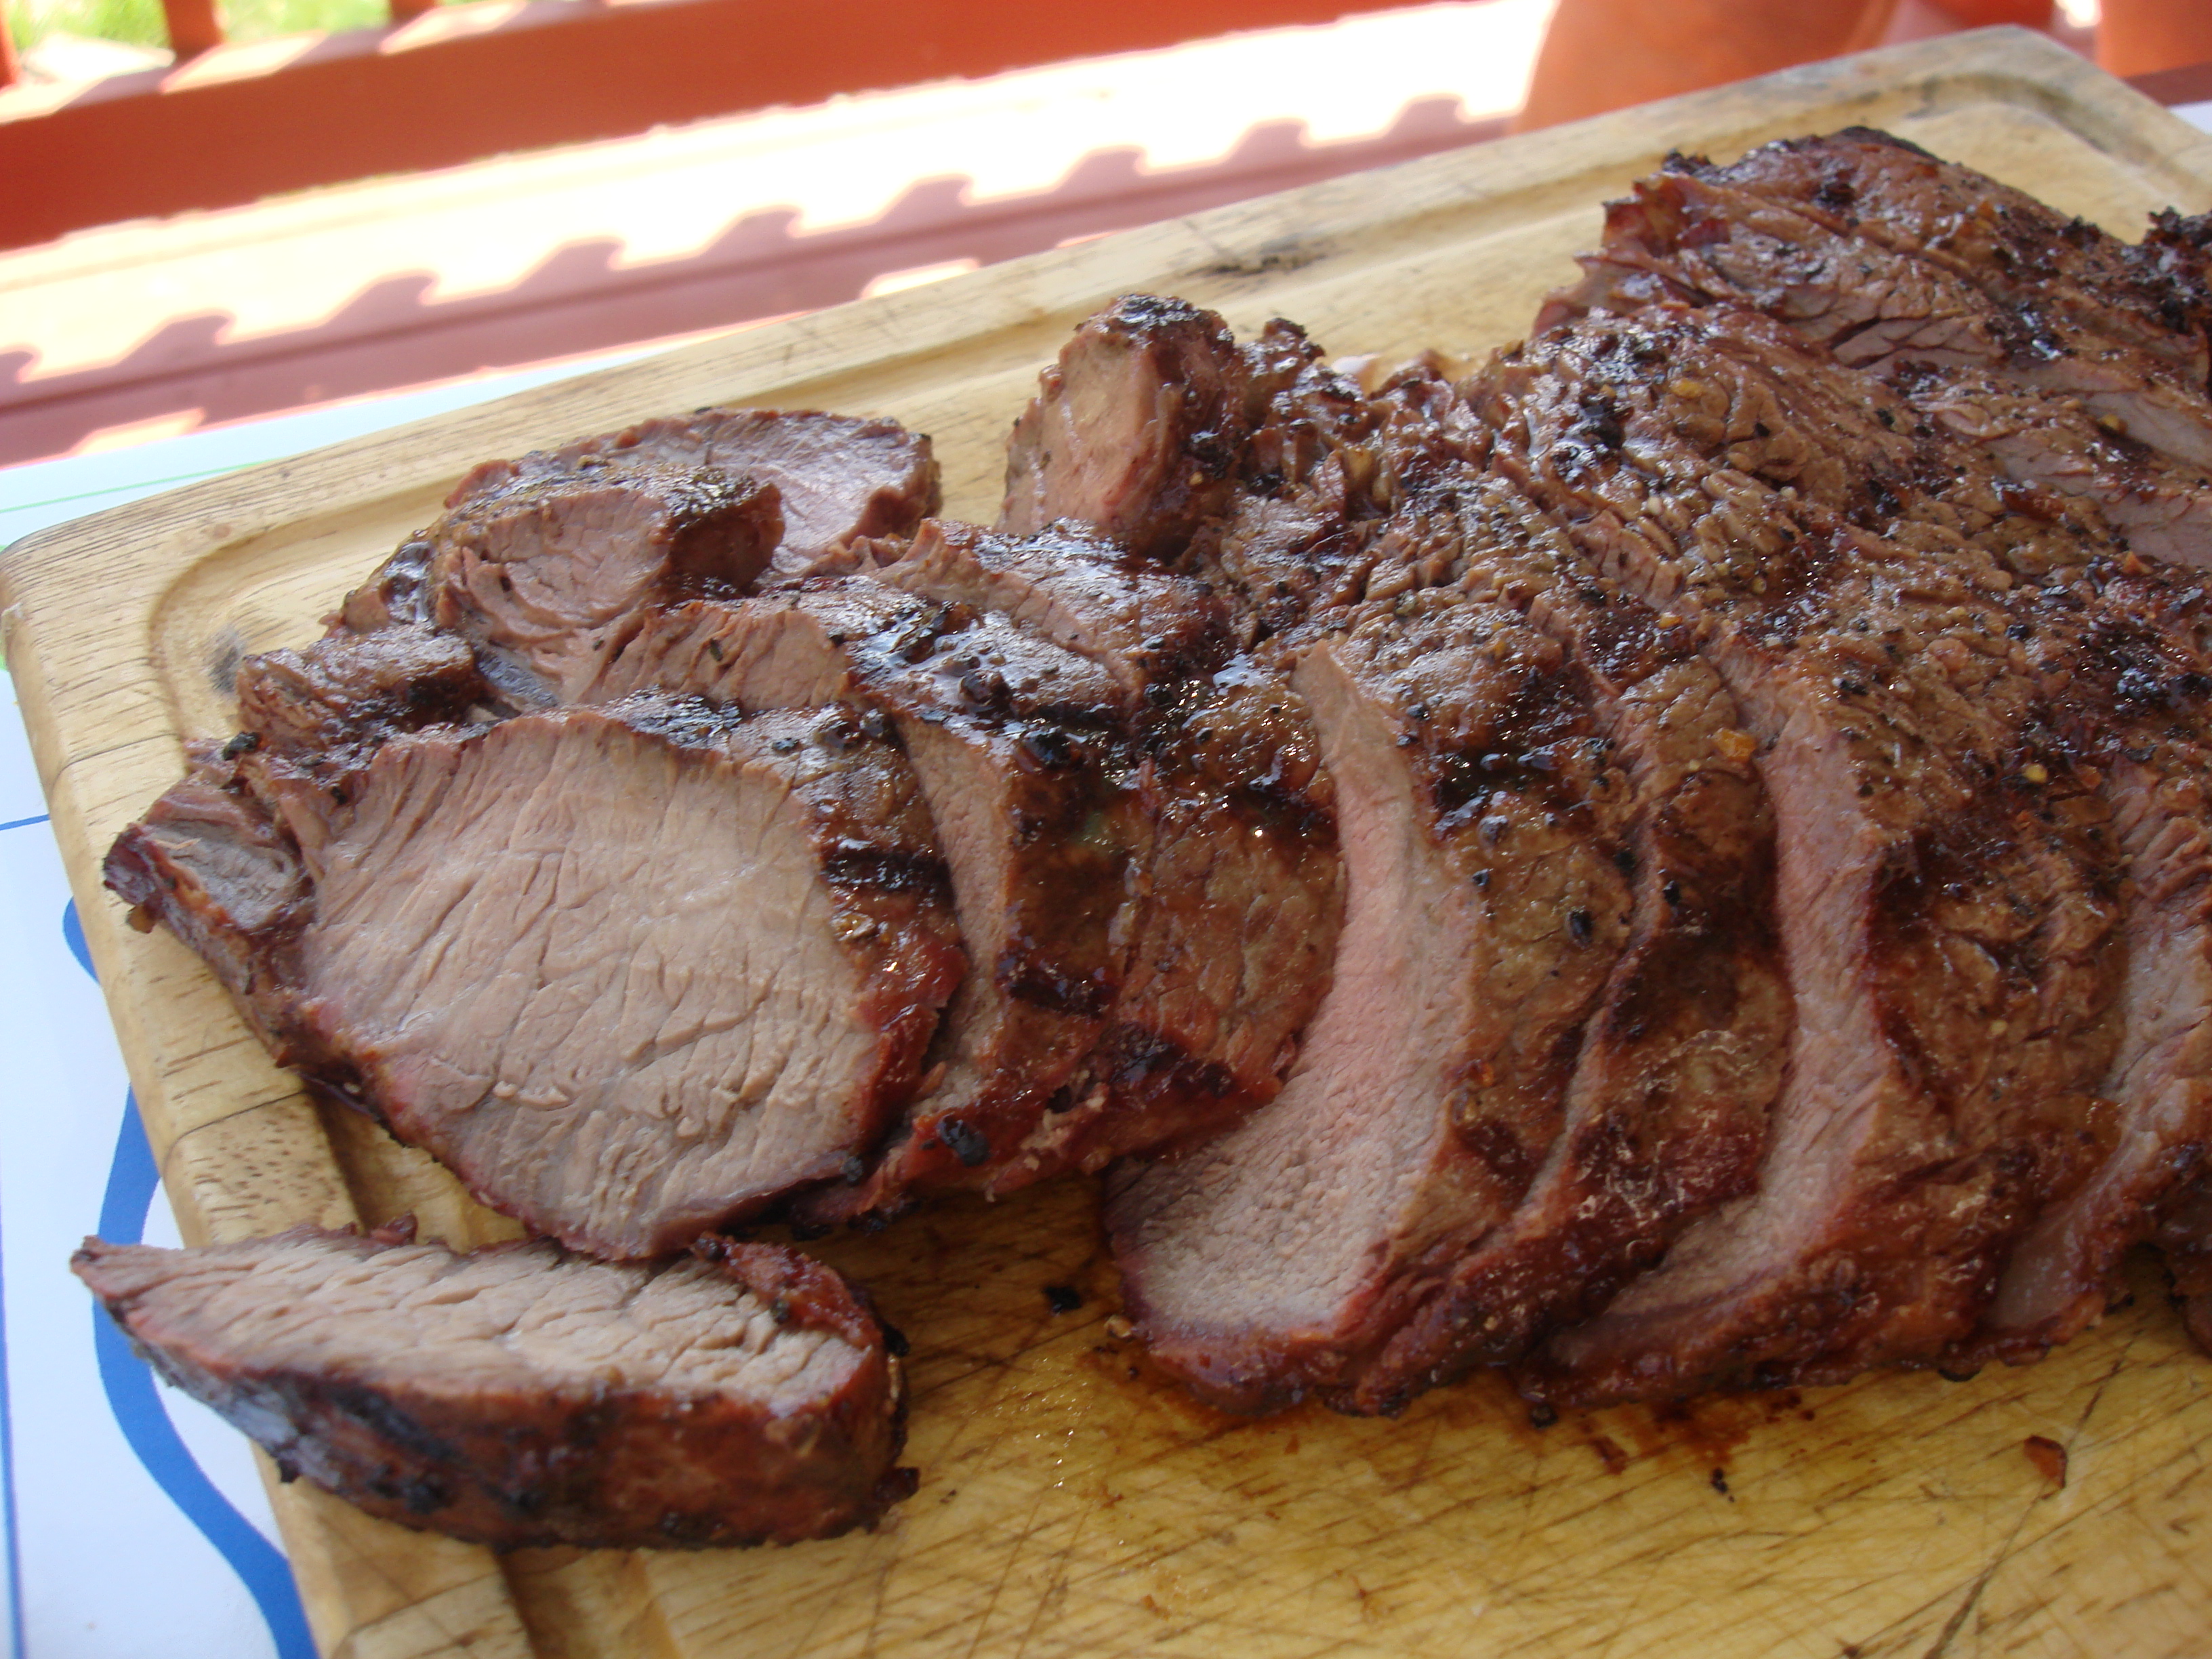
Regular readers know my seven-year-old is starting to learn his way around the kitchen. Part of that is giving him responsibility for certain dishes at the holiday table. He can manage roasted asparagus on his own now. He makes bread as well, from his prize-winning no-knead recipe. And with his grandfather, he makes a delicious cornbread that goes well with roasts (and chili).

What’s next? Let’s see.
The original recipe comes from Kids Cook! by Sarah Williamson & Zachary Williamson, a treasure trove of simple and tasty recipes that kids can manage. Padushi and Leandro have tweaked it a bit (starting with substituting the margarine for real butter and beating the eggs before mixing with the rest of the ingredients) and the results are an ever-so-slightly sweet, rich crumb that has a lovely cakey texture.
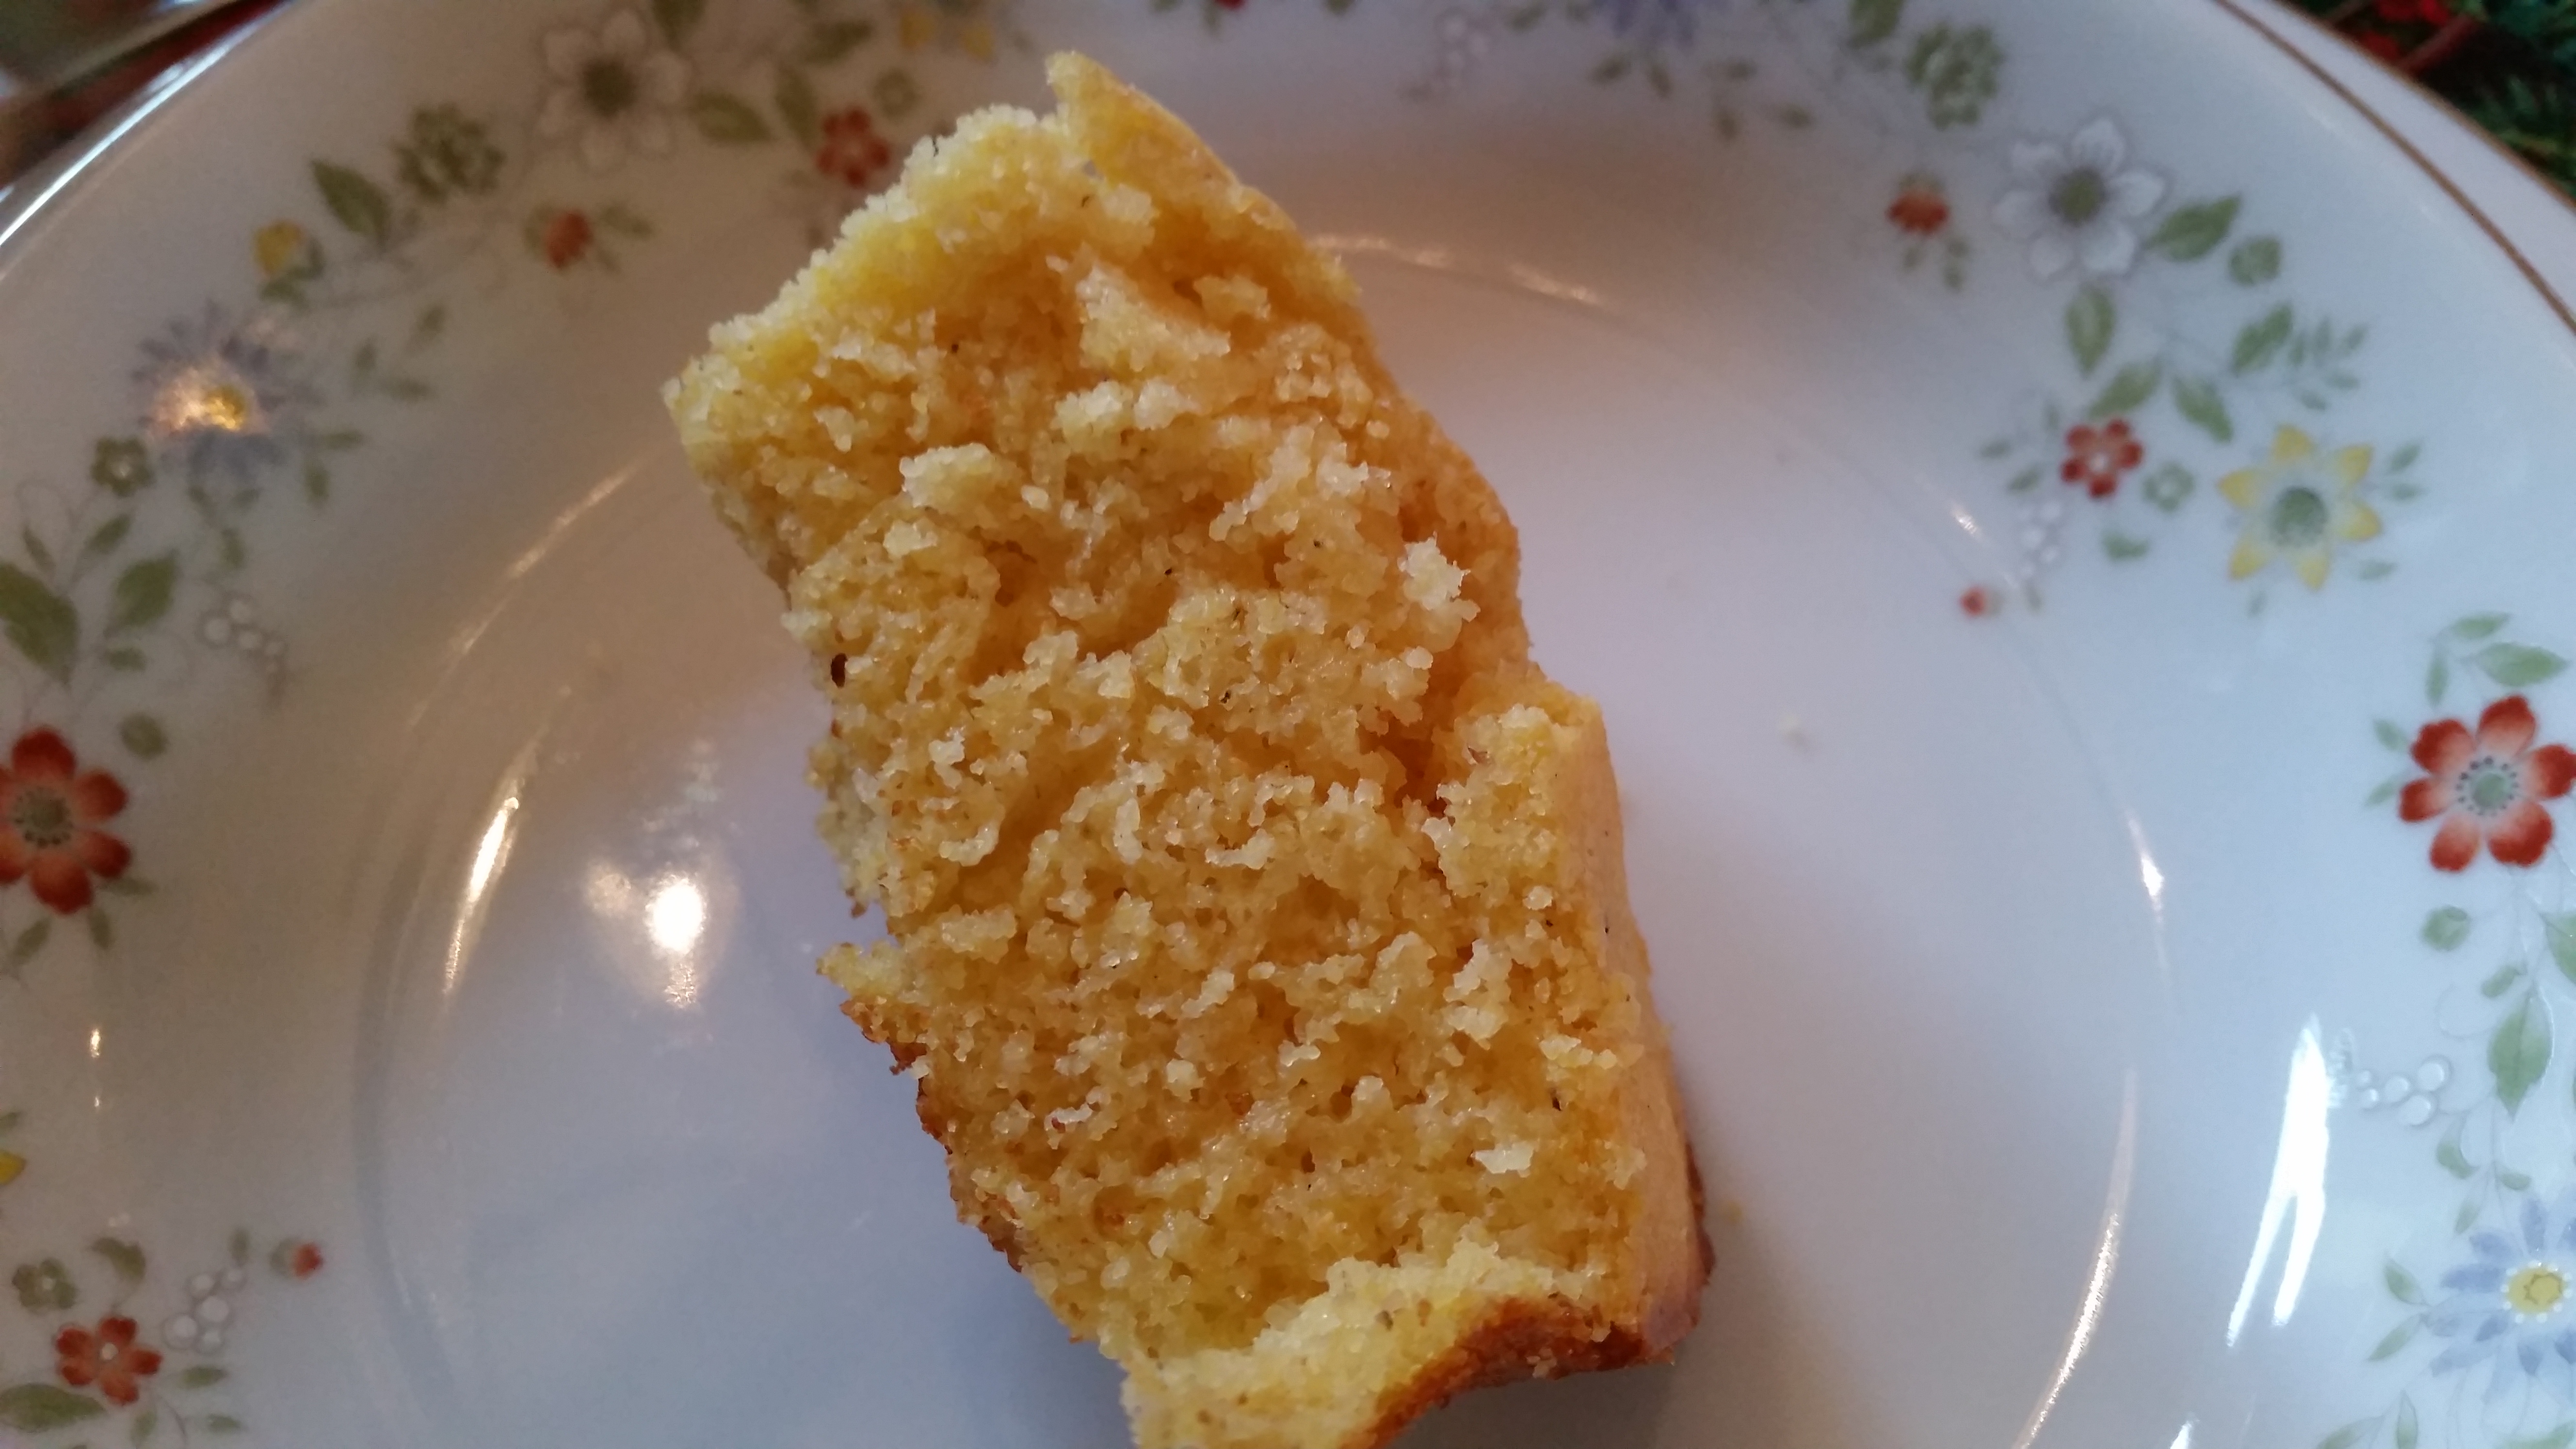
Not my most artistic image, but a good indication of the nice texture.
The other results are a kid who is learning to follow instructions, a grandfather who is learning to let the kid do the work, and a grandson and grandfather who accomplish stuff together.
*See tips for cooking with kids below.
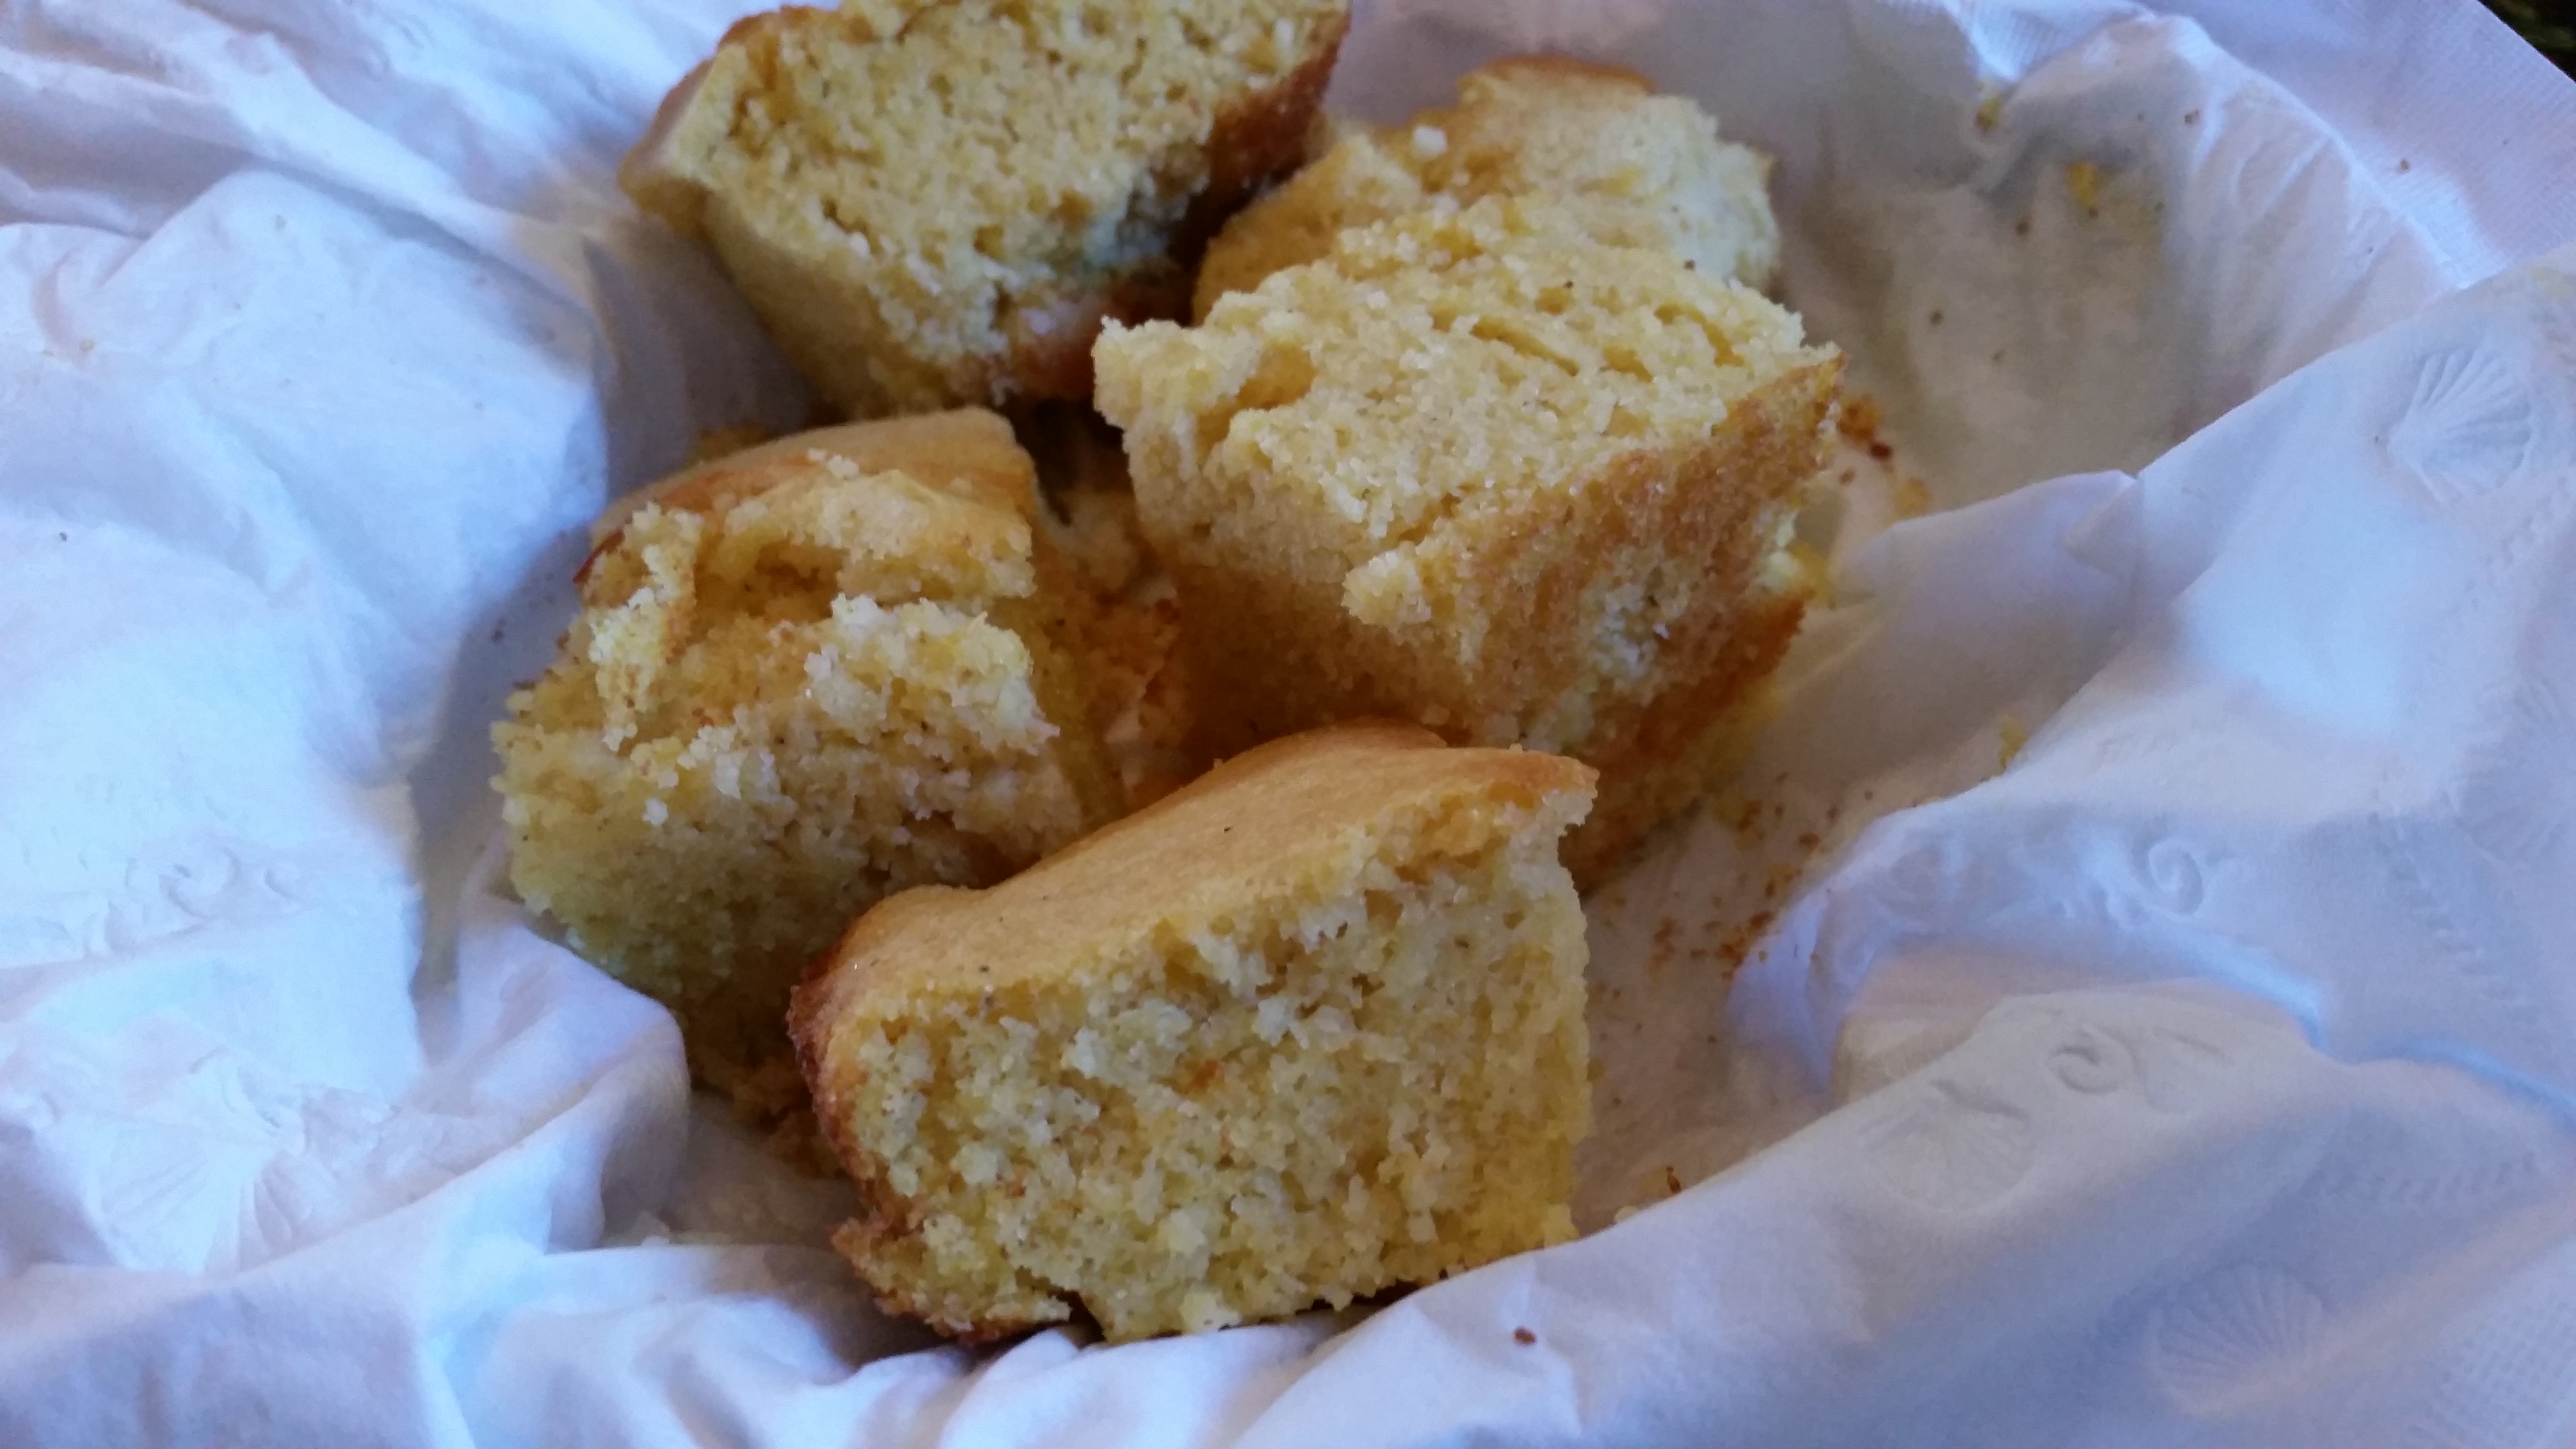
Nice crumb!
Easy Cornbread
1½ Cups cornmeal
1½ Cups buttermilk
2 eggs (lightly beaten)
½ Cup all-purpose flour
2 tsp baking powder
¼ Cup butter, melted
1 tsp sugar
¾ tsp salt
½ tsp baking soda
Preheat oven to 450°F. Mix all ingredients together in a large bowl, beating for about a minute.
Pour batter into a greased 8”x8” pan.
Bake at 450° for 25-30 minutes (if you use a glass pan, you’ll need the longer time) or until golden brown. Serve warm.
*Tips for cooking with kids
1. Get all the ingredients and measuring equipment laid out before having them wash their hands and get started.
2. Make sure the surface you are using is a comfortable height for your child(ren).
3. Use aprons or smocks or clothes you don’t care about.
4.Read the ingredients and ingredients out loud with the kids BEFORE starting. Use that opportunity to make sure you have everything you need. FRom this point on, the fewer times you have to turn your back on them the better.
5. If you will be allowing the kids to measure ingredients, have them do it over a bowl that is not your mixing bowl. That way accidental overpours or spills don’t ruin your batter or dough or whatever.
6. As soon as you are done with an ingredient, close it up and get it out of the way. Many spills come from stuff left around just waiting to be knocked over.
7. Remember to have fun. This one can be a challenge for me…my little guy can be very impulsive and tends to believe that he has a better way of doing things than the instructions indicate. I am learning to hold it together and focus on recovering our recipe from whatever he’s done, but when you do get snappy (and I do), just take a deep breath and remember that you are not the only adult that has ever barked at a kid who isn’t listening or wrecking your kitchen. Keep Calm and Keep Baking, as it were.