Archive | lunch RSS feed for this section

Roasted Cauliflower and Leek Soup

1 Mar

(Reminder to vote for my piece on Watermelon Mojitos for an #EDDYS2015 Award by clicking here! Vote daily until March 15!)

Here on Long Island we are having one of the coldest winters on record. Since you can’t reasonably spend the entire winter drinking hot toddies all day — as much as the idea appeals –, the second best, more sensible and certainly more sustainable response is soup.
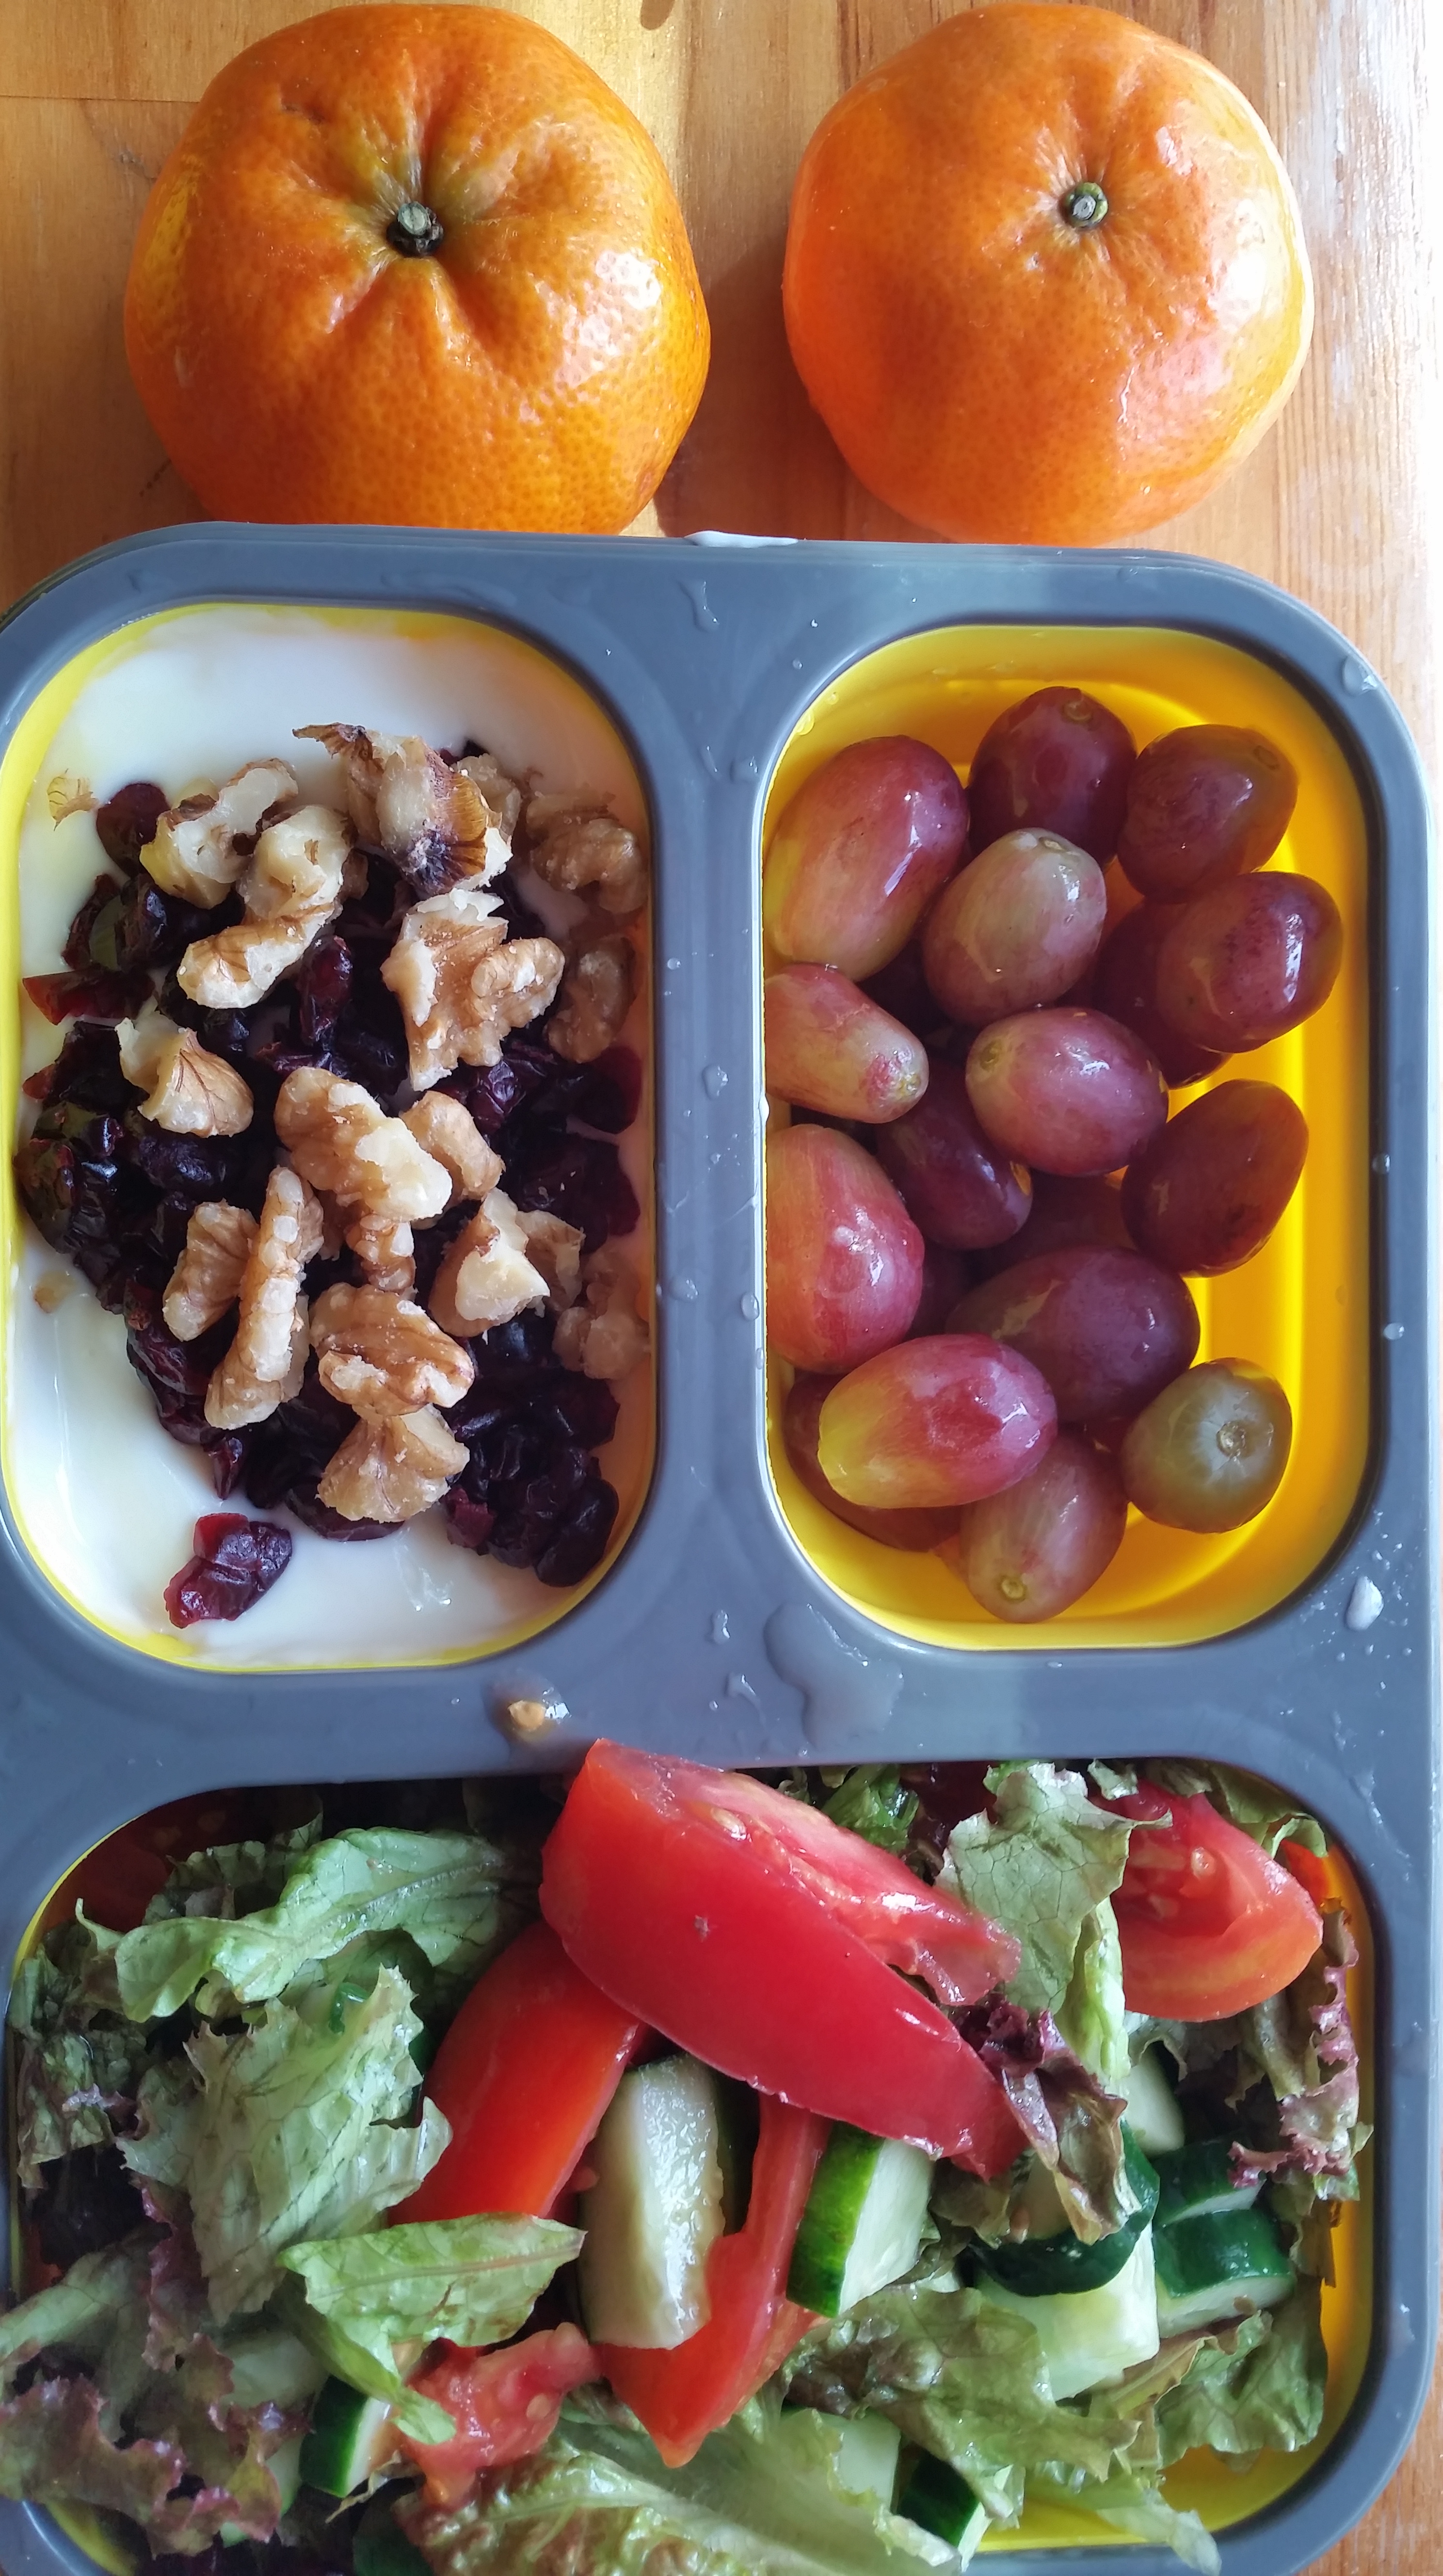
Light winter lunch

Light winter lunch

Here is an easy-peasy soup recipe that is warming and light, inspired by my dear friend Deborah Rivera Pittorino’s matchless soups at her restaurant La Cuvee Seafood & Grille in the heart of Long Island’s North Fork wine country. She shares some her recipes on her blog, The Seasoned Fork, by the way.

This recipe adds a little nuttiness (nutty flavor, not crazy person nuttiness) by dry roasting the cauliflower for 10 minutes. This amount makes four appetizer servings or two meal-size bowls and reheats really well in the office microwave for lunch!

Office lunch

Office lunch

Roasted Cauliflower and Leek Soup

3 Cups cauliflower (stems and florets, trimmed)

1 Tbs olive oil

1 Tbs butter (salted or unsalted)

3 Cups leeks, white and pale green part, carefully cleaned and sliced into ¼ inch rounds

1 Qt veggie stock (if using store-bought, choose low sodium and season accordingly)

¼-1/2 Cup milk (optional)

1 tsp mild curry powder

salt & pepper to taste

On a baking sheet or in a baking pan roast cauliflower at 400˚F for about 10 minutes (I do it in my fancy, full-service Breville toaster oven) until getting browned at the edges.

In the meantime, heat the olive oil and butter in a heavy-bottomed soup pot at medium. When the foaming subsides, add the leeks. Stirring occasionally, allow the leeks to get very soft (5-10 minutes). Add the cauliflower, stir and cook a minute or two. Add the stock, bring to a boil, then add curry, lower heat, add milk and simmer for at least 30 minutes, until cauliflower is falling apart. Using an immersion blender or (in batches) a blender or food processor, blend until you reach the desired smoothness. Season to taste and serve, topped with a dollop of plain yogurt or croutons if you like.

 You might also like

17 More Warming Winter Soups!


Healthy Teacher Starts Now

1 Sep

I don’t relish having to wake up at 5:30 a.m. again, after a long summer of sleeping ’till (gasp!) 6:30, but a new semester brings its own small pleasures. Meeting new students, seeing cherished colleagues again, embarking on new projects on campus…and…a little more structure to my eating habits.

Our classes in the LINCC program are long: three to five hours five days a week for 15 weeks (plus all the prep and meetings that happen outside the classroom hours), so there’s a 20-minute break for snack and then once class is over I eat lunch. We have a fridge and a microwave and so it’s convenient for BYOFood and for avoiding between meal noshing.

For some reason my smartphone images sometimes end up sideways....but you get the...picture

For some reason my smartphone images sometimes end up sideways….but you get the…picture

In anticipation of back-to-school I got some bento boxes and have already prepared my lunch for tomorrow (the grandparents have taken Leandro to a powwow today so I could collect myself!) and I am sharing day one’s meals with you!

Happy Back-To-School everyone. If I am not too frantic, I will share my little guy’s first day of Second Grade (!) lunch bento….

New Favorite Nosh: Tomato and Cucumber Sandwich!

19 Aug

This is barely a recipe, but it’s what I have been eating for breakfast and lunch (and sometimes in between with a cup of tea).


I like it with rye toast (shown here), but it reaches its apex with white bread....

I like it with rye toast (shown here), but it reaches its apex with white bread….

Toast and butter two slices of bread. Layer thinly-sliced cucumber (peeling is optional) and tomato – preferably fresh from the garden – on the bottom slice. Sprinkle with salt and top with the second slice. Cut in half and eat!


Awesome Black Bean, Black Olive, and Couscous Burgers (baked, freezeable)

10 Aug

We love a good Black Bean Burger around here, seven-year-old boy included. I make many variations and make bigger batches than I need so I can freeze them. Usually I bake first then freeze, but with this one I am experimenting with freezing uncooked. So far so good; I took two out today and baked them and we loved them!

Froze them on wax paper and then when set, I put them in a freezer bag with was paper separating them

Froze them on wax paper and then when set, I put them in a freezer bag with wax paper separating them

I haven’t yet told the little man that there were olives in his burger. Maybe I won’t tell him at all; kids are funny and he might decide he didn’t like them after all, or become suspicious of everything I put in front of him. Hmmm. Anyhoo, these were really delicious and filling and I am glad to have another six in the freezer for a rainy day!

Oh yes! Black Bean Burliness!

Oh yes! Black Bean Burliness!

Black Bean Burgers with Couscous and Black Olives

1 Tbs extra virgin olive oil

1/2 Cup onion, chopped fine

¼ Cup green cubanelle (Italian cooking) pepper, diced

3-4 cloves garlic, chopped

1 Tbs cumin powder

1 Tbs Adobo powder

20 pitted black olives, chopped

2 Cups beans (soaked) or 2- 15 oz. cans, rinsed and drained

½ tsp salt

1/2 Cup fine (not Israeli) couscous (you could use two Cups prepared quinoa instead)

2 eggs

(optional ¼ Cup white flour)

Preheat oven to 375°. Line a rimmed baking sheet with foil and grease lightly.

Warm oil in a large skillet at medium-high until rippling. Add onion and coat, then lower heat to medium, add green pepper, and sauté until translucent and tender, about 5 minutes. Add garlic and sauté another minute, followed by cumin and cook another minute.

You may want to add beans to skillet for further cooking and softening (add ¼ Cup water at a time for greater tenderness).

In a bowl, mash beans into a thick paste (use a fork, potato masher or ricer). Add cooked vegetables, egg, couscous, and olives and season with salt (and pepper if desired). Shape into four generous burgers (or eight small ones) with your hands (don’t mess with it too much). If you find it much too wet, mix in the optional flour and then place on baking sheet and bake for 10 minutes on one side, 10 on the other and then a five on the first side. Serve with thinly sliced red onion, sliced avocado, sliced tomato and Sweet Roasted Red Pepper Dipping Sauce,  and Hot, Cheap & Easy’s number one post ever: Sauteed Onions and Mushrooms Burger Topper Extraordinaire if desired.

Juicy Lamb and Beef Burgers

10 Jun

We love lamb in this house, from grandparents to grandkid. But admittedly, the more gamey flavor of lamb is not for everyone.

Dad, working with his very nice camera) photo by Pedro de Cuba

Dad, working with his very nice camera) photo by Pedro de Cuba

This recipe, put together by my dad, Pedro, master of burgers, mixes lamb and beef, so the flavor is more subtle.

Sub in green onion if you like!

Sub in green onion if you like! Photo by Pedro de Cuba

The curry and cumin provide a sweet headiness as does the garlic. Remember to turn just once on the grill and not to press down on them; you don’t want to squeeze out the juiciness!

Grill as you would a regular beef hamburger (don't squeeze out the juices!)

Grill as you would a regular beef hamburger (don’t squeeze out the juices!) Photo by Pedro de Cuba

My son ate them on a bun with ketchup, while the rest of us had them as salad toppers with garbanzos. Give them a try! Awesome riff on a BBQ favorite.

Make em any shape you want!

Make em any shape you want! Photo by Pedro de Cuba

Lamb Burgers (makes 8 generous burgers)

1 lb ground lamb

1.5 lbs. ground beef

5 cloves garlic, minced

1 medium onion, chopped fine

1 egg, slightly beaten

1 Cup plain breadcrumbs

1 Tbs curry powder

1 tsp ground cumin

¼ tsp red pepper flakes (dried)

¼ tsp pepper

1 tsp salt

In a large bowl, mix all ingredients together thoroughly, but trying not to overwork the meat.

Divide into desired size of burger. Grill 4- 5 minutes on each side (don’t press down as you don’t want to lose the fat!) to desired doneness. Serve as you would regular hamburgers or serve as patties with couscous, veggies, yogurt sauce, in the Mediterranean style.

Perfectly Simple Sauteed Mushrooms (5 ingredients)

12 May

The warmer weather calls for simpler fare, meals that are tasty and uncomplicated and straightforward.

I sizzle the roast garlic in the oil

I sizzle the roast garlic in the oil

These mushrooms are just that – similar to the classic Spanish tapa champiñones al ajillo, but quicker and easier.

Into the skillet. They suck up the oil at first, but do not be alarmed. They get a bit of char and then you add the wine and they release their juices.

Into the skillet. They suck up the oil at first, but do not be alarmed. They get a bit of char and then you add the wine and they release their juices.

Thanks to Valerie from the Farmingdale Music Center, I had a container of delicious home-roasted garlic to lend a bit more complexity, but regular raw garlic will work just fine.

Yum

Yum

We had these on the side for Mother’s Day…they were a great accompaniment to grilled sirloin steak

Salt and pepper crusted sirloin

Salt and pepper crusted sirloin

and our first local asparagus of the season from Sang Lee on the North Fork of Long Island.

The kid's contribution to the menu

The kid’s contribution to the menu


Simple and delicious

Simple and delicious

Basic sauteed mushrooms

1 lb mushrooms, wiped and woody stems removed

1-2 Tbs extra virgin olive oil

1 Tbs roasted garlic or minced raw garlic

A glug or two of red wine

Pinch of salt

Sprinkle of parsley (optional)

Make sure mushrooms are clean (wiping them takes longer than rinsing, but helps them look nicer)

Heat olive oil and garlic together to medium high. Add mushrooms and cook, stirring to coat. When the mushrooms begin to get tender, add red wine and allow to bubble until mushrooms begin to release their own juices (a minute or two). Season with salt and parsley and you’re set!

Spaghetti alla Carbonara with Peas (Fast, Easy, Delicious)

3 May

Spaghetti alla carbonara is one of those generous, forgiving dishes that doesn’t require too many ingredients, too much thought, or too much accuracy to be perfect and feel like a treat. In honor of Spring (and some very good Niman Ranch bacon I happened to have that happened to need finishing up), I banged some together with peas.

I love the smell of bacon in the morning

I love the smell of bacon in the morning

Although the flavor is completely different, anyone who is fond of split pea soup with ham or tortilla torcal or pasta with ham and peas (pasta e piselli) will appreciate the affinity that peas and pork have for each other and that’s why I like this combination. (Click here for another version of carbonara with butter and no peas). I played around with a Tyler Florence recipe for this.

Look at the amazing color on the Restoration Farm eggs...use fresh for this recipe

Look at the amazing color on the Restoration Farm eggs…use fresh for this recipe

It also reheats pretty well in the office microwave, which is part of my cooking criteria these days!

I use my cast iron skillet for this dish

I use my cast iron skillet for this dish

Spaghetti alla Carbonara with Peas (serves four)

1 Lb. dry spaghetti

½-1 Cup frozen peas

2 tablespoons extra-virgin olive oil
4 ounces thick cut bacon, sliced into chunks (a nice smoky bacon adds a lot of personality)
4 garlic cloves, finely chopped
2 large eggs (as fresh as possible)
1 cup freshly grated Parmigiano-Reggiano or Grana Padano or other grating cheese, plus more for serving
Freshly ground black pepper

Handful chopped parsley (optional)

Prepare the pasta according to package directions, while you get the other ingredients ready.

About four minutes before the pasta is done, drop the peas in and stir.

Reserve ½ Cup pasta water before draining. You want to time it so that the eggs are ready to pour when the pasta is still really hot because the heat of the pasta is what is going to cook them.
Meanwhile, heat the olive oil in a deep skillet at medium heat until Add the bacon saute for about crisp, stirring frequently. Toss the garlic into the fat and saute to soften. Meanwhile, beat the eggs and cheese together in a mixing bowl, stirring well to prevent lumps.
Add the hot, drained spaghetti to the pan and toss quickly to coat the strands in the bacon fat. Remove the pan from the heat and pour the egg/cheese mixture into the pasta and take it off the heat to avoid scrambled eggs. Stir quickly with a big fork until the eggs thicken, but do not scramble. Thin out the sauce with a little at a time of the reserved pasta water, until it reaches desired consistency.

Season the carbonara with several turns of freshly ground black pepper and taste for salt. Serve in warm bowls and garnish with chopped parsley and extra cheese.


Home-Made Hummus: Easy, Delicious, and Versatile

29 Mar

I haven’t made my own hummus in a while; laziness, really. I used to make it regularly and it was a terrific go-to for quick lunches as well as unexpected guests. But there are quite a few on the market that I like well enough to forget how much better it can be when you make it yourself.

As easy as pushing a button.

As easy as pushing a button.

But I had several cups of chick peas that I had soaked and needed to do something with.

I considered making falafel, but what I really need in my fridge right now is something to help me get through Lent with no cheese. (I gave it up for this pre-Easter period of mindfulness and have found it somewhat trying not to be able to just reach for a slice of something salty, creamy and filling whenever I am feeling peckish. While on a spiritual plane it is reminding me to be grateful for all the abundance that is in my life, I am also realizing how much of my son’s dinners and leftovers I have been snacking on. I had no idea how routine it has become for me to nibble on his cheesy pastas or melted cheese tortilla chips while making food or washing up. Wow.)

Ready to be stored in the fridge

Ready to be stored in the fridge

Continue reading

Splayed Roast Chicken (adapted from Melissa Clark)

2 Mar

I had a craving for a roast chicken and Stop & Shop had a sale on whole organic birds and it was a rare lazy Saturday with almost nothing on the schedule…so the stars aligned and I got to planning a proper weekend lunch for me and my boy. I have several terrific roast chicken recipes (see links below), but wanted to try something new and I seemed to remember that the New York Times’ Melissa Clark was roasting birds in a new way.

I really enjoy Ms. Clark’s recipes and short videos. Her techniques tend to be very simple and unfussy and I have gotten many good ideas from her work. I would like to do something similar for Latin and Puerto Rican cooking…who’s in?

Cutting the skin to release the legs (photo by Leandro de Cuba)

Cutting the skin to release the legs (photo by Leandro de Cuba)

A quick Google search got me to her video on splayed chicken and I was inspired! PLEASE NOTE: I had a big issue with my oven smoking, but the end result was so amazing that me and the boy agreed it was worth doing again, even though I had to shut him in the bathroom with the fan on and the window open and my eyes streaming and opening more windows to the frigid temperatures outside.

Herbs!

Herbs!

Mind you, I rarely use my tiny apartment stove because it sucks — uneven cooking, imprecise temperature settings, no indication of when you’ve reached the temperature that you want, just awful – and I head down to use my parents’ whenever I want to roast or bake or broil anything that doesn’t fit in my fancy toaster oven.

Into the skillet. Raw whole chicken always looks vaguely sordid to me. I popped this one right into the oven before it got to me...

Into the skillet. Raw whole chicken always looks vaguely sordid to me. I popped this one right into the oven before it got to me…

So it may very well have been a function of unmentionable stuff burning toxic something that I don’t really want to think about, but I had to lower the heat a bit towards the end which helped somewhat and the child kept himself busy in the bathroom until the air had cleared out the windows. I don’t know why the smoke alarm didn’t go off, which is also worrying…I will be writing to Ms. Clark to ask her if this has ever happened to her and will keep you posted on her response. Continue reading

Yes! BAKED Broccoli, Spinach and Feta Empanadas (using store-bought disks)

24 Feb

Here is the second installment of 2014: The Year of the Empanada. After my first installment, in which I fried up my stuffings in Goya pre-made disks, I was showered with questions about whether they could be baked instead.

I wasn’t sure, but thanks Kathy Blenk for reporting back that she tried it and indeed they could!

How to pinch in those cute folds

How to pinch in those cute folds (photo Marianne Goralski)

So I decided to go for it as well (later in the year I hope to make my own, but one thing at a time) and was very pleased with the results. Continue reading