
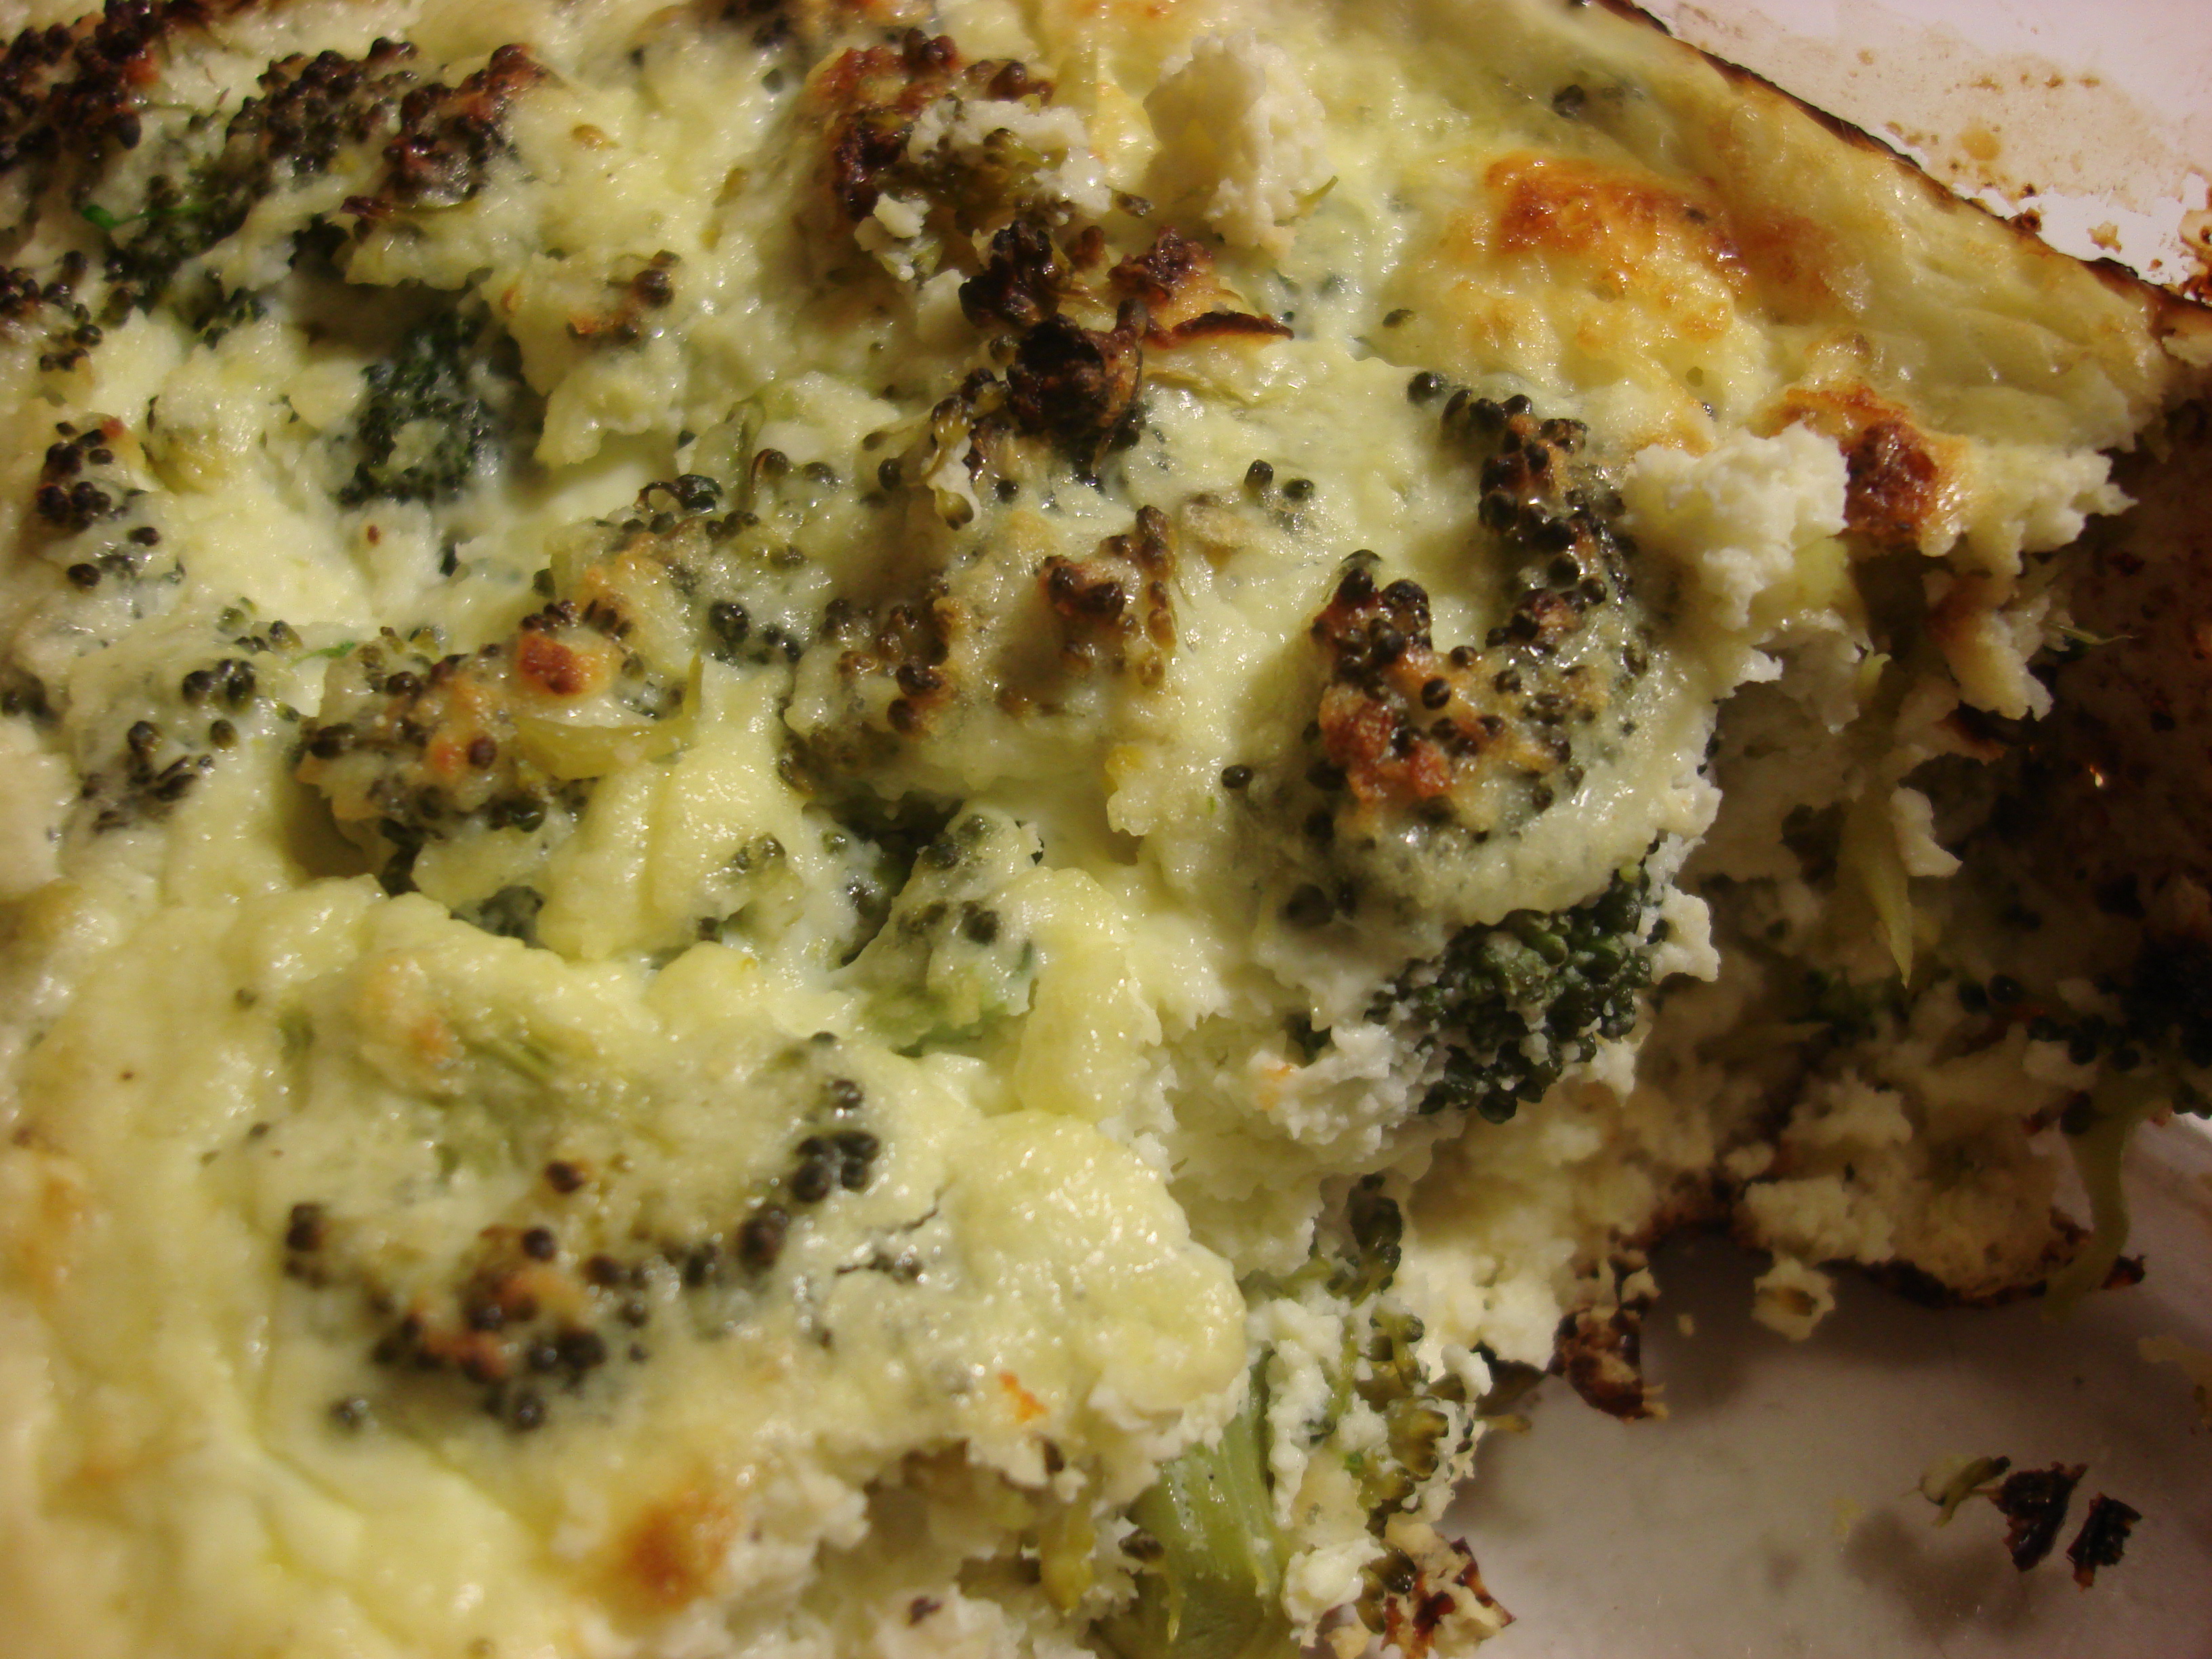
Roasted eggplant and friends on whole wheat English muffin. Don't worry about the verticality; it smushes down to a reasonable, biteable size.
Take Back the Lunch (a poem)
There are those who enjoy
spending money they don’t have,
to wait with time they don’t have,
for a food order that they don’t really love,
cooked by people who don’t love them,
to choke down
during what remains of their precious lunch hour.
I am not one of those.
Are you?
Yeah your takeaway order may be tasty and juicy, but do you really know what you’re eating?
Yeah, a $6.99 lunch special may seem like a good deal, but does it tell you how special and important you are, the way a home-cooked meal does? Of course not.
So at least once this week, try to make yourself a home-cooked lunch that gives you a nutritional hug (or make enough of it for dinner that you have leftovers the next day).
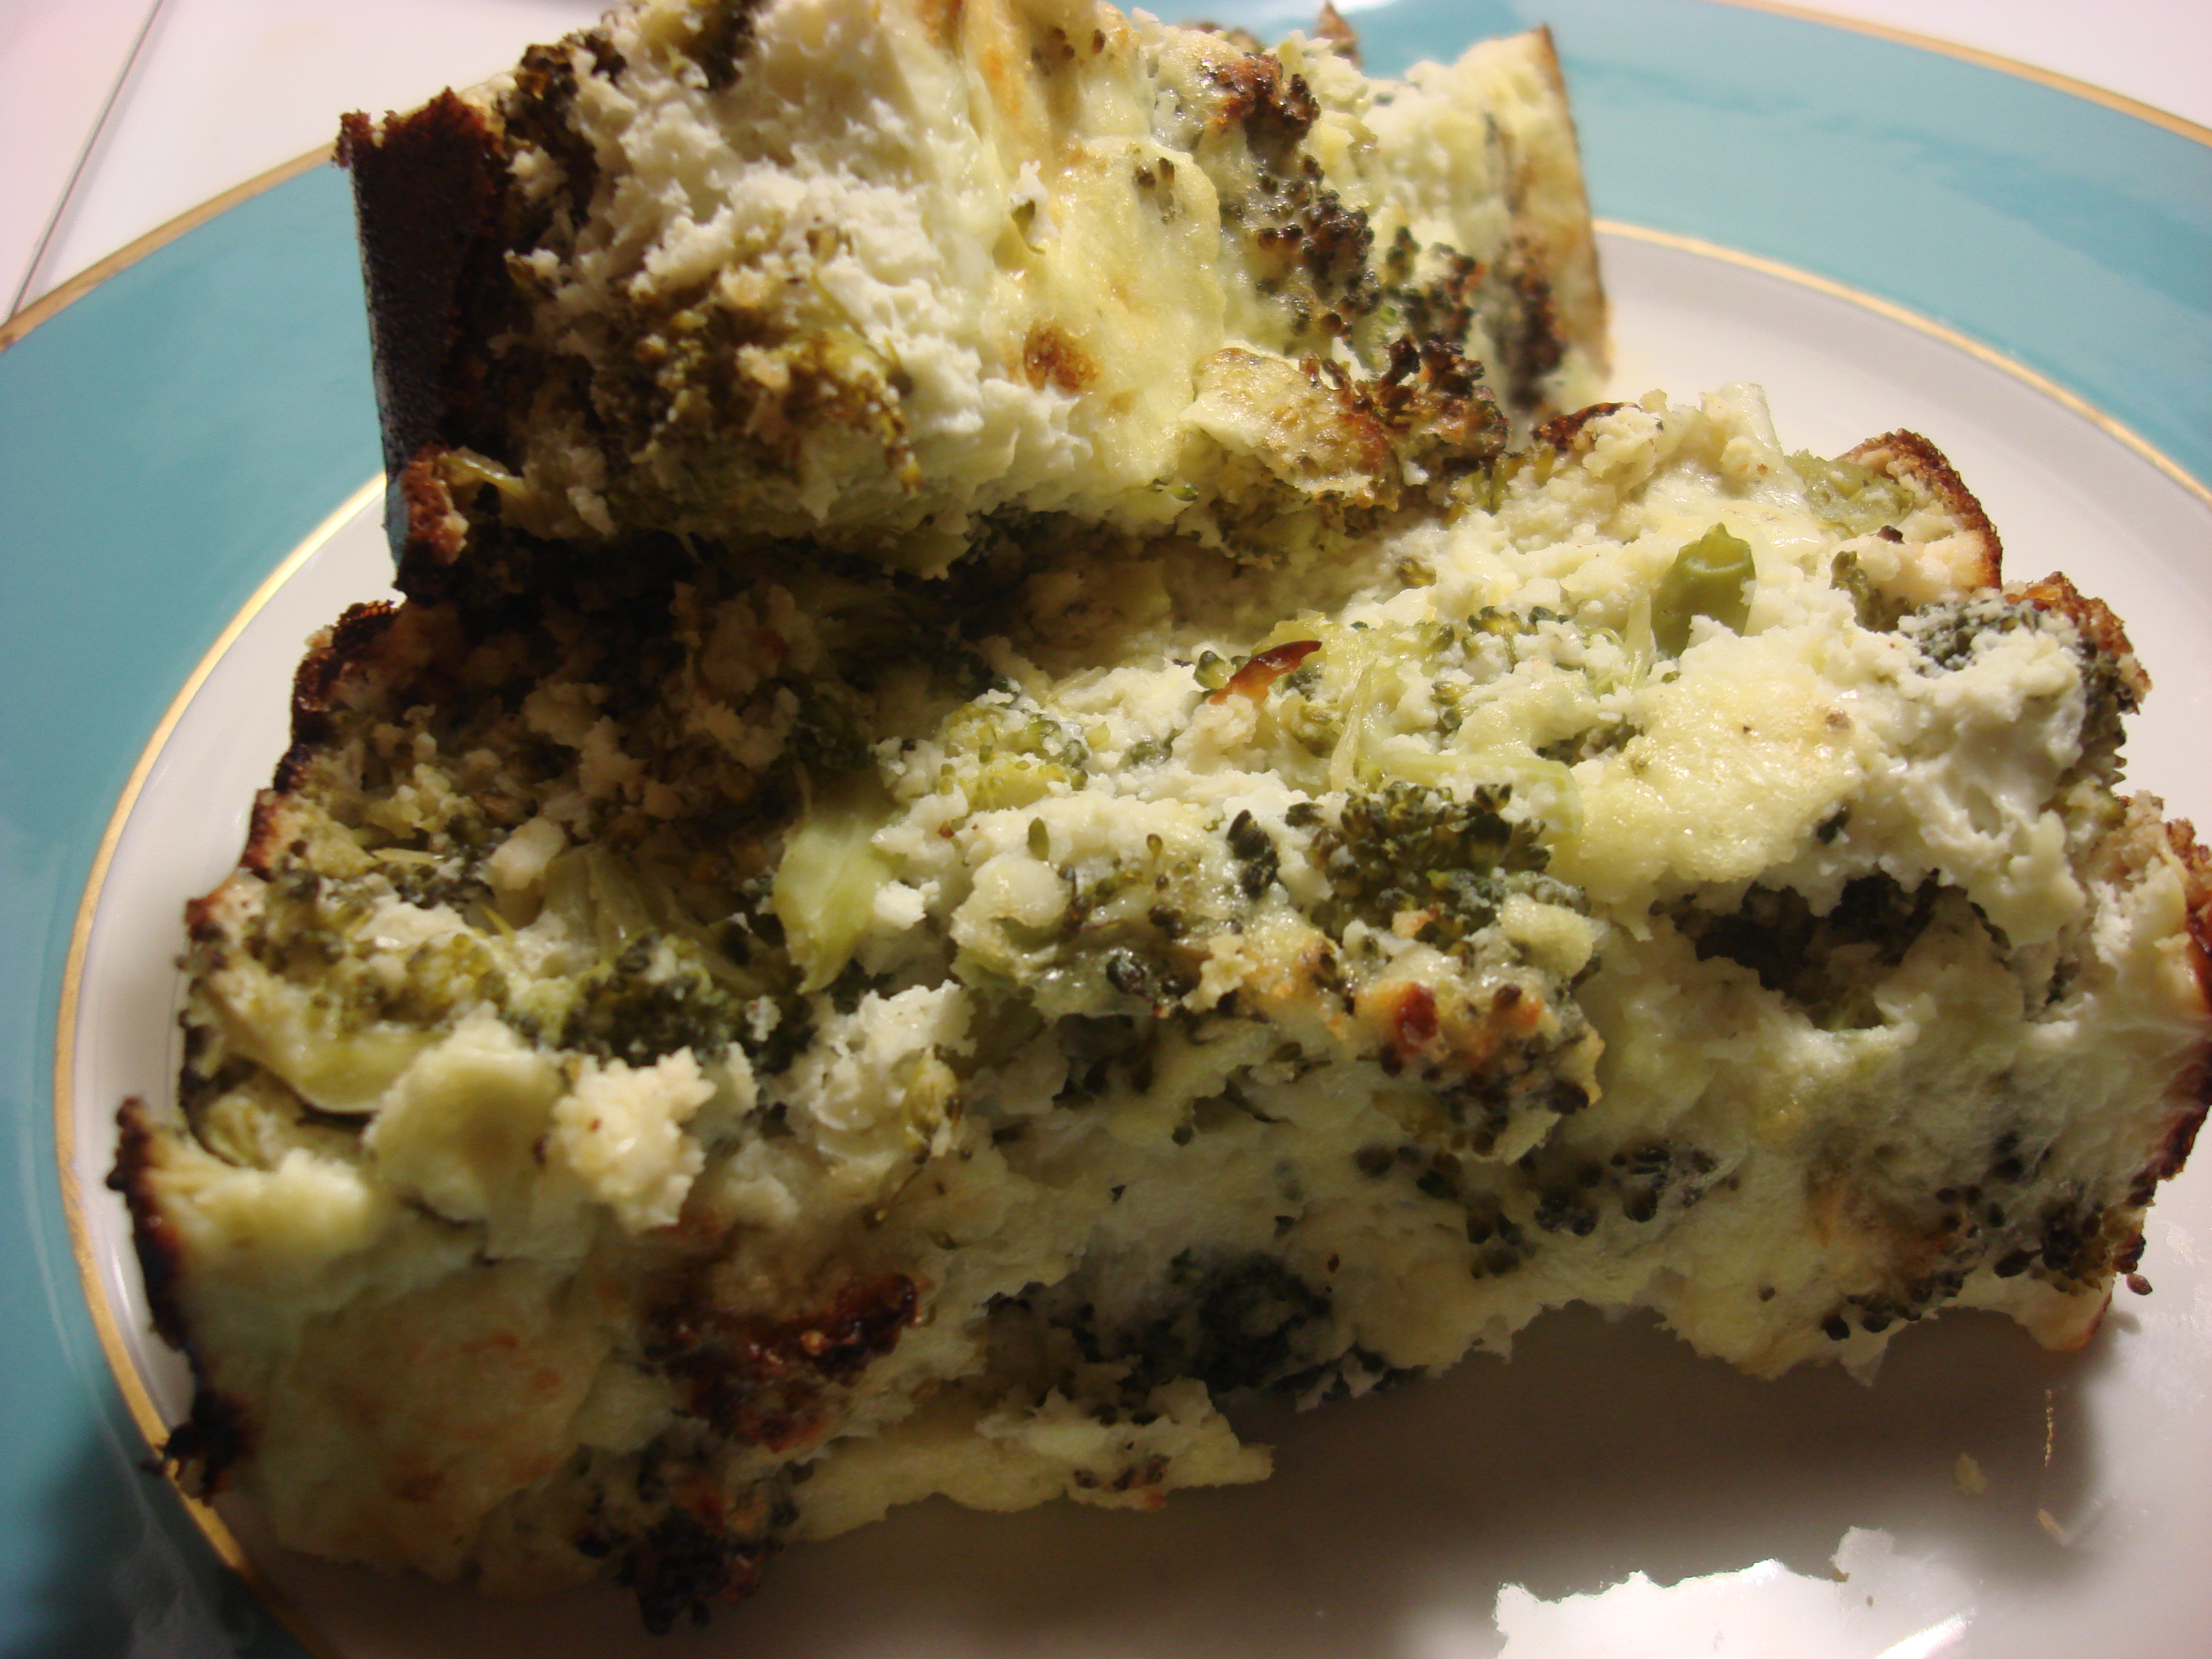
I make this pretty often in winter; it’s a cross between an antipasto and a sandwich and is pretty cheap! I am admittedly not great at crunching numbers, but if I get a pound of eggplant at $3; a 1/2 lb. of feta at $1.80 (Costco bulk); and 8 sundried tomatoes at Fairway for about $2 – I’ve paid about $7 total (plus a bit for side stuff) and then I make four meals for myself out of it…well you do the numbers and tell me it doesn’t beat the bejesus out of the steak and broccoli lunch special at Asian Kitchen…
So please, please, please…show yourself some love and try this really, really, really easy and delicious sandwich/wrap thing really soon. You can skip the bread if you are watching carbs!
Roasted Eggplant with Feta and Sundried tomatoes
1 lb eggplant (or two if you want to make extra for the week), wiped clean and sliced into ¼ inch rounds*
2 Tbsp olive oil per pound eggplant
8 oz feta cheese, sliced fairly thin
8-10 sun-dried tomatoes packed in oil. Drain slightly and slice into thin strips
(optional – if your sundried tomatoes don’t come with seasonings, use a tsp or more of dried herbs – oregano, basil, thyme, or other Mediterranean flavors are best)
Wrap-style bread, pitas or hearty thick toasted bread slices
Preheat oven to 350°. Dip eggplant into (or brush with) olive oil until well-coated. Lay eggplant as flat as possible in oven dishes and bake for 20-30 minutes, turning occasionally, until eggplant is tender (I consider this a craft that is best learned by experience. Fortunately for me, I like my eggplant slightly browned, ‘cause I always seem to cook the hell out of it before it’s truly done. Don’t worry about a bit of overcooking.)
When the eggplant is done, place a layer of rounds on your chosen bread. Top with feta and sundried tomatoes (and herbs, if desired). Roll up, if using a wrap-style bread. Toast for a few minutes in a toaster oven or under the broiler and serve (reheats well with a blast in the office microwave).
*Notes: if you have time, sprinkle the slices with a pinch or two of salt, put in a colander and put a weighted bowl on top to squeeze out extra moisture – it becomes less absorbent that way – 15-30 minutes. This step is not really necessary with really tight-skinned, firm, fresh eggplant).
I do a lot of eggplant at a time and either eat it this way all week, or strip the rounds of peel and stir into hummous or just eat it out of the fridge when I need a snack. Can be chopped and added to red sauce for pasta! You can also substitute other roasted veg.
Tags: eggplant, feta, food, recipes, roasted vegetables, sandwich, sun-dried tomatoes, vegetarian


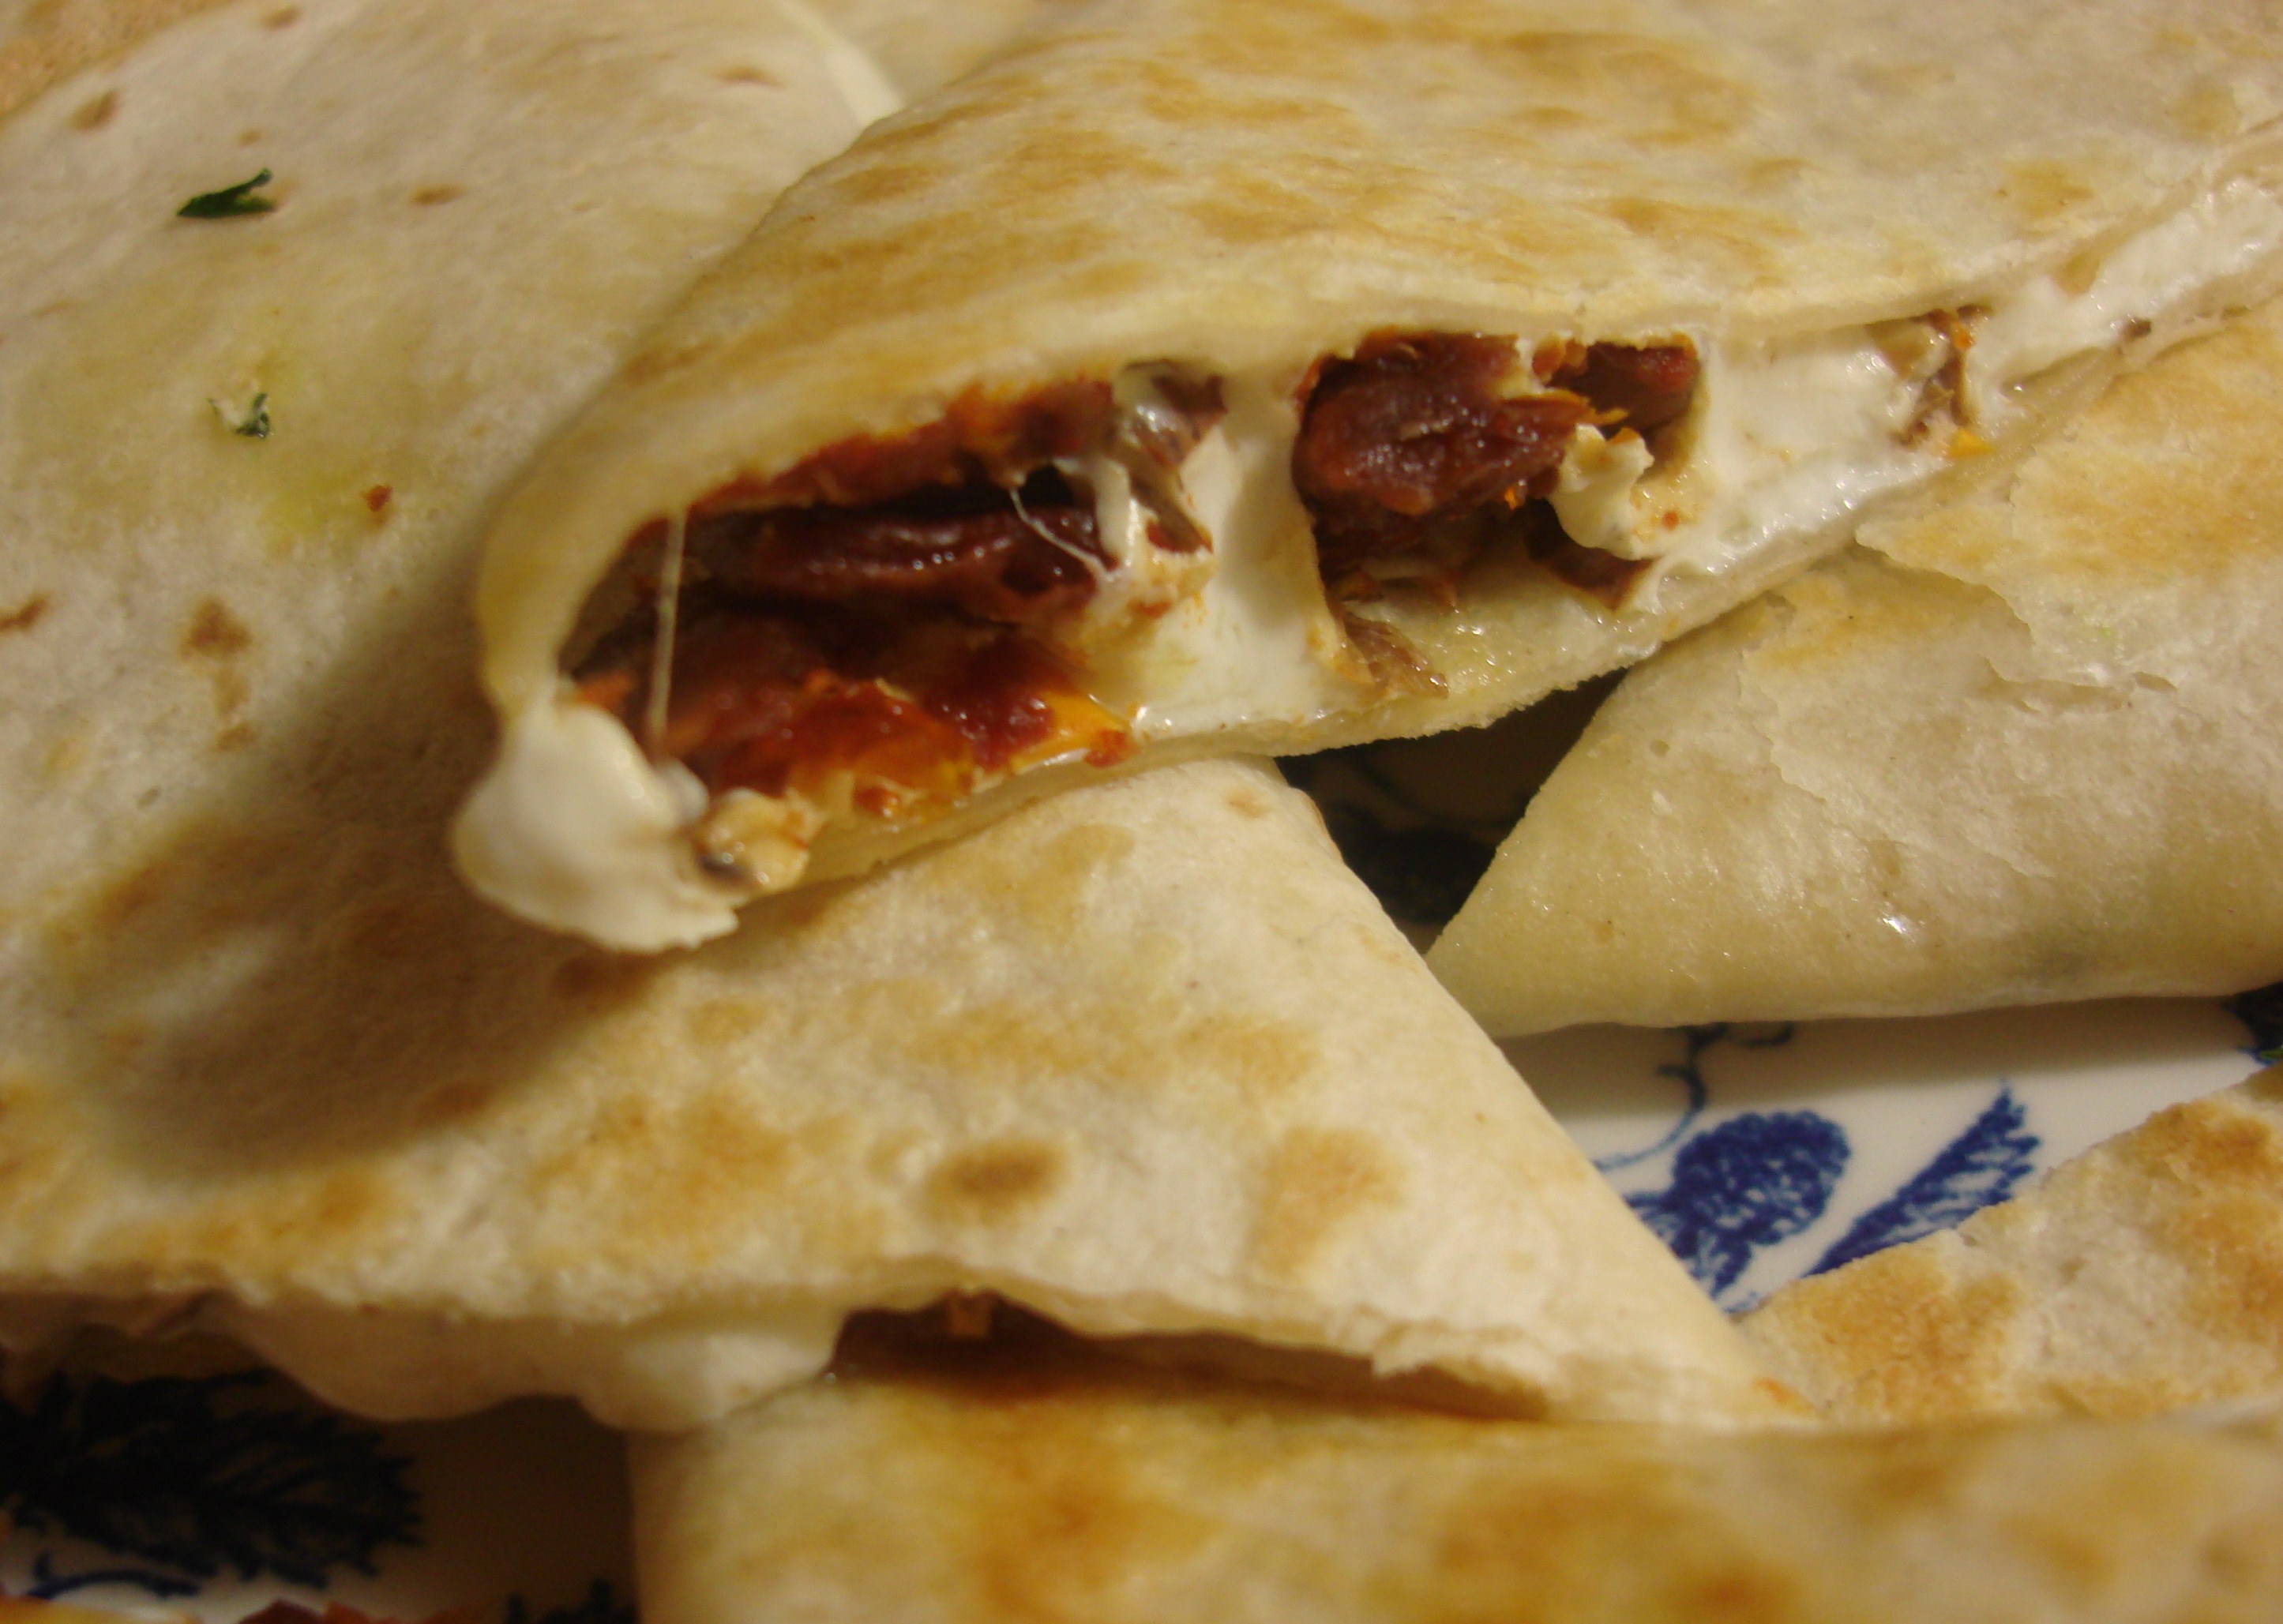
 My book club has reunited after a winter hiatus. Our first get-back-together was at mine after work and while I wanted to put on a nice spread for these women I adore, I also didn’t want to work too hard. I remembered a puff pastry snack I learned from a Spanish friend, Rosa Cassano. The combination of smoked mozzarella and sundried tomatoes in a melty package tasted astonishingly like Spanish chorizo with pimentón. I didn’t have time for puff pastry, but I figured I could melt them together in a flash on the stovetop in flour tortillas. It worked deliciously as a finger food, as the smoked mozzarella firms up very well after melting. And there truly is no meat in them, though no one will believe you…


