I got a quart of Jerusalem artichokes (Helianthus tuberosus),as a special bonus from the farm the other day and I was thrilled to get to try them.

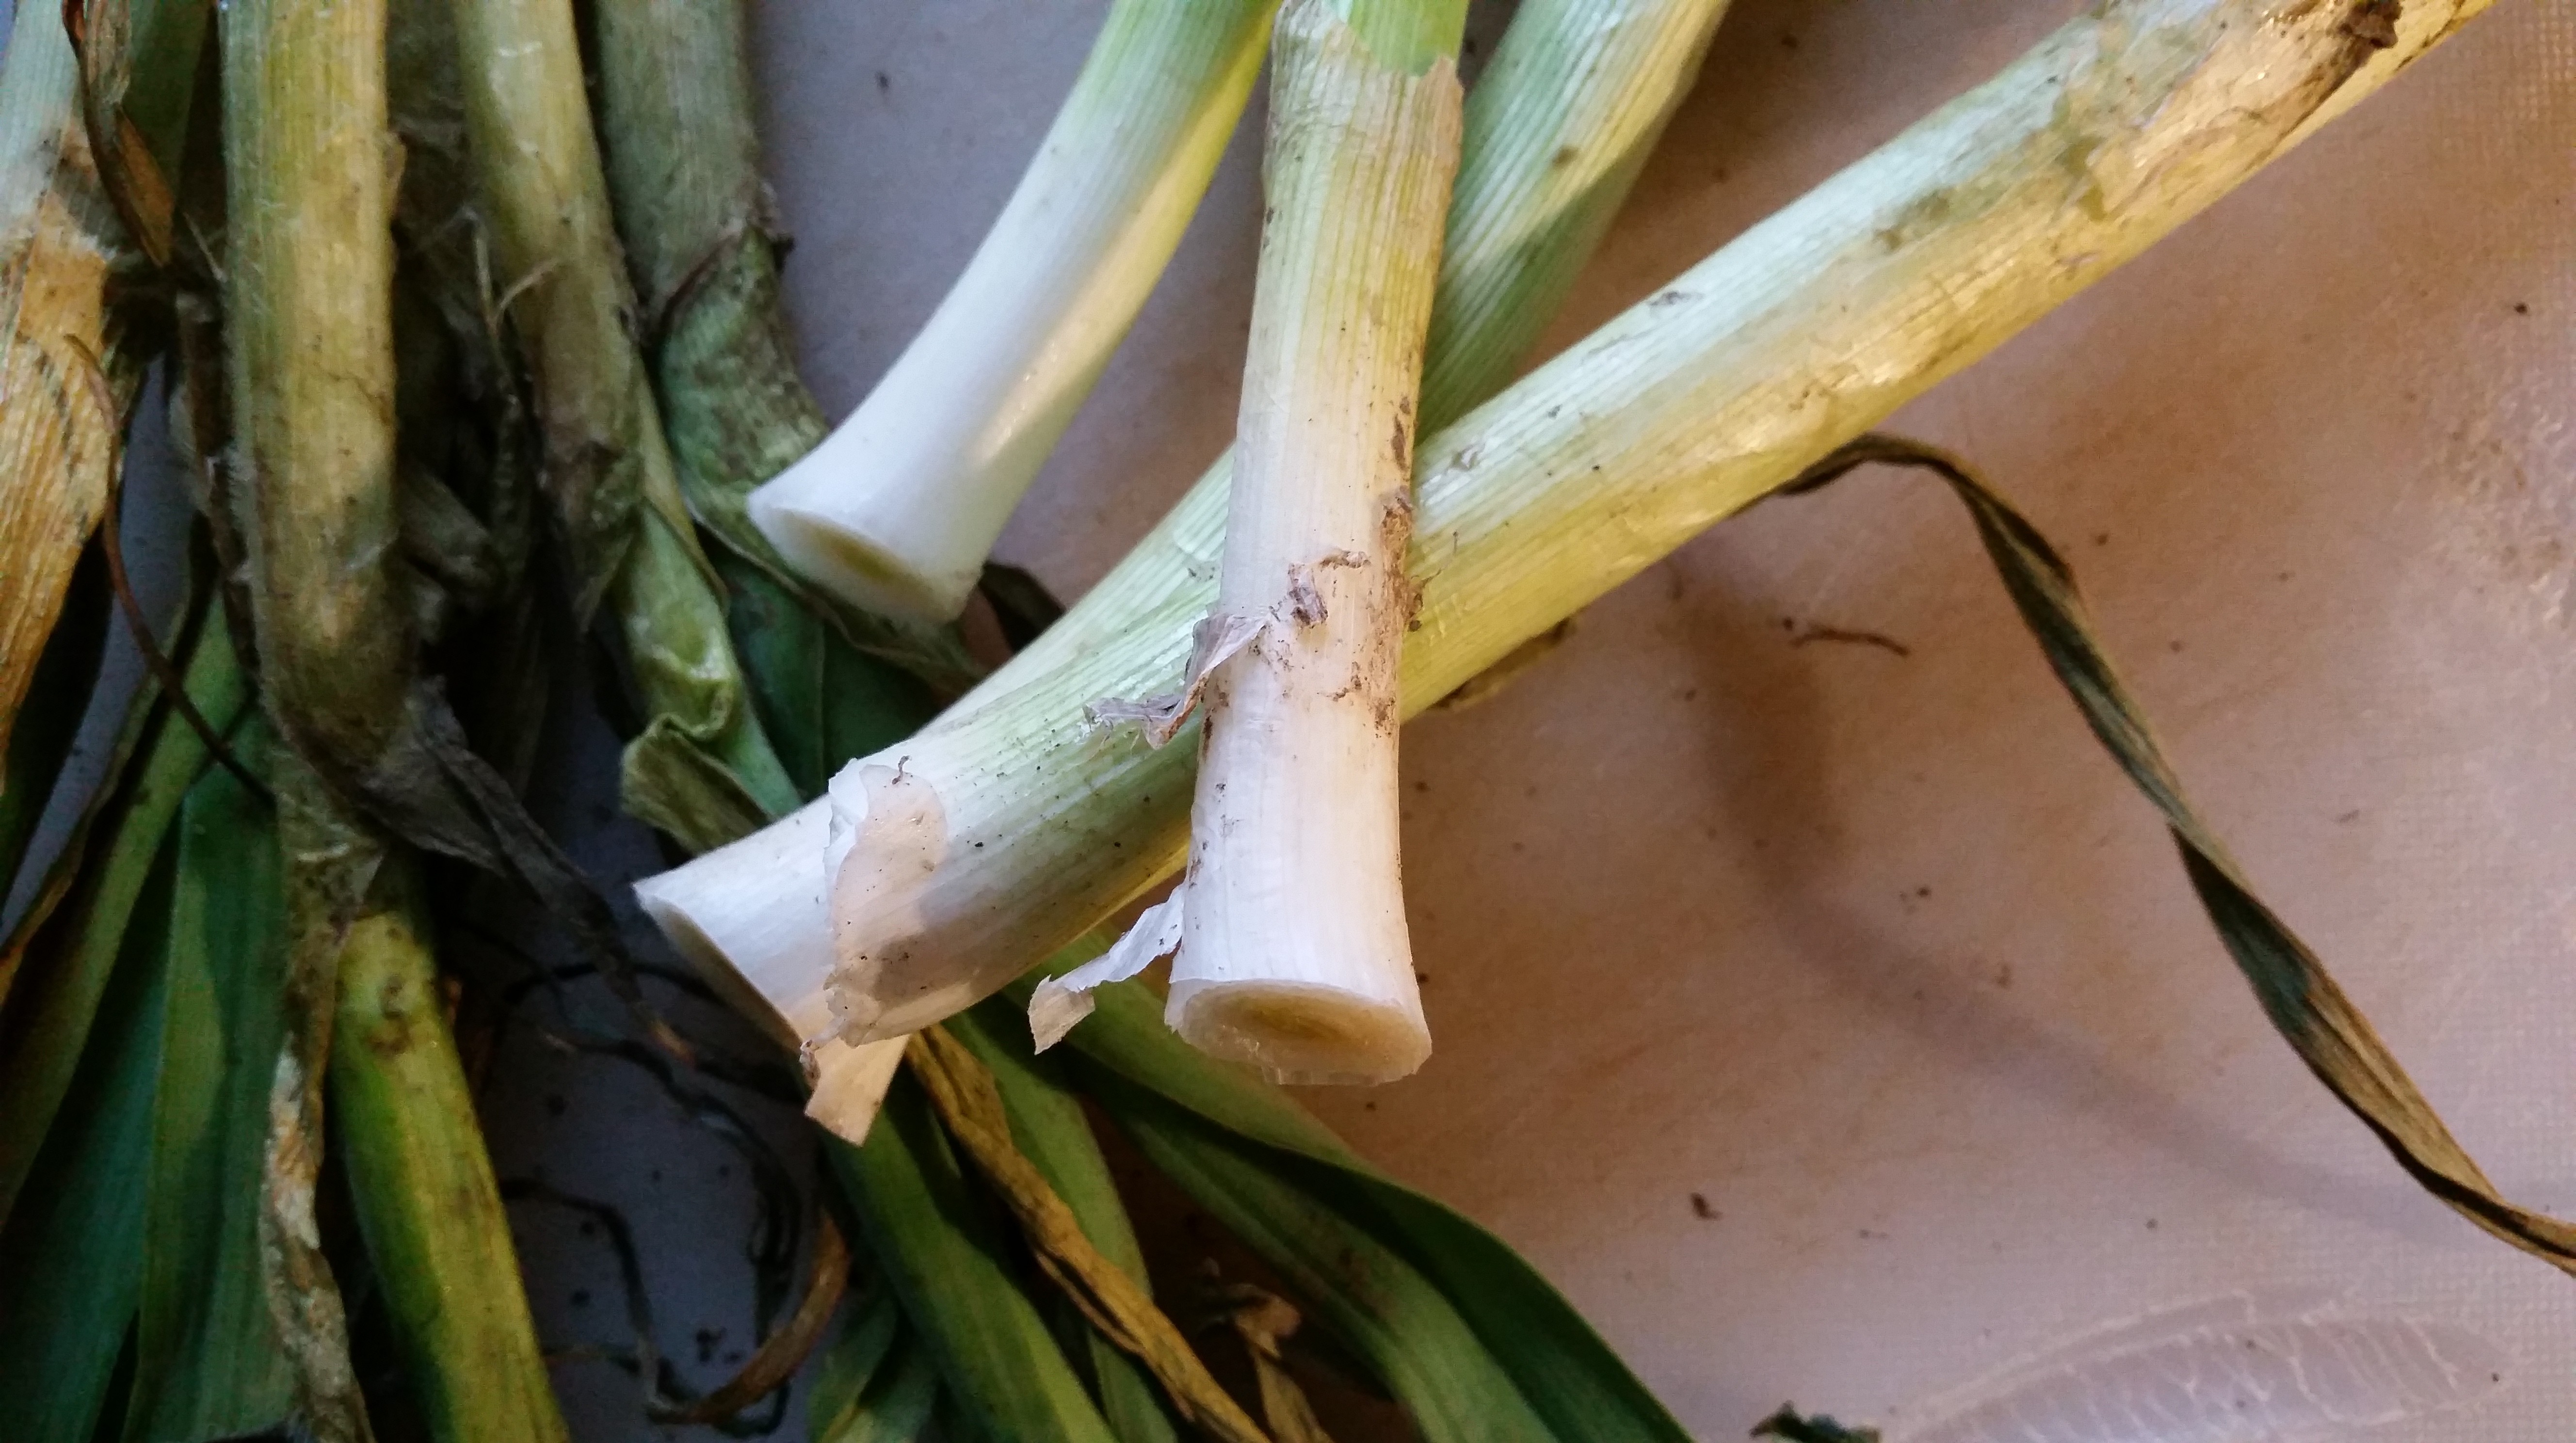
Here’s what they look like before washing
But a funny thing happened when I began to research…some articles suggested that as delicious as these roots are — favored by Native Americans back in the day and now beloved worldwide — and despite their cheery aliases — sunchokes, sunroot and earth apples — they have a dark underbelly. Emphasis on belly. The story goes that they cause gastric disturbances that no one wants to talk about, since they have so many tasty uses and currently are the darling of the foodie-rootsy set.
I took my investigation international, as my sources said the Brits in particular complained about the gas and christened them “fartichokes.” Given that the English would be unlikely to worry about the truth of such a terrific pun-type word and would happily use it with complete disregard to its relationship to actual fact, I had to corroborate.

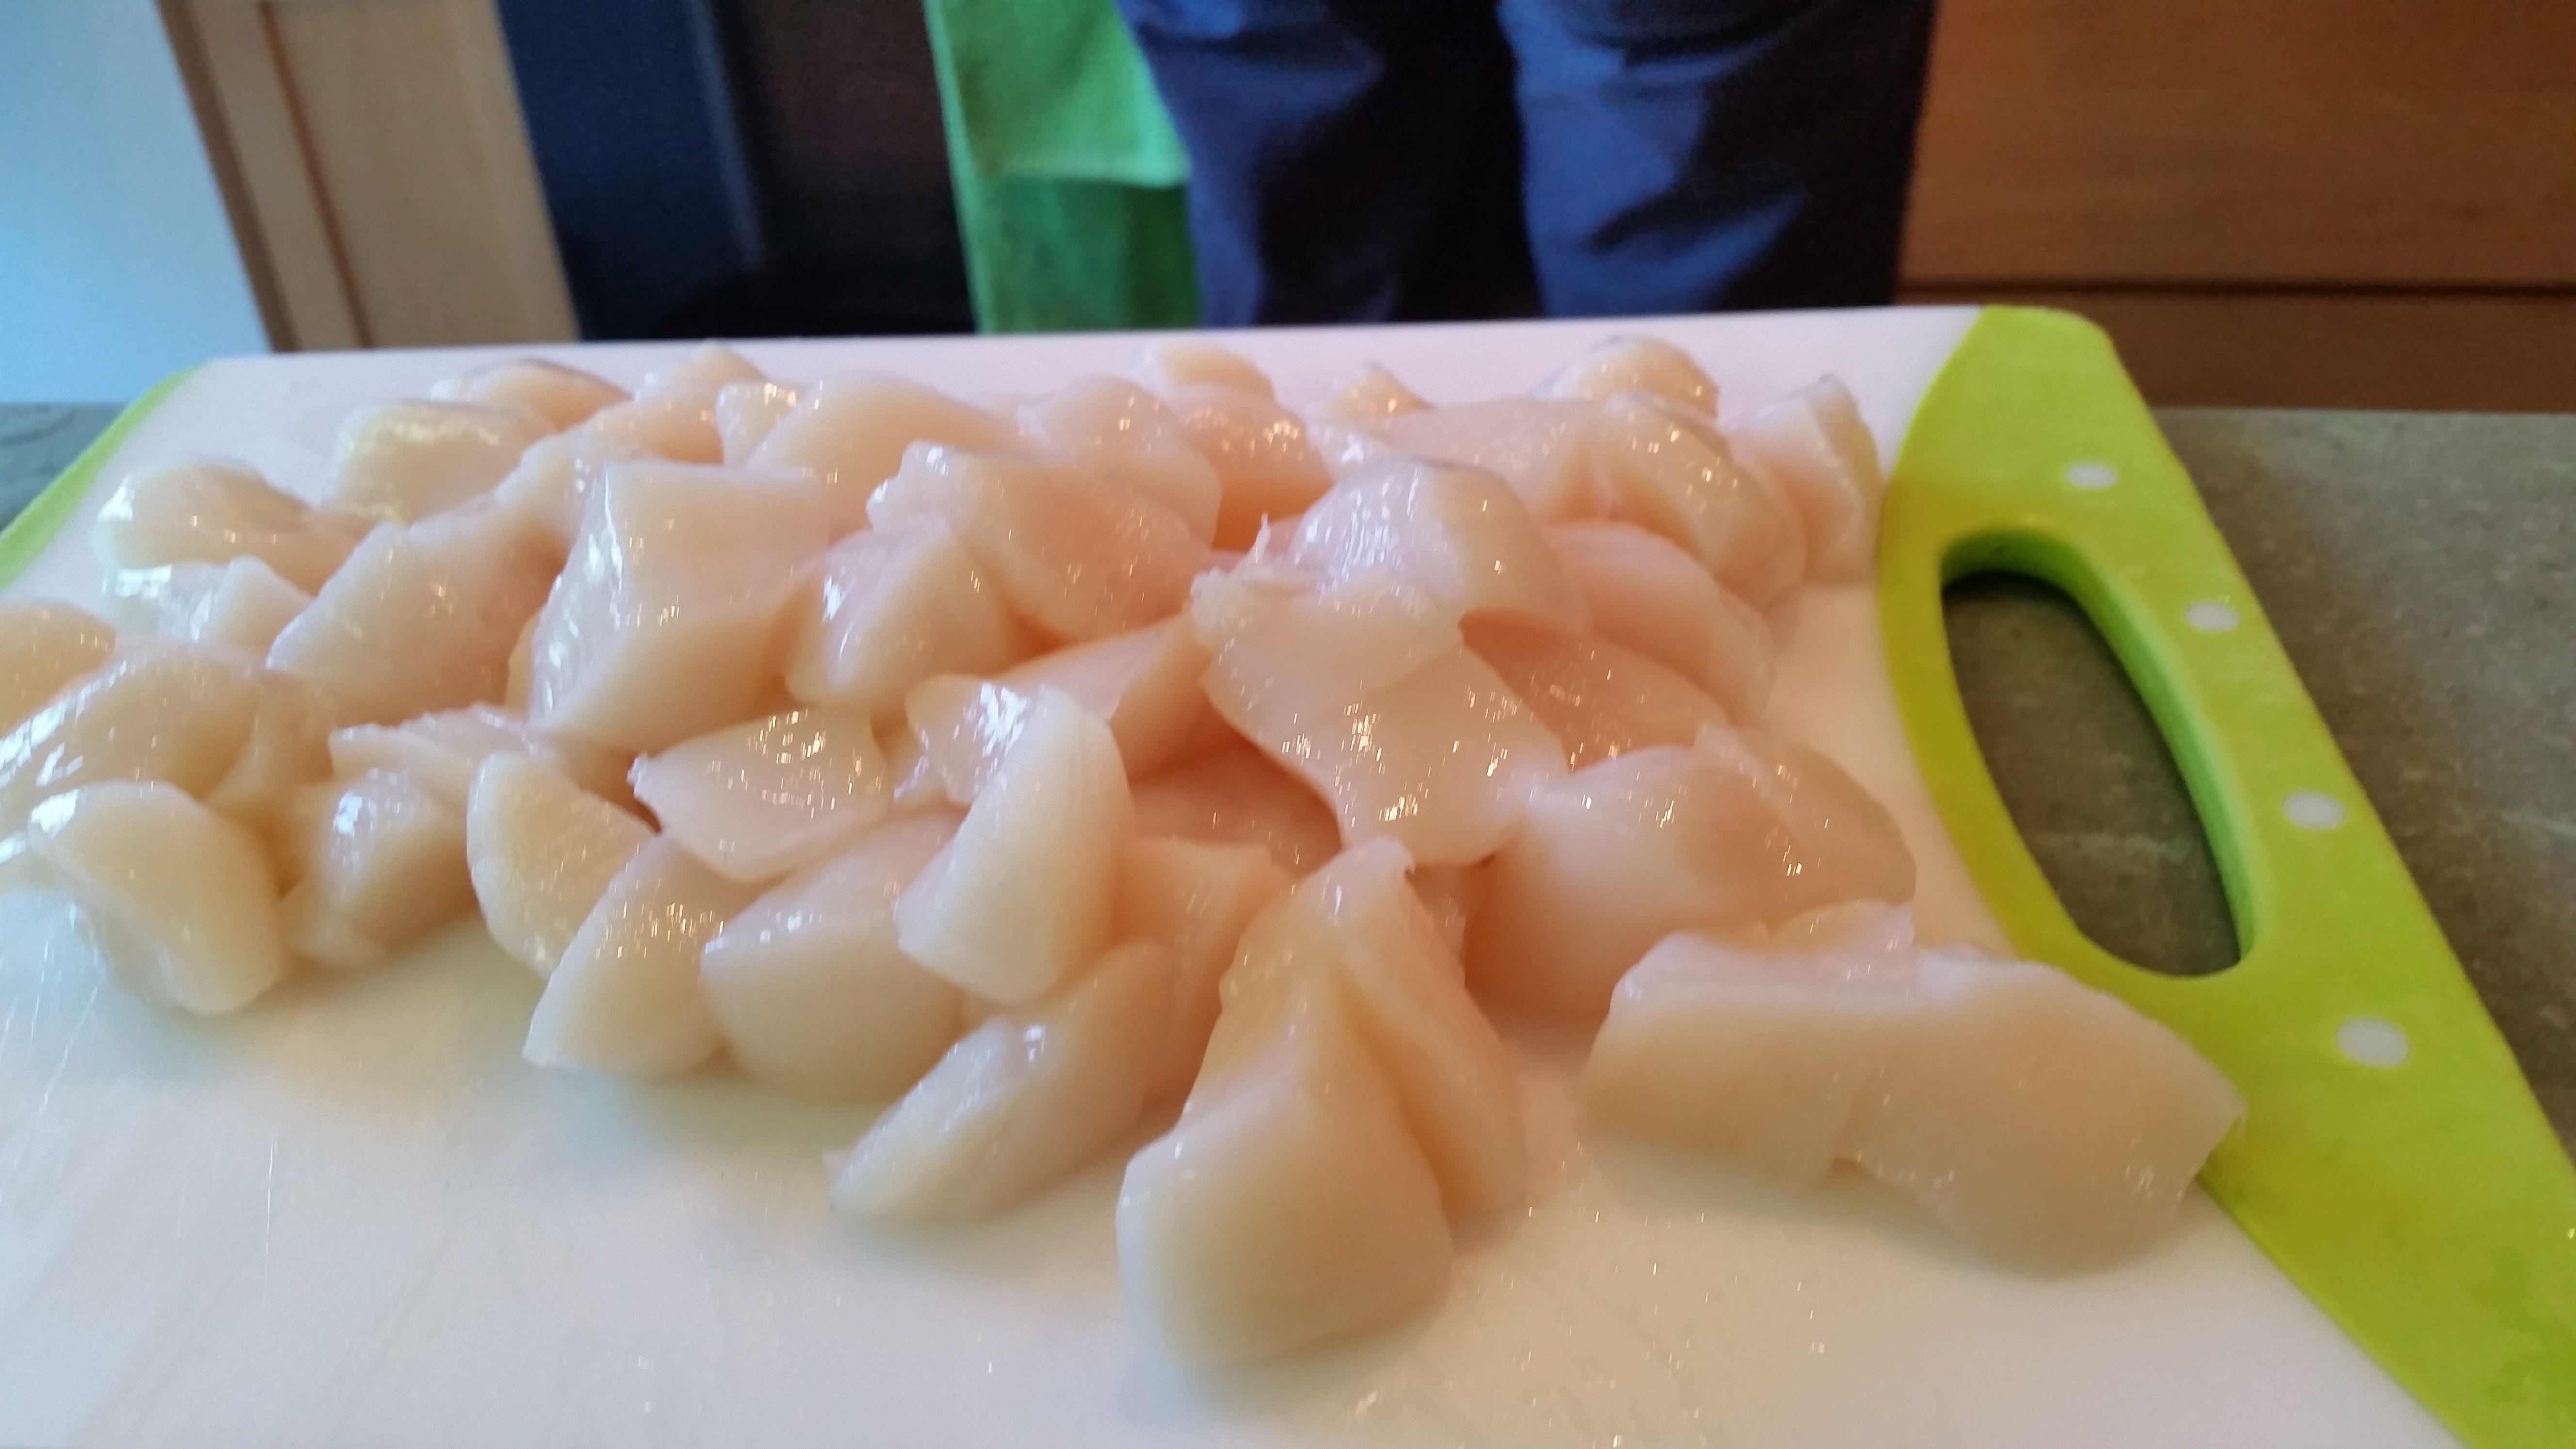
Cleaned-up Jerusalem artichokes.
My son and I got on the Skype to Lowestoft, England to ask my friend Kate and her two boys, Alastair and Gregor, who are 10 and therefore can be expected to be well-versed in anything gassy. They said no, they’d never heard such a thing, but seemed to enjoy being asked.
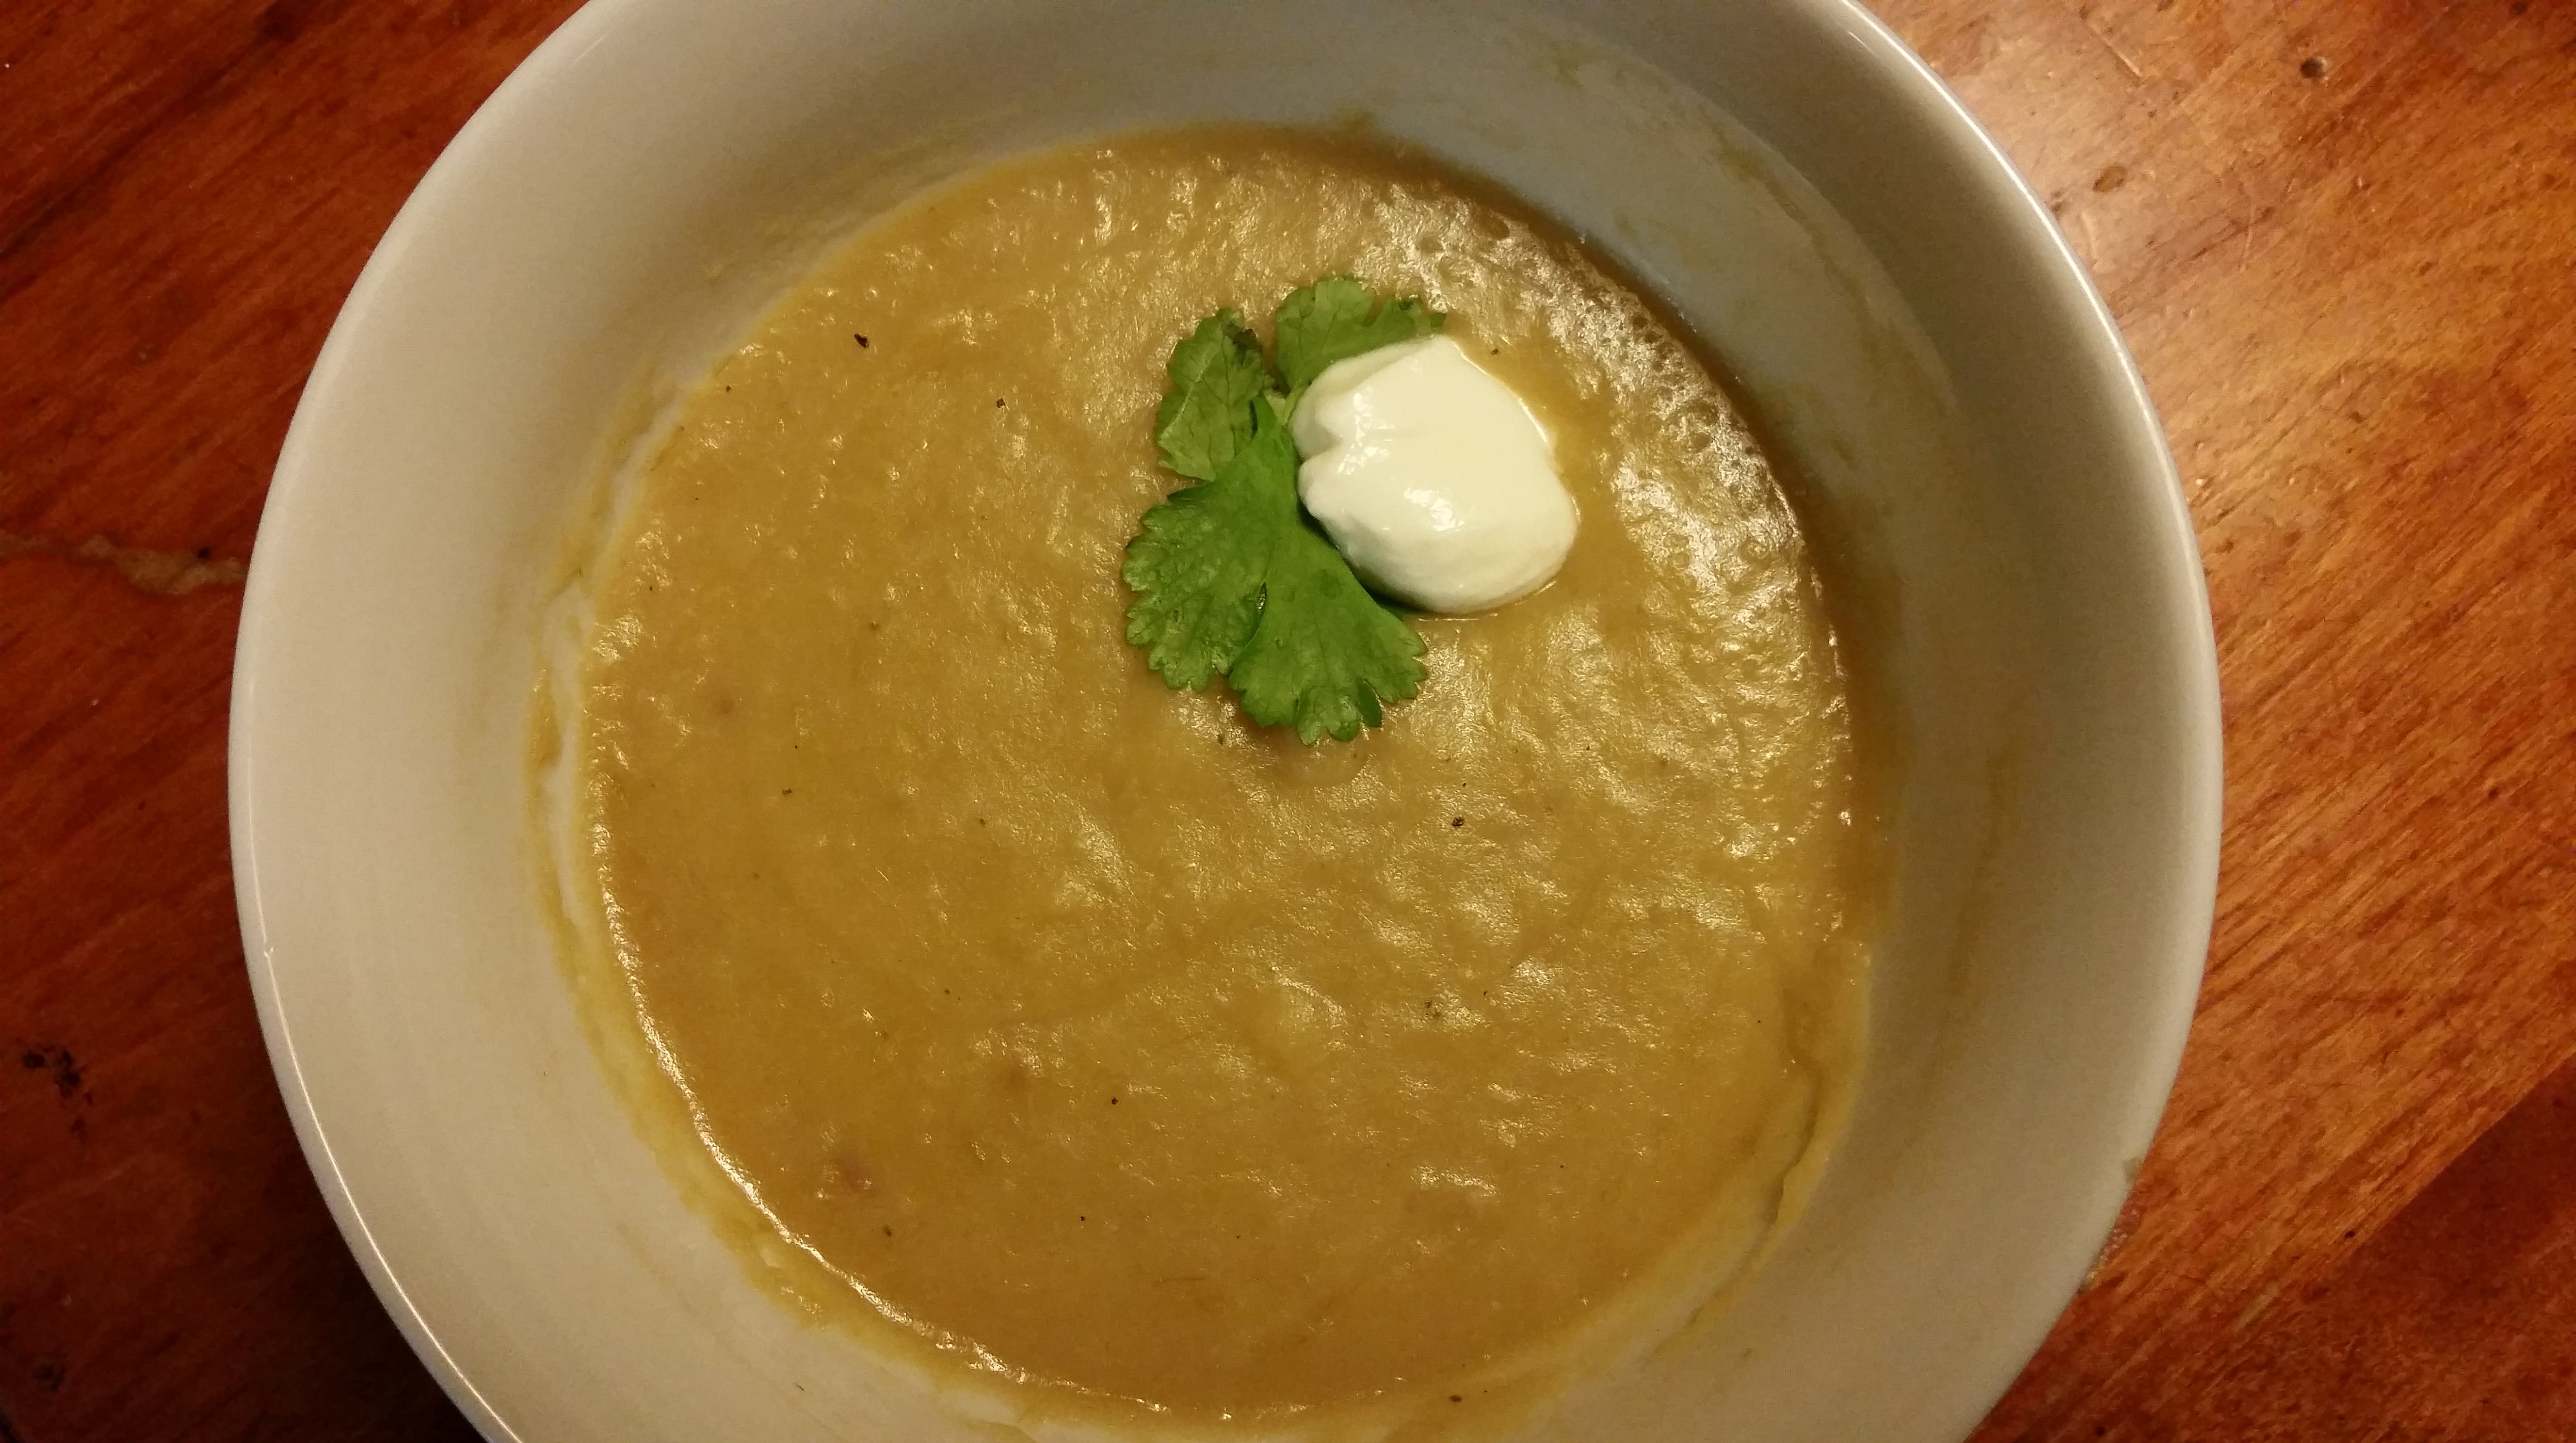
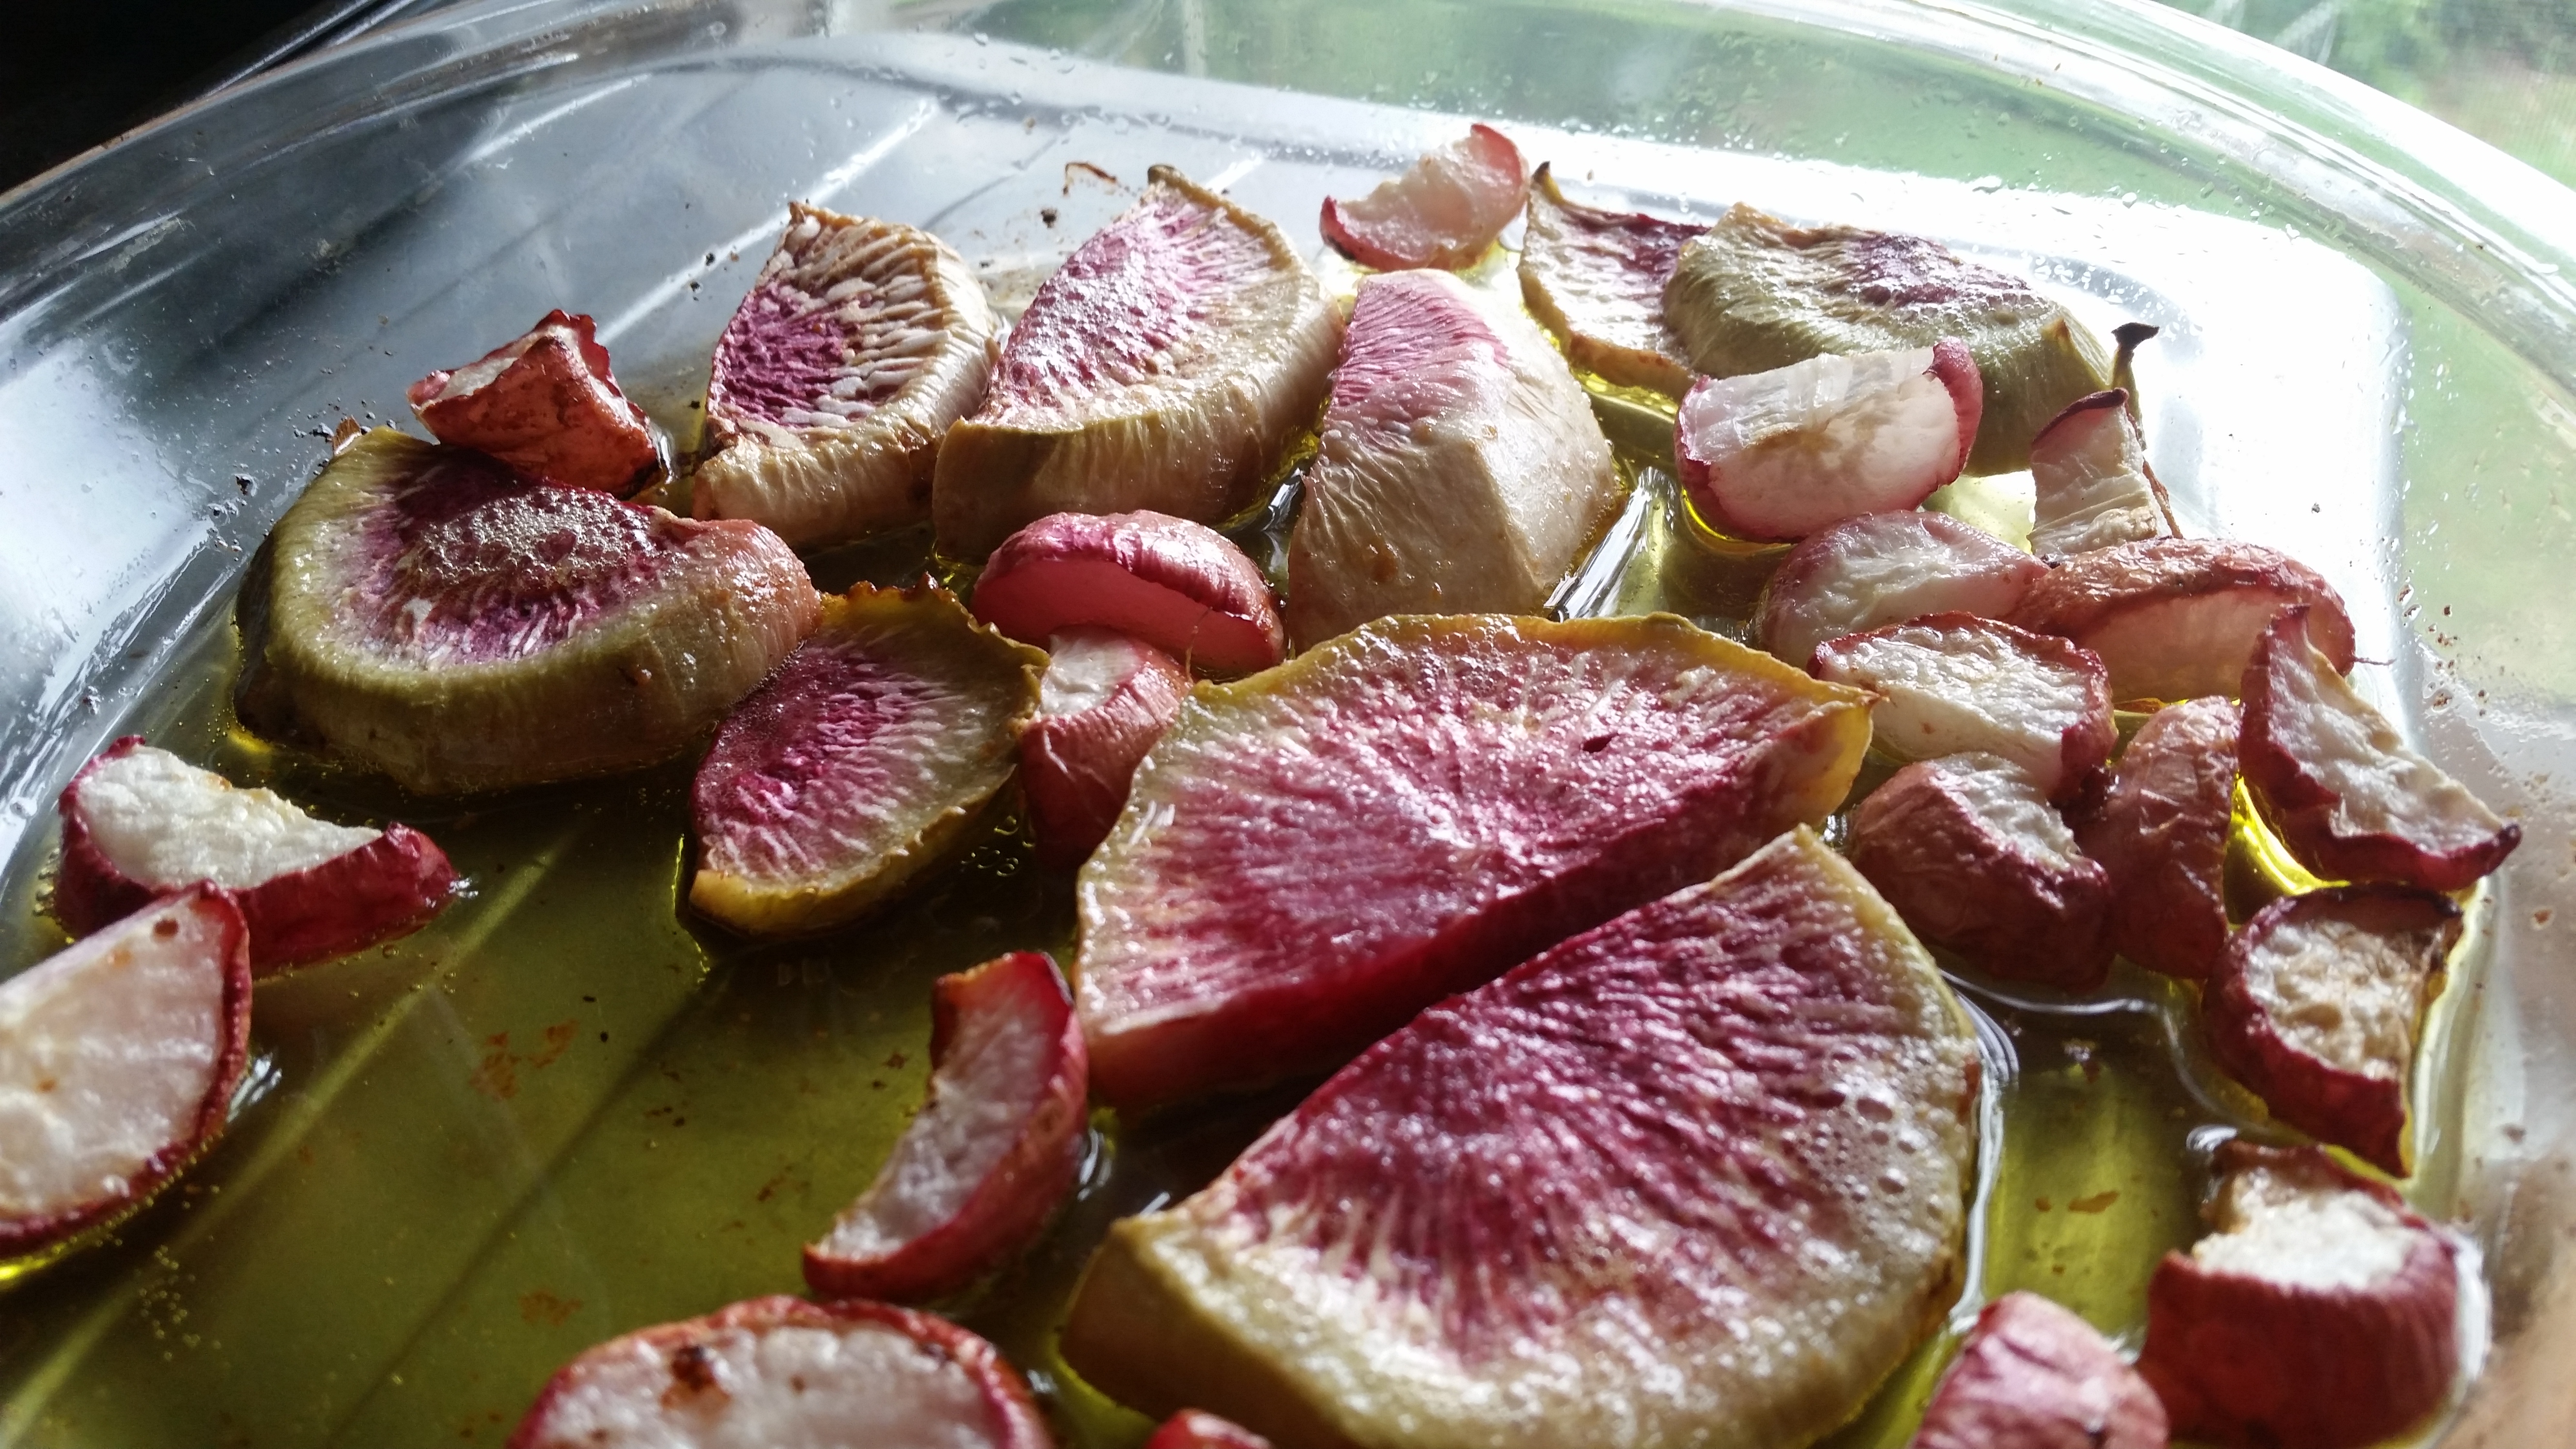
Well, me being me, I forged on with the experiment, fearlessly offering my body as laboratory rat in the name of good eating, washing and peeling some (but not all) of these cute little roots that have a hobbit-y sort of charm. I set about roasting and then had a taste. They were delicious. Really delicious.
Firm to the bite then creamy inside, with a wonderful nutty flavor (the peeled bits were better than the unpeeled); I was smitten and already thinking about what I could do with them the next time. I then went to bed, after leaving some for my parents to try with their lunch the next day.

Another view of them raw
All was well, until suddenly on my way to work that next morning I found out that the Wikipedia entry was painfully true…and I quote… Continue reading