
We colored our Easter eggs the natural way again this year and learned a few things we want to share with you! In this post you will find the basic how-to for red-pink, yellow, and violet blue and you can make your own color blends from there, plus get some ideas for making it easier and more decorative.
 And we’ll answer the question: Can I use the juice from canned beets?
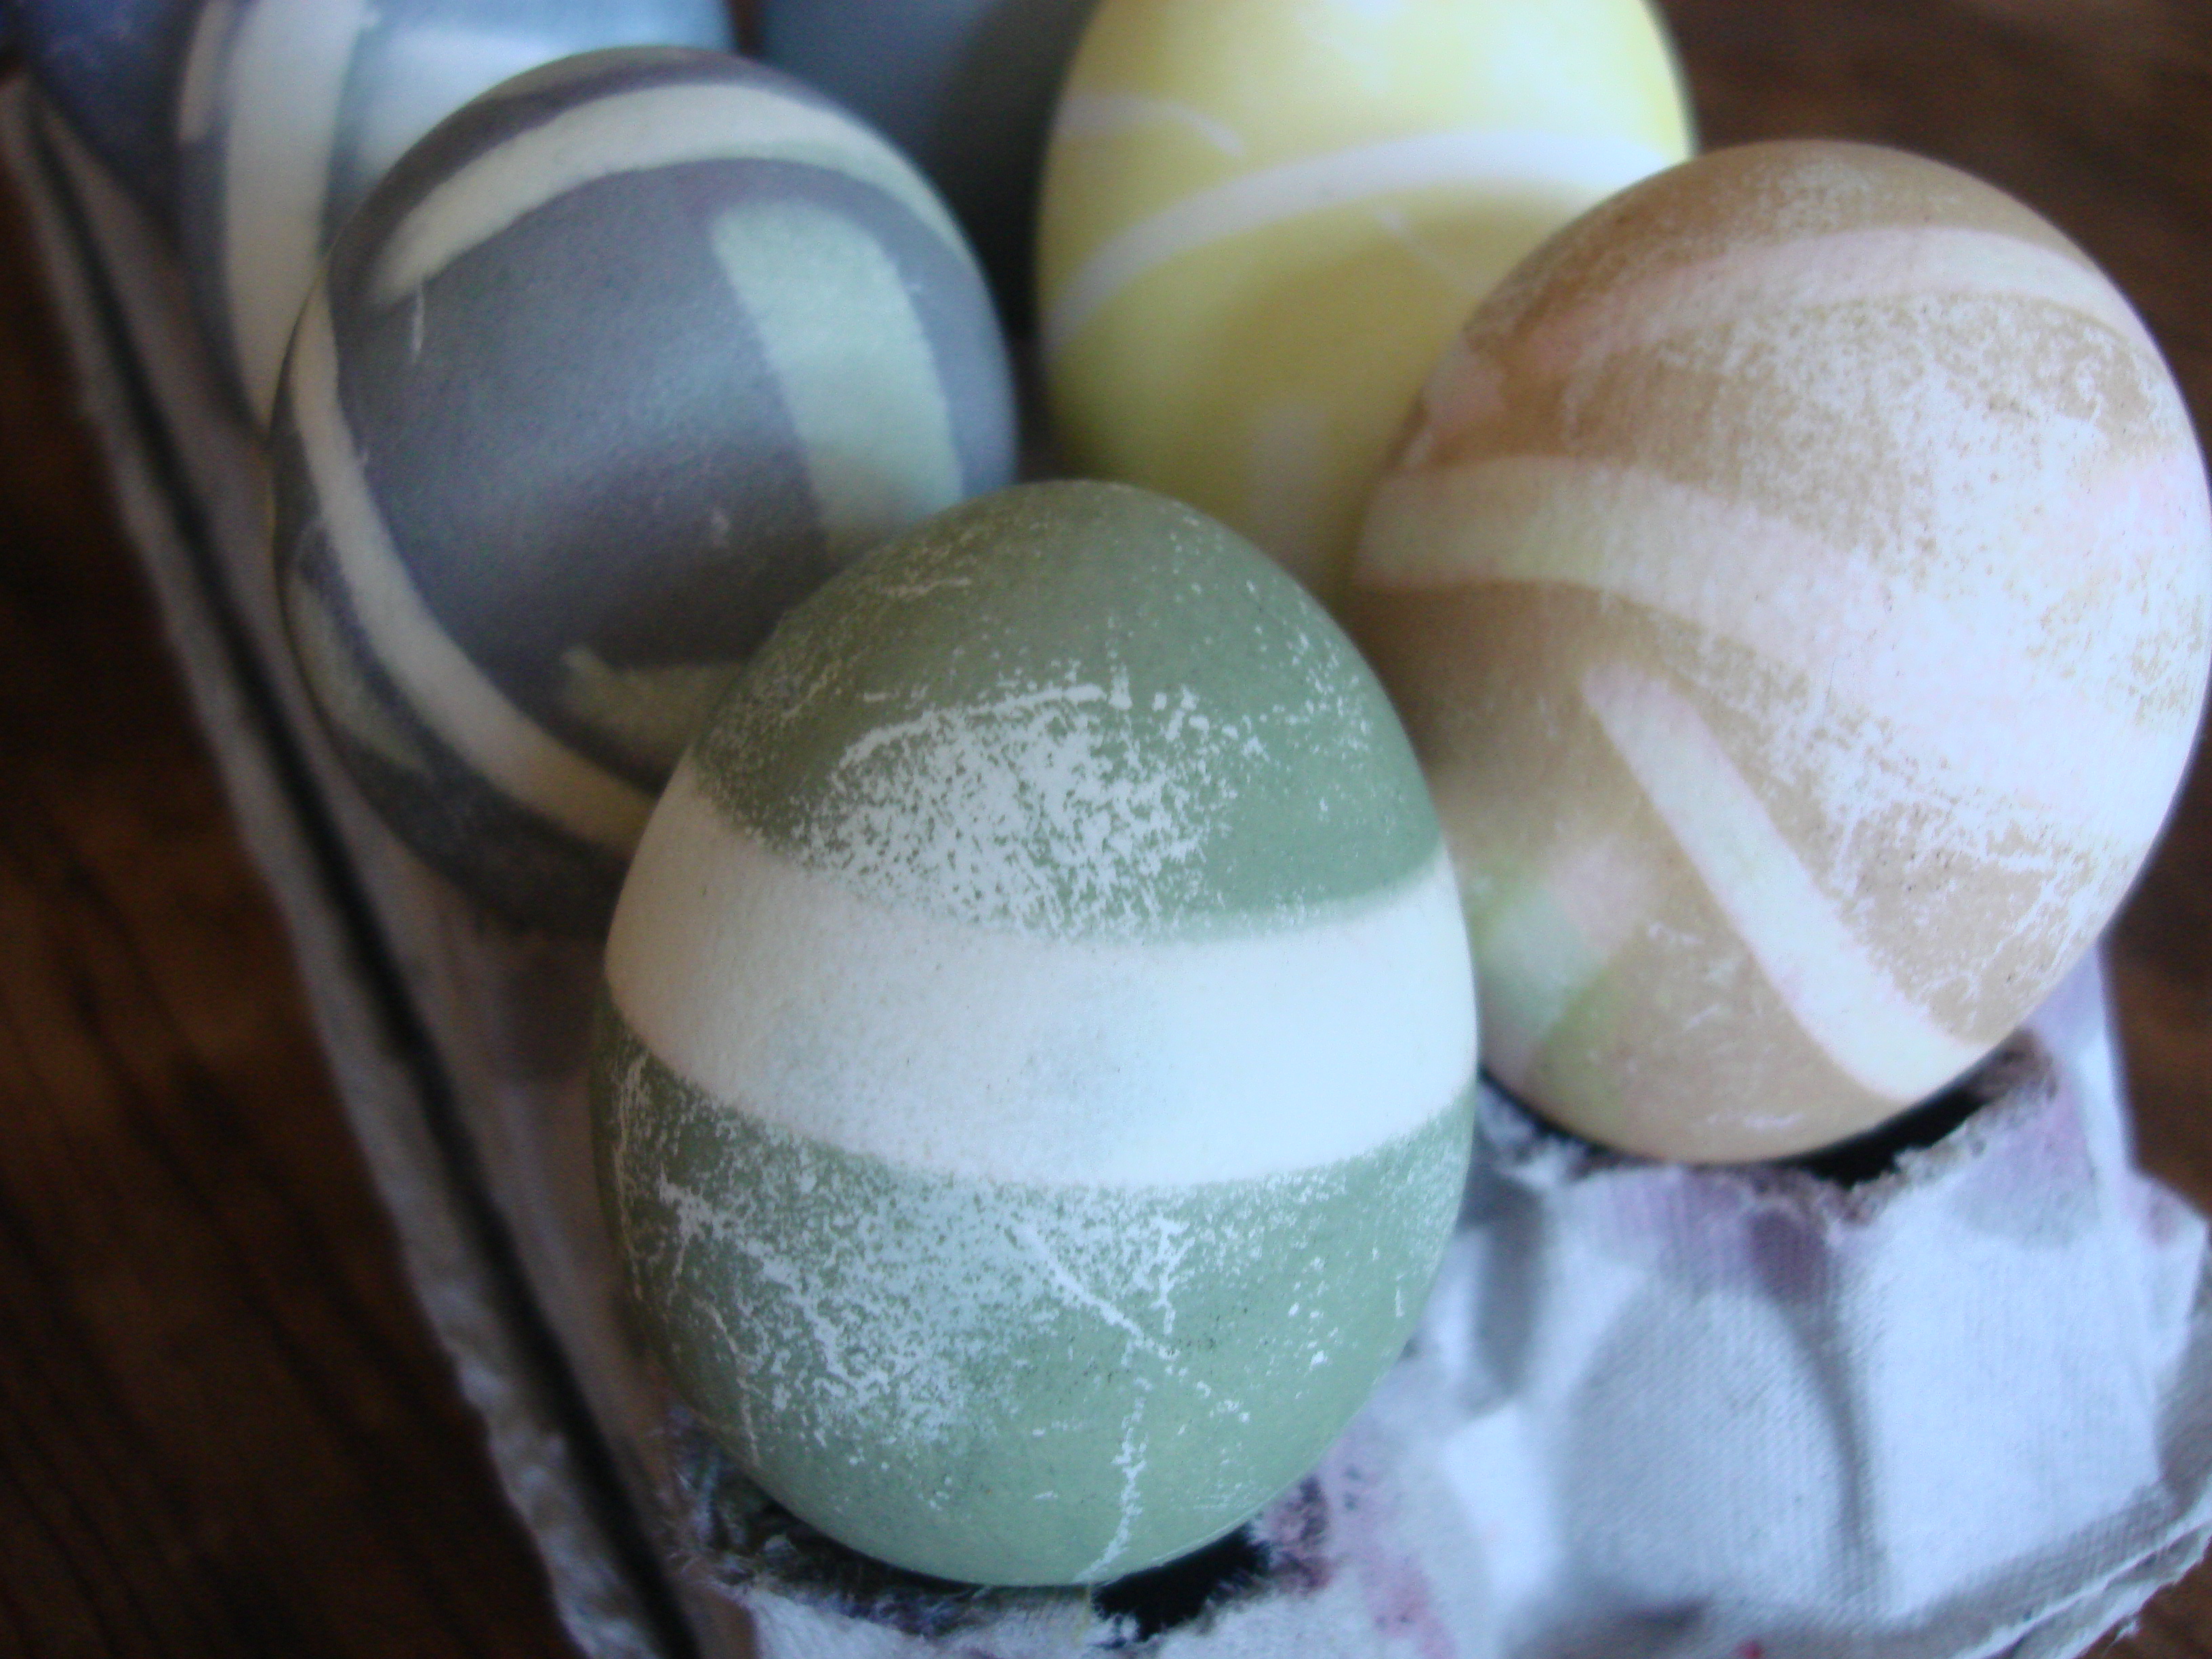
We got some interesting colors and cool effects!
Click here for the original post from last year or just follow these simple instructions. Scroll past the recipe for more ideas, advice and suggestions!

DO wear an apron!
Coloring Easter Eggs the Natural Way
1 dozen hard-boiled eggs, cooled (make patterns with crayons or wax pencils before dipping)
Three pots, each filled with 2 Cups water
HOT PINK – 1 large beet, chopped (peel can stay on)
YELLOW 2 Tbs turmeric
VIOLET BLUE – 12 oz frozen blueberries
3 Tbs white vinegar
crayons or wax pencils
Put one coloring ingredient in each pot. Bring to a boil, turn off and let steep five minutes. Strain into three separate bowls (removing chunky bits*). Add one tsp vinegar to each bowl. Start blending, dipping and cross-dipping until you achieve the colors you like. Dry in the egg carton and add any decorations you see fit.
Now for the updates and cool ideas:

This is the best we got from the canned beet juice. It is worth it to do the real thing.
1. No, you can’t use canned beet juice. We tried and despite a quick boil and vinegar, the results were wan and faded. At best. Follow the instructions above for the real beet.

The Rubber band effect! Reuse and Recycle!
2. Finally! Another use for those rubber bands that come around the supermarket broccoli and chard and that I never throw away.

More cool effects
Wrap bands around your hard-boiled eggs before dipping to create cool stripes (Thanks Kerry Mitchell for that fab innovation!). You can dip once, add more bands, then dip again in another color.
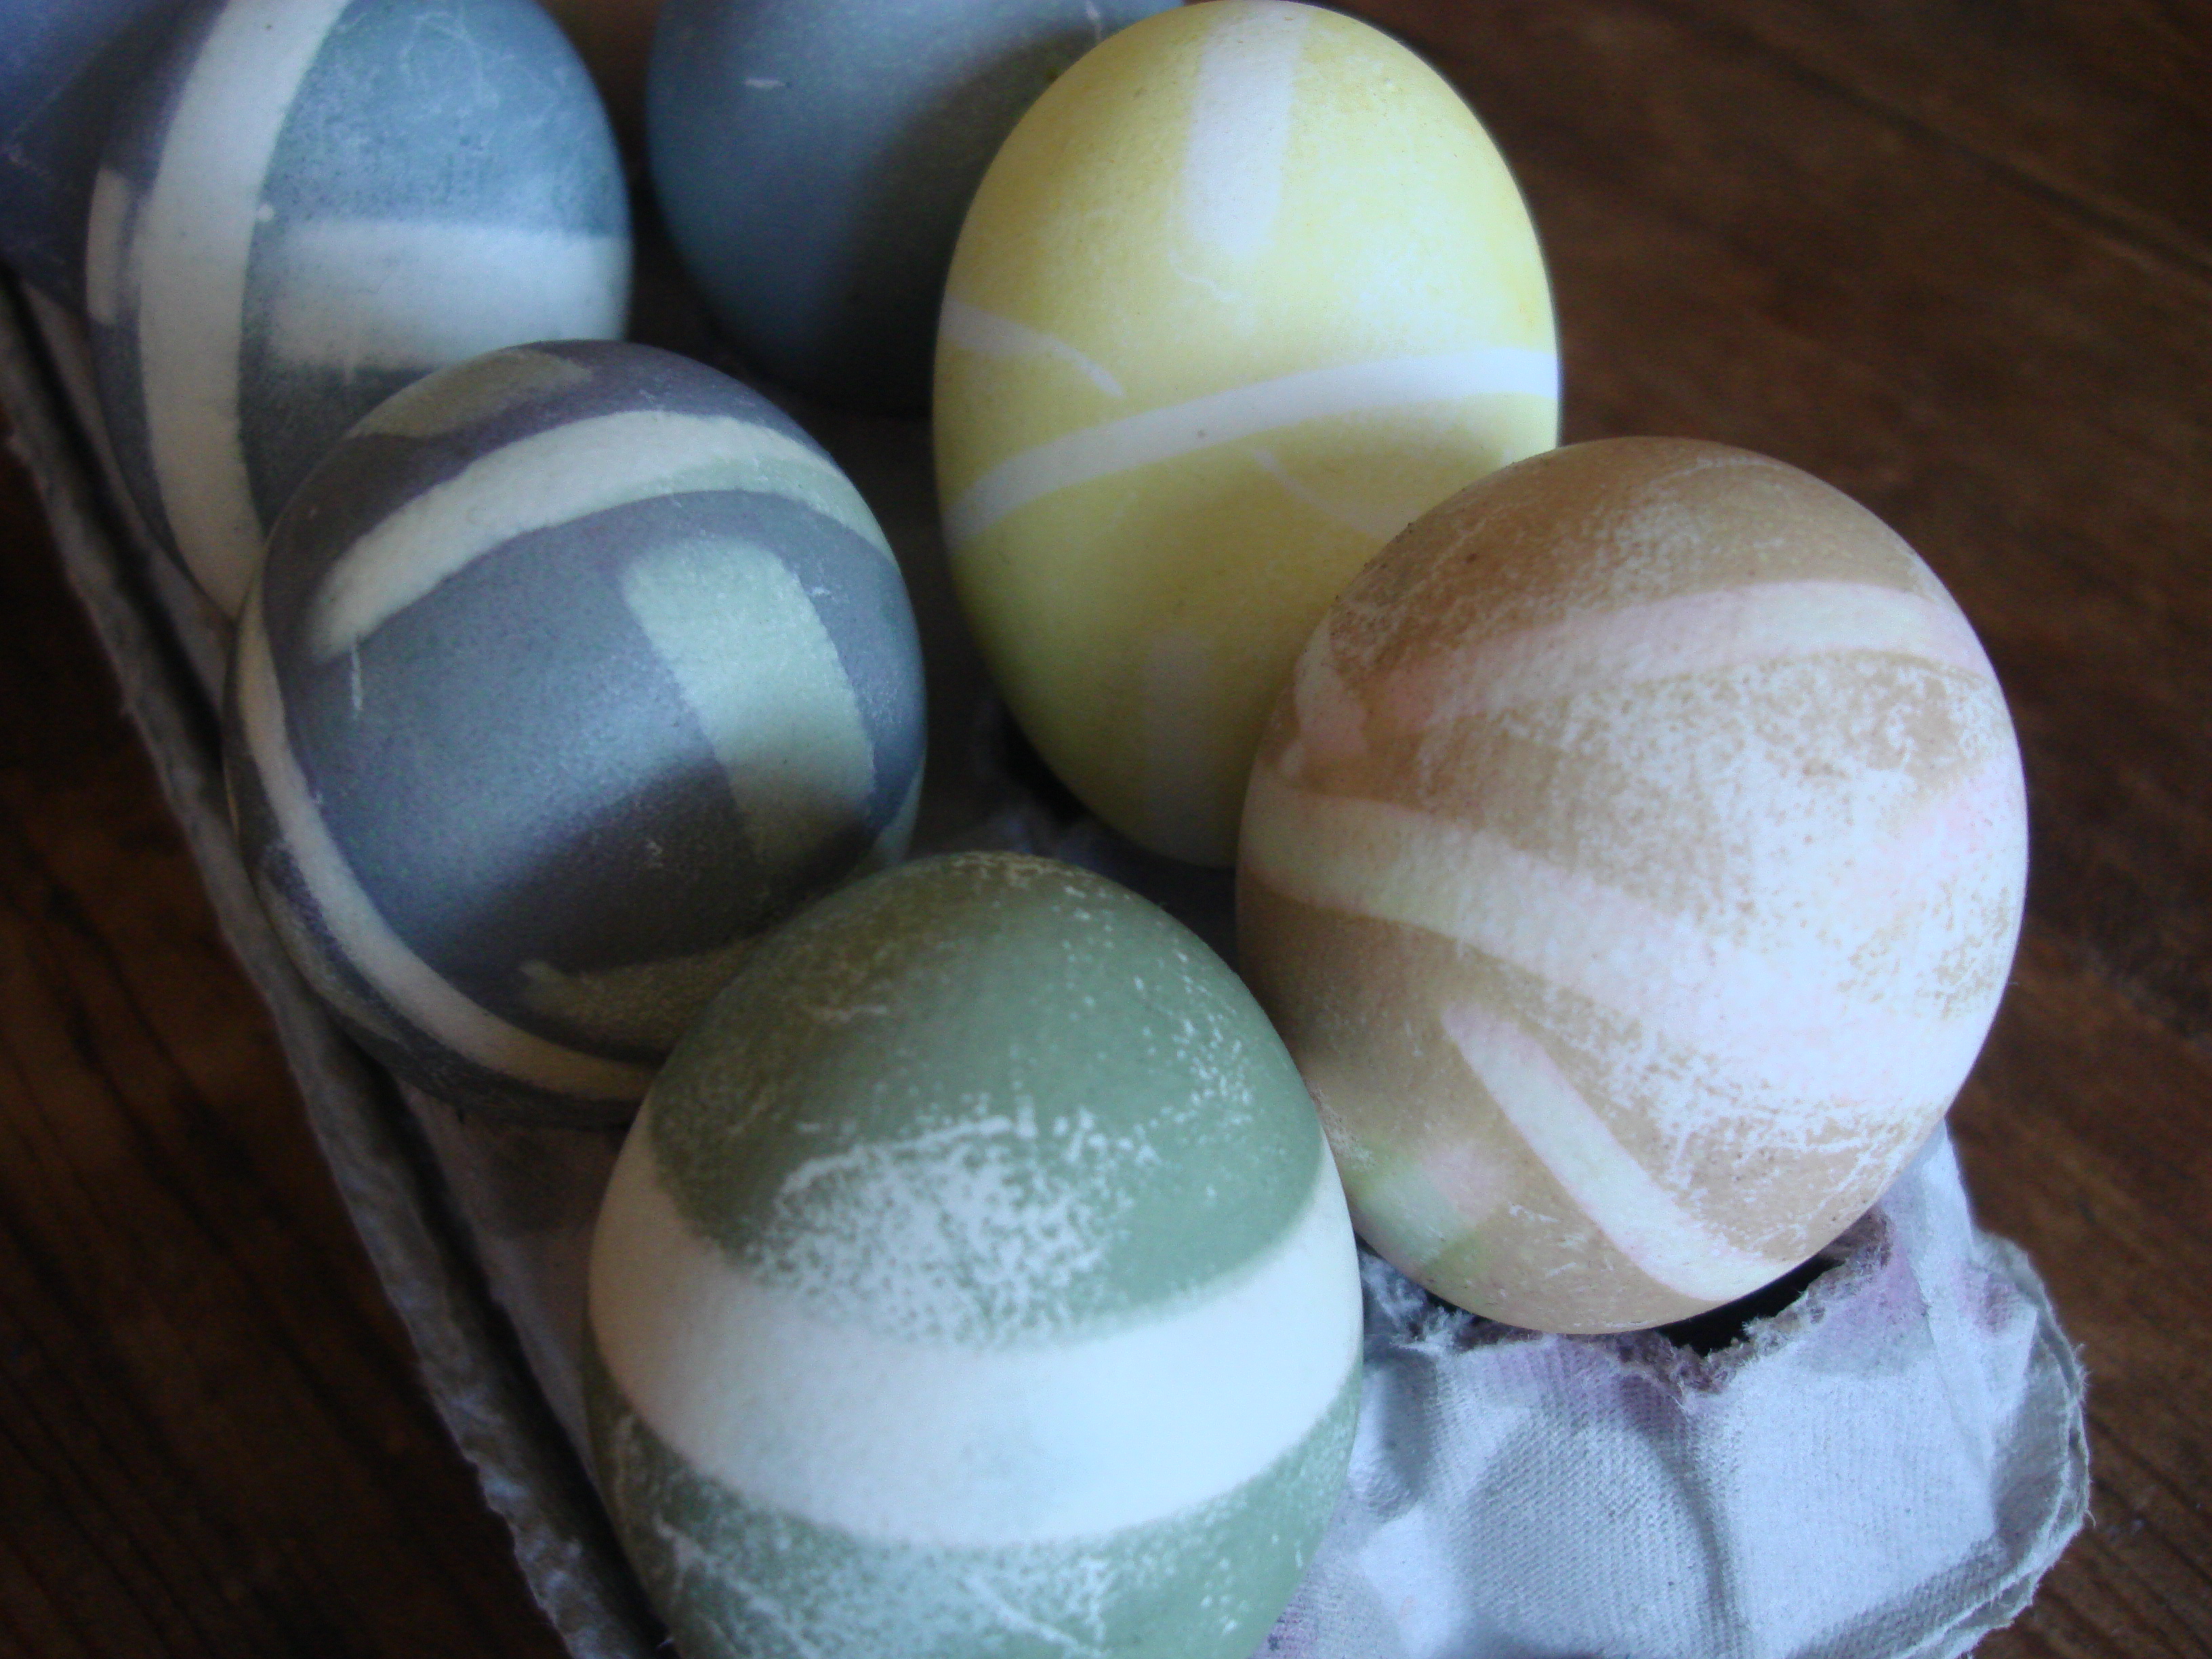
These are some of the effects we came up with!

Taking the bottoms off the egg carton made for a perfect egg dryer
3. Use your cardboard egg carton as an egg dryer (since you are not buying the tablets, you don’t have the special boxes that you dry the eggs on) by cutting off the bottoms with a serrated knife. They drain right into the box!
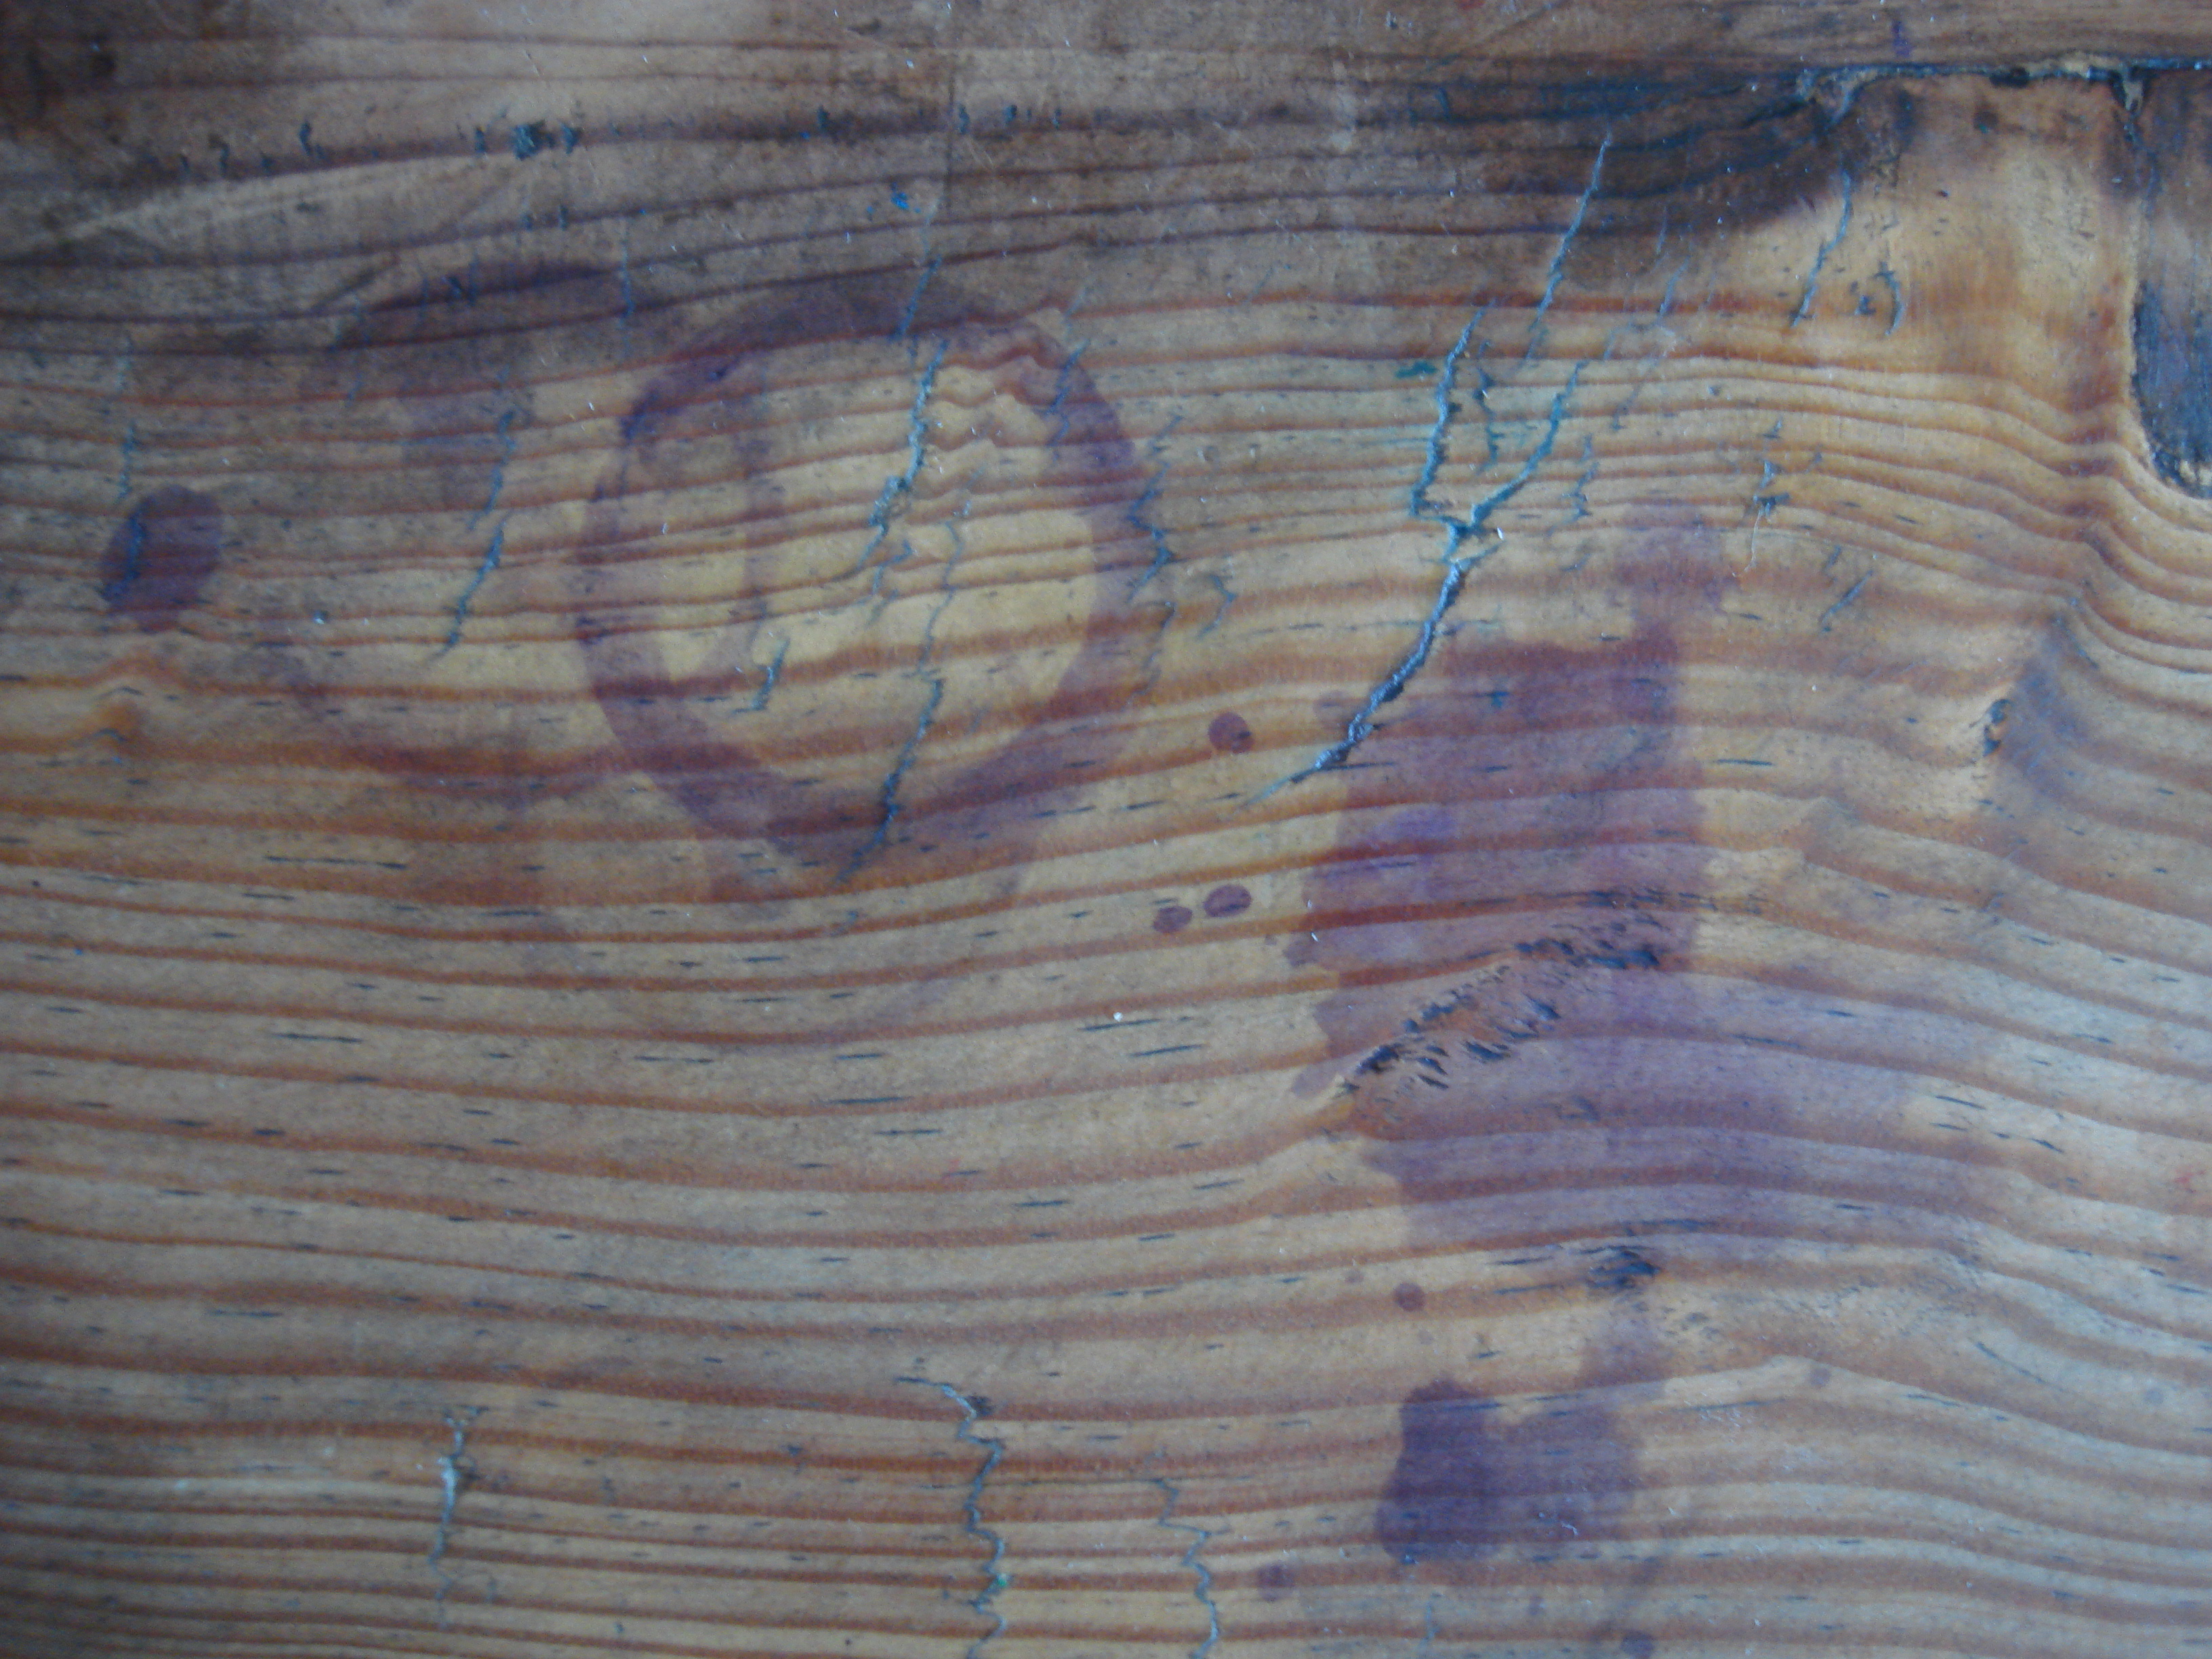
I won’t cry over spilt blueberry juice
4. This stuff stains. Don’t forget to put newspaper down on your workspace or you will end up with the rings and splotches I now have on my wooden table. (Mind you, if it doesn’t fade, years from now the stains will bring happy memories of egg-coloring with my little man, so I am okay with it).
5. Don’t cry over a cracked egg! Crack it more, then dip to get the Thousand-Year-Old Egg effect on the white of the egg. That’s how I handled cracks with my six-year-old and he was so delighted by the idea, he made another one on purpose! Picture to come, when we actually peel it!

Teacups!
6. Small teacups worked much better than the bowls we started out with because they create more depth to submerge the whole egg. Just watch out for spills. The eggs will displace a lot of water!
Enjoy!


Stunning work! Wow!
I happen to have the sources you suggest for color and will get to work on the eggs this afternoon. Thanks
I always loved that kind of thing when I was a child – batik was another favourite. Happy Easter both of you 🙂
Happy Easter to you too! I also have wonderful memories of family projects…soap. candles, etc….I think I’ll have the little guy season the lamb chops this year too…he needs to learn how to make dinner for me!
Excellent idea 🙂
🙂