Archive | Uncategorized RSS feed for this section

Banana Bread – Share the Love (Easy Family Baking!)

28 Mar

I’ve never been much of a baker – I’ve probably mentioned that I am no good at following instructions – but this banana bread is very forgiving of people who are more “more or less” than precise.

It’s very child-friendly. Leandro and I put it together often and he takes slices to school to dip in yogurt. I especially like to double it (using about 8 bananas total) and slice up some for his caregivers and my colleagues – everyone feels appreciated and esteemed when they are on the receiving end of home-baked loaves of something. I get a lot of requests for this recipe, so here it is! It also freezes well; check the bottom of the recipe for storing instructions.

Easy, Moist and Yummy Banana Bread

4-6 overripe bananas*

1 Cup sugar (1/2 light brown and ½ white works well, but any combination will do; we’ve used a bit of dark brown as well)

2 eggs, beaten

½ Cup vegetable oil

2 Cups flour (up to one cup whole wheat, but beware stone-ground as it may be too coarse)

1 tsp baking soda

¼ tsp salt

Preheat oven to 350°. Mash bananas in mixing bowl. Add sugar, eggs and oil, one at a time, mixing well with each addition. Sift dry ingredients together (I use a big strainer) and add to banana mixture. Pour in greased 5×9 loaf pan (or 8×8 oven dish) and bake 55-60 minutes, or until a knife inserted in the middle comes out clean.

*We eat a lot of bananas here, but sometimes I buy too many and they get overripe, even for my son, who likes them sweet and eats the dark spots. Or he just wants half of one and I don’t want the other half. Any overripe or half-bananas get thrown into a plastic freezer bag and when I have approximately six, I make banana bread!

Storage notes: Banana bread should be cooled completely before slicing (I know, fresh-out-of -the-oven warm is so cozy! But it slices much better later on). It stays fresh tightly wrapped out of the fridge for two or three days. The refrigerator isn’t great for it, but you can warm it up a bit before serving. To freeze, slice first, then wrap in foil or plastic wrap and then place in a freezer bag. It’ll keep for at least a month and you can take out a slice at a time when you need a treat.

Cheesy Chard Pasta

7 Mar

Chard is one of those leafy greens everyone should eat more of. It’s actually as delicious in winter as in summer and provides calcium and all sorts of other nutrients and has a bit more body than spinach (but can be used in much the same ways with a little extra cook time).

My son loves spinach pasta (which appears in an earlier post “My kids loves spinach” https://hotcheapeasy.wordpress.com/2010/11/02/my-kid-loves-spinach/) and never notices the difference when I serve the chard variation. He especially digs in when I use curly, frilly or curvy pasta that he can get his eager litle fingers all over– I am attributing that to a chromosomal enthusiastic male response to visual stimuli that I have been hearing a lot about lately.  That’s hot!

It is also fast and easy and really hearty-comforting.

Chard Pesto for Pasta (serves four)

1 lb. fiore (pinwheel) pasta

2 Tbs extra virgin olive oil

3-5 cloves garlic, chopped

(1/8 tsp hot red pepper flakes, optional)

1 lb. chard, washed, stems removed and chopped fine*

1 Cup broth or water

Salt and pepper to taste

Several Tbs grated cheese (preferably parmigiano reggiano or gran padano) or crumbled feta or, why not both?

Cook pasta according to package directions. While pasta is cooking, heat olive oil in a generous skillet with a cover. Add garlic and stir around for a minute or until turning golden and fragrant. Add hot red pepper flakes if desired. Add chard and stir to coat. Sauté chard until bright and beginning to wilt, then add water or broth. Bring to a simmer and cover, turning occasionally. The idea is for the chard to really soften, which will take 10-15 minutes. If you run out of cooking liquid, add a ladleful of water from the pasta pot. If I want the chard really fine (to encourage more consumption by my toddler, I will spread the cooked chard on a cutting board and chop some more when it is a bit cool.

 Drain pasta and mix with sauce and a generous amount of grated cheese. Add salt and pepper to taste and serve.

*Save the stems, chop and use in another recipe; they are delicious as part of a stir-fry or just sautéed with onions to top burgers.

Roe, roe, roe your eggs: Eating Right after Girls’ Night In

2 Mar A Fitting Finish to Fab Festivities

A Fitting Finish to Fab Festivities

Kendra, Adriana and I go back to luscious and lively Puerto Rico days many years ago. Many miles separate us now, but we still manage a reunion a couple of times a year, tucking children into bed and drinking and talking long into the night, a night which gets progressively sillier with every glass of wine.

Children, however, are relentless and have no respect for a woman’s need to get some recuperative sleep after such festivities. 

There is only one solution and it has three parts.

One part is the remote control, which the children should have free rein of (even if it means hours of Scooby-Doo, the Care Bears and whatever else they choose to be hypnotized by).

The second is mimosas – one part orange juice to 3 parts prosecco (Italian bubbly that is softer on tongue and wallet than champagne, which shouldn’t really be wasted on fruit drinks anyway) and some ice (it’s gotta be refreshing, after all). Forget using champagne flutes; you are going to need more than a thimble-ful to reset your buttons.

The third part of the solution is some kind of decadent breakfast. You might be bleary-eyed, wearing sweats and feeling hellish, but you need to carry over the glamour of the previous evening, when for a few hours at least, you were once again a fetching and feckless babe with nothing better to do than have sparkling conversation with equally fab friends until the wee hours.

Thus, Adriana’s solution: blinis topped with scrambled eggs, salmon roe and – O.M.G. creme fraiche. No, it’s not cheap, but it is very hot and super easy!

Blinis topped with scrambled eggs, salmon caviar and crème fraiche

5 – 6 eggs

4 oz crème fraiche

1 Tbs light cooking oil or fat for scrambling

Several teaspoons salmon caviar (use a plastic or wooden spoon to scoop it as metal changes the taste)

Packet blinis

1 tsp chopped dill

Warm the blinis (as many as you think you need; we did six for two people) either by heating the ungreased skillet or in a toaster oven. Scramble the eggs lightly, folding in a teaspoon of the crème fraiche. Salt isn’t really necessary, considering the saltiness of the roe, but that’s up to you.

Heat the oil in a skillet and cook the eggs gently, swirling and moving with a spatula until cooked through.

On nice looking plates, place the blinis, pile eggs on each, followed by a dollop of crème fraiche and a half tsp of  salmon roe. Sprinkle with dill and serve, with prosecco or prosecco mimosas.

Roasted Eggplant, Feta and Sundried Tomato Sandwich

23 Feb

Roasted eggplant and friends on whole wheat English muffin. Don't worry about the verticality; it smushes down to a reasonable, biteable size.

Take Back the Lunch (a poem)

There are those who enjoy

spending money they don’t have,

to wait with time they don’t have,

for a food order that they don’t really love,

cooked by people who don’t love them,

to choke down

during what remains of their precious lunch hour.

I am not one of those.

Are you?

Yeah your takeaway order may be tasty and juicy, but do you really know what you’re eating?

Yeah, a $6.99 lunch special may seem like a good deal, but does it tell you how special and important you are, the way a home-cooked meal does? Of course not.

So at least once this week, try to make yourself a home-cooked lunch that gives you a nutritional hug (or make enough of it for dinner that you have leftovers the next day).

I make this pretty often in winter; it’s a cross between an antipasto and a sandwich and is pretty cheap! I am admittedly not great at crunching numbers, but if I get a pound of eggplant at $3; a 1/2 lb. of feta at $1.80 (Costco bulk); and 8 sundried tomatoes at Fairway for about $2 – I’ve paid about $7 total (plus a bit for side stuff) and then I make four meals for myself out of it…well you do the numbers and tell me it doesn’t beat the bejesus out of the steak and broccoli lunch special at Asian Kitchen…

So please, please, please…show yourself some love and try this really, really, really easy and delicious sandwich/wrap thing really soon. You can skip the bread if you are watching carbs!

Roasted Eggplant  with Feta and Sundried tomatoes

1 lb eggplant (or two if you want to make extra for the week), wiped clean and sliced into ¼ inch rounds*

2 Tbsp olive oil per pound eggplant

8 oz feta cheese, sliced fairly thin

8-10 sun-dried tomatoes packed in oil. Drain slightly and slice into thin strips

(optional – if your sundried tomatoes don’t come with seasonings, use a tsp or more of dried herbs – oregano, basil, thyme, or other Mediterranean flavors are best)

Wrap-style bread, pitas or hearty thick toasted bread slices

Preheat oven to 350°. Dip eggplant into (or brush with) olive oil until well-coated. Lay eggplant as flat as possible in oven dishes and bake for 20-30 minutes, turning occasionally, until eggplant is tender (I consider this a craft that is best learned by experience. Fortunately for me, I like my eggplant slightly browned, ‘cause I always seem to cook the hell out of it before it’s truly done. Don’t worry about a bit of overcooking.)

When the eggplant is done, place a layer of rounds on your chosen bread. Top with feta and sundried tomatoes (and herbs, if desired). Roll up, if using a wrap-style bread. Toast for a few minutes in a toaster oven or under the broiler and serve (reheats well with a blast in the office microwave).

*Notes: if you have time, sprinkle the slices with a pinch or two of salt, put in a colander and put a weighted bowl on top to squeeze out extra moisture – it becomes less absorbent that way – 15-30 minutes. This step is not really necessary with really tight-skinned, firm, fresh eggplant).

I do a lot of eggplant at a time and either eat it this way all week, or strip the rounds of peel and stir into hummous or just eat it out of the fridge when I need a snack. Can be chopped and added to red sauce for pasta! You can also substitute other roasted veg.

Oatmeal, Cranberry, Raisin, Walnut COOKIES

17 Feb

Feeling my oats

The phrase “do it right the first time” is especially relevant for dealing with food cravings.

If you want a cookie, don’t pretend, don’t justify, don’t explain, don’t wait. Eat the damn cookie. And don’t eat anything that just pretends to be a cookie or pretends that it is a virtuous cookie; you will have to eat twice as many to get any real satisfaction, then you’ll eat the cookie you wanted anyway.

Let’s face it; most cereal bars are cookies masquerading as health food. So many of them contain an incredible variety and amount of sugars (high fructose corn syrup, dextrose, sucrose, etc, etc, ad nauseum) and weird processed ingredients and preservatives packed into in incredibly small and — to me — unsatisfying, serving sizes — bars the size of a couple of my fingers —  and they still get to say things like: “heart-healthy” or “0% saturated fats” on their tidy foil wrappers. Really. 

So, rather than futile attempts to make homemade cereal bars that would somehow be more virtuous, me and Leandro just make sugar-laden cookies that don’t pretend to be anything else.

Don’t let the oatmeal, nuts and fruit fool you: this is a sweet treat with plenty of sugar and butter, with tartness, chewiness and crunch to keep it interesting. Eat too many and you will get a tummyache. Eat them frequently and you will get fat. But make them every so often, pass on a few to neighbors, colleagues or the other people who make your life liveable, save a few for yourself to dunk in milk or tea or coffee and everything will be alright.

The recipe is an adaptation of the classic “Quaker Oats Vanishing Oatmeal Raisin Cookies.” I dedicate it to Canadian comedienne Andrea Martin, (very) late of SCTV and recent of kid’s program, Dino Dan, where she looks weirdly young and smooth-skinned, with what appears to be a surgically modified schnozz, but who is as kooky and loveable as ever as the bizarrely attired art teacher who gets tends to get lost in her “creative zone.” Here is why she gets the dedication: My son — who loves Dino Dan and everyone in it — turned to me the other day and said, “When we bake you and me are in the same creative zone, right Mommy?” and everything felt right with the world.

Oatmeal, Raisin, Cranberry, Walnut Cookies

½ Cup plus 6 Tbs butter, softened

¾ firmly packed brown sugar (I like to mix dark and light brown, but use whatever is on hand)

½ cup granulated sugar

2 eggs

1 tsp vanilla

1 ½ Cups unbleached all-purpose flour

1 tsp baking soda

1 tsp ground cinnamon

¼ tsp salt

3 Cups quick or old-fashioned oats

½ Cup raisins

½ Cup dried cranberries

¾ Cup coarsely chopped walnuts

Preheat oven to 350°. In a large bowl, beat butter and sugars until blended and kind of creamy (I don’t have an electric mixer – yet—so I just use a big fork). Add eggs and vanilla and beat well. In a separate bowl combine flour, baking soda, cinnamon and salt. Then add the oats and the fruit and nuts and mix well until all the oats are damp.

Drop rounded tablespoons of dough on ungreased cookie sheets and bake for 10-12 minutes or until light brown. After a minute cooling on the baking sheets, move the cookies to wire cooling racks and cool completely. Store in tightly covered containers.

Super Bowl: Yuca en Escabeche- a bold alternative to potato salad

5 Feb

I’ve got nothing against potato salad; in fact, it is a big favorite of mine for summer barbecues, church functions, Christmas buffets or midnight raids on the leftovers.

But Game Day calls for a more assertive strategy: yuca en escabeche (or, as my friends and family know and love it: yuca salad) is the clear winner for full flavor, honking big texture, great colors and the ability to stand up to spicy wings and ribs. It has the heft to defend against the beer and alcohol blitz of Super Bowl Sunday, but is not so exotic looking or smelling as to scare off cautious diners. And of course it makes for more interesting conversation amongst those who are only really there for the food and the commercials.

The colors are very appealing

The colors are very appealing

Yuca (Manihot esculenta) is a rough-skinned root vegetable native to Brazil. It is also known as cassava, manioc and mandioca. The bitter kind has a poison that native Americans from the Caribbean on down used to tip their hunting arrows with back in the day. We’re not serving that kind. In fact, I have never seen it (although that is exactly the type that gets made into bland tapioca – go figure). Up here we get the sweet kind that simply needs to be peeled and boiled to share its goodness (just don’t eat it raw).

Continue reading

Zesty, Zingy, Zarela – Reinterpreting Pollo al Limón

4 Feb


Fab cookbook by my hero - ¡Zarela!

I have a weakness for what Puerto Ricans call limones del país or “local limes”, the ones you may know as Key limes, one of many varieties of Citrus aurantifolia, native to Southeast Asia. They are the small, thin-skinned ones, sometimes mottled, often more yellow than green, definitely more acidic and sweet than the thick-skinned ones more commonly found in my New York area supermarkets or as woefully tiny and bedraggled triangles of peel, drowning ineffectually in bar drinks. 

My great-aunt Titi Quicio used to make me limonada from the ones from the tree in her yard in Mayagüez — every yard worth a damn back then had a lime tree for luck and on principle — as well as chickens and any number of useful medicinal herbs planted in glorious, battered, colorful, rusting tin cans – and that sweet-tart zing of acid and sugar syrup in a glass clinking with ice cubes and sweating into the disintegrating paper towel wrapped inevitably around the bottom remains one of the most powerful flavor memories I possess. Anything that comes even close sends me straight back to childhood places from which I wish I didn’t have to ever return.

So whenever I see a green net bag of those little round babies in a store, I have to buy it, no matter the price. Once I get home, however, I have no idea what to do…My Cuba libre consumption (the difference between a rum and coke and a Cuba libre is that the Cuba libre has lime; a Cuban might tell you that the difference is that there is no such thing as a free Cuba, but we’ll leave that alone) has dropped to nothing in the years since I left Puerto Rico and the likelihood of my making limonada in the middle of winter is decidedly small.

So I slice one open and suck out the juice, prompting much pleasurable wincing and squinting and squirting of salivary glands. Then I agonize over how not to waste the rest.

Fortunately, last week when limones del país showed up in my local supermarket, I thought of my hero, mentor and friend, Zarela Martínez.

Zarela, who grew up killing rattlers with a lariat on a ranch in Mexico, toughed her way through a bad marriage to haul her twin boys to New York and make a dramatically wonderful and interesting career in restaurants (Her eponymous restaurant on NYC’s 2nd Ave @ 50th & 51 has been going strong for 22 years!), making PBS programs and writing wonderful books. I met her through the James Beard Foundation Awards when she and her son, Food Network hottie Aaron Sánchez, hosted a few years back, and I am grateful that we have been friends ever since.

She is utterly candid, hard-working, stylish and just fabulosa. And her book: Zarela’s Veracruz, was just the thing, because Mexicans know exactly what to do with limes without making life difficult.

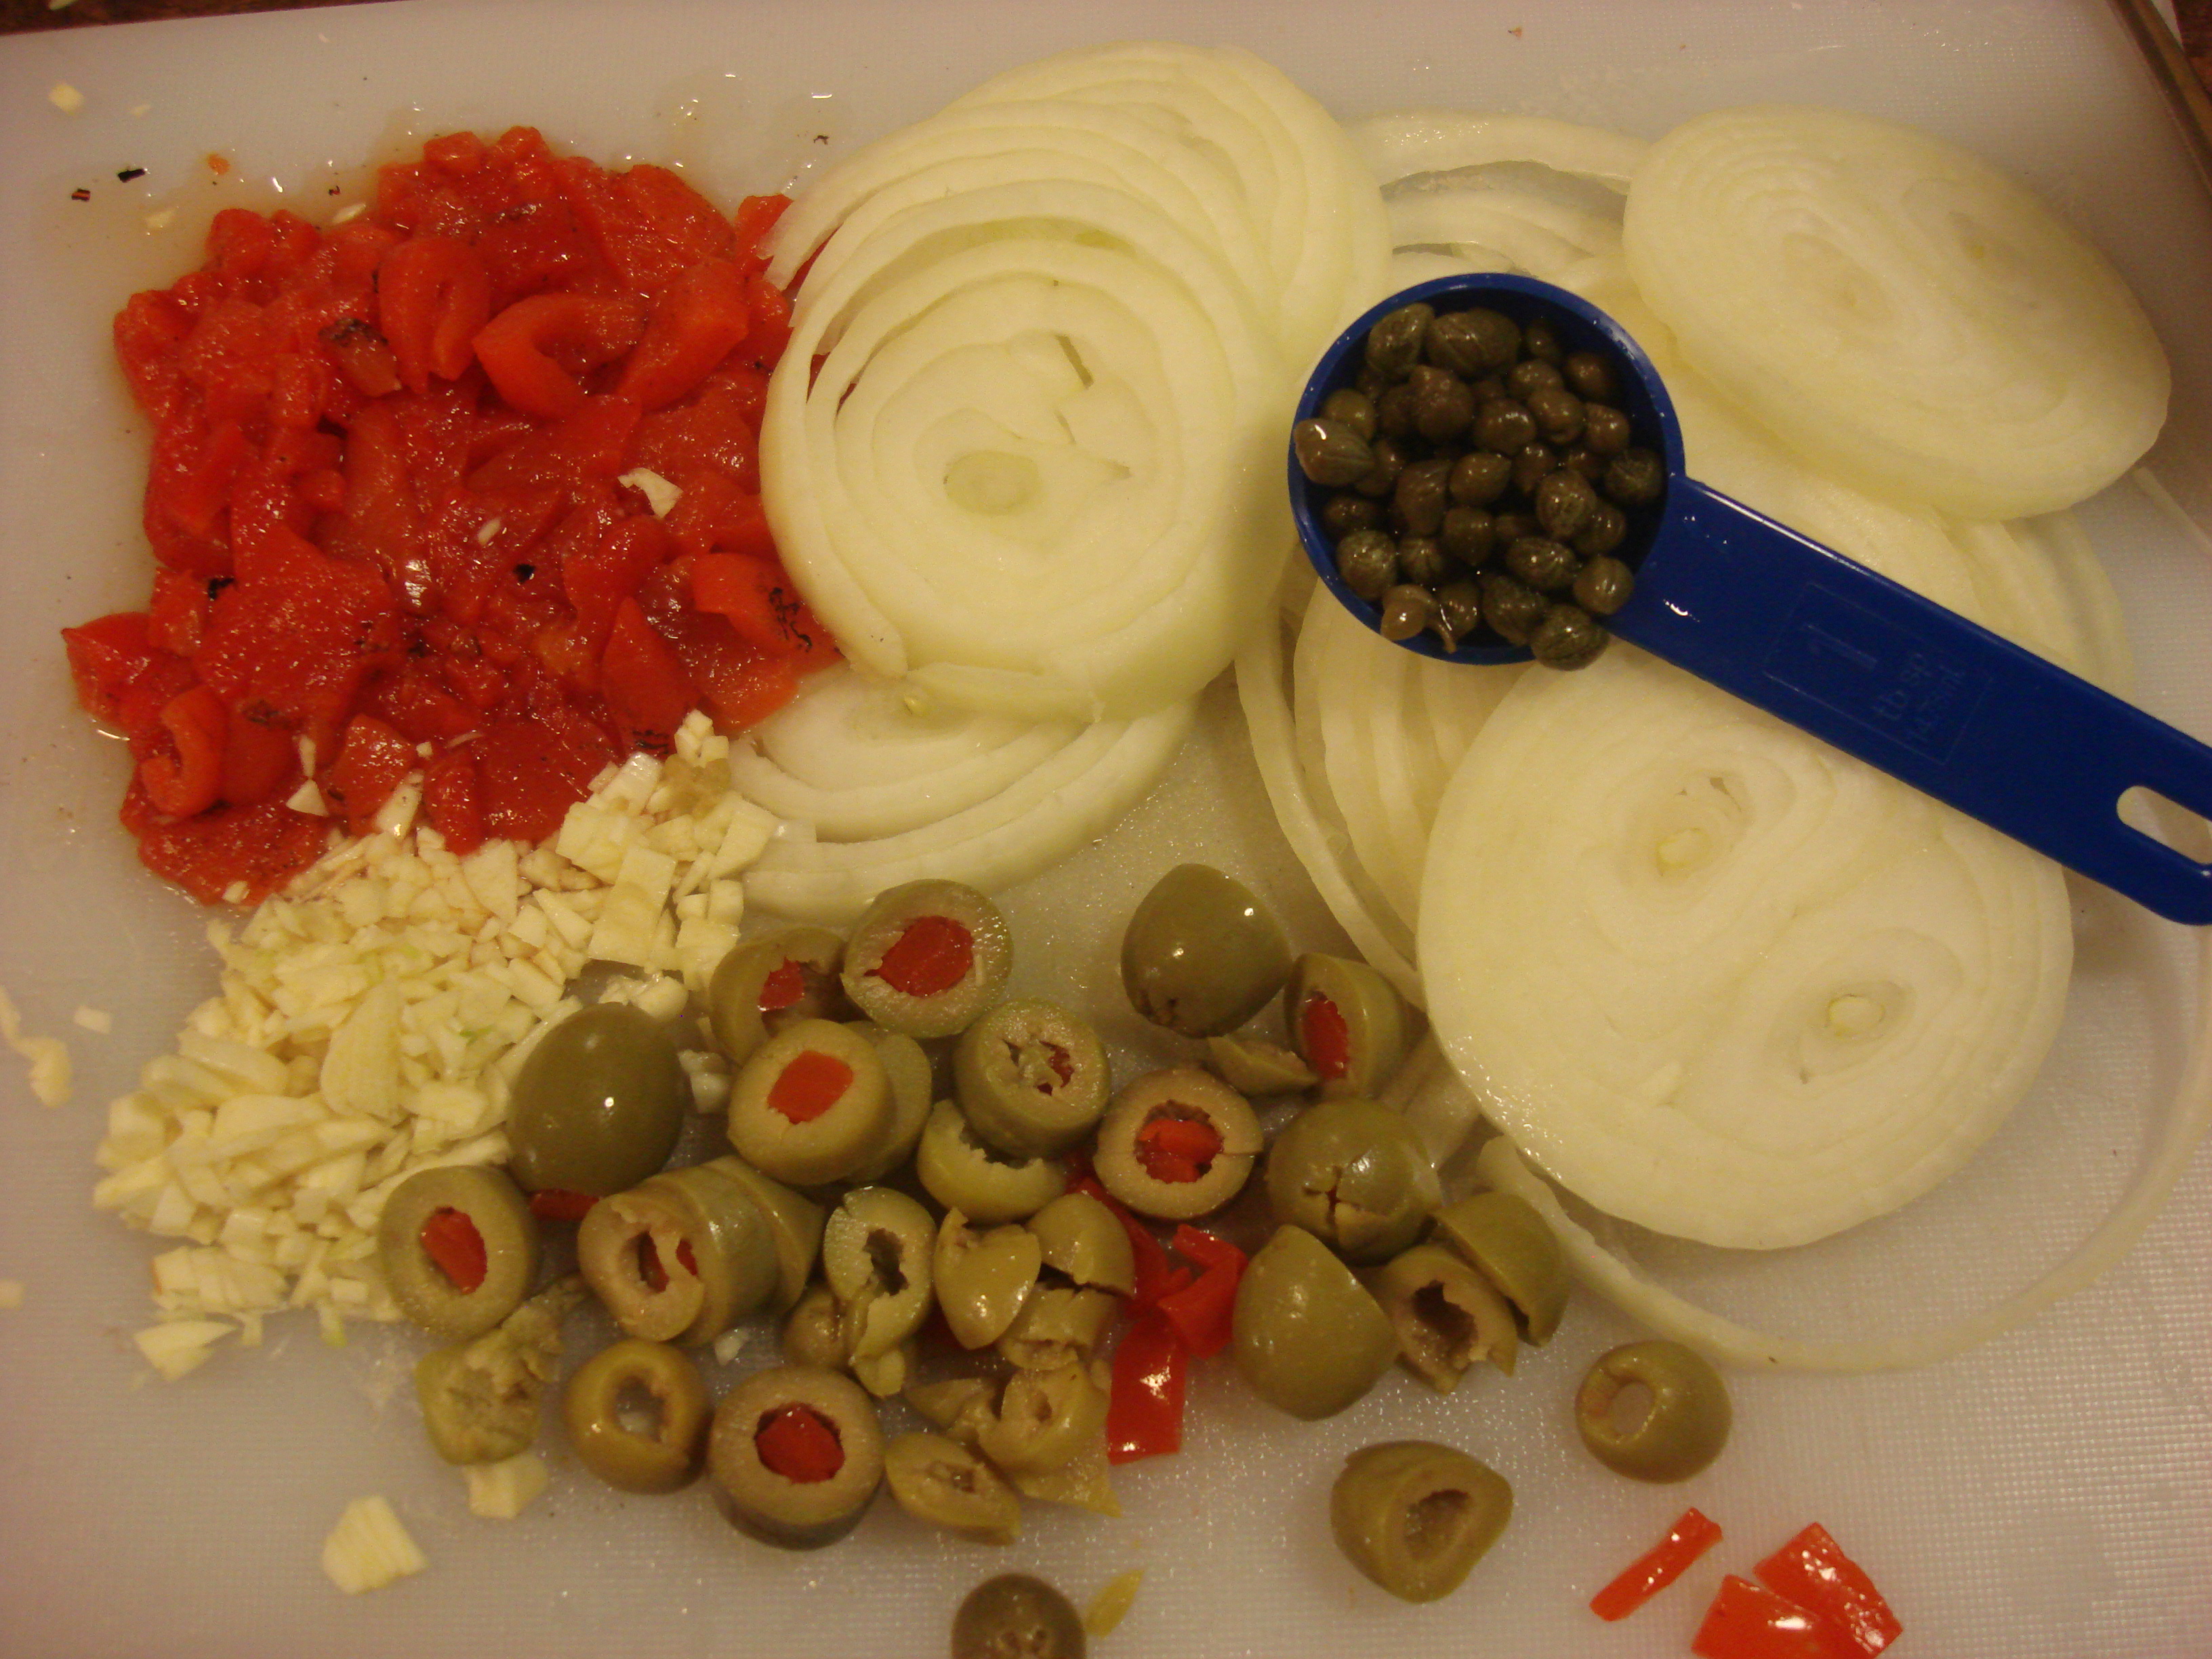
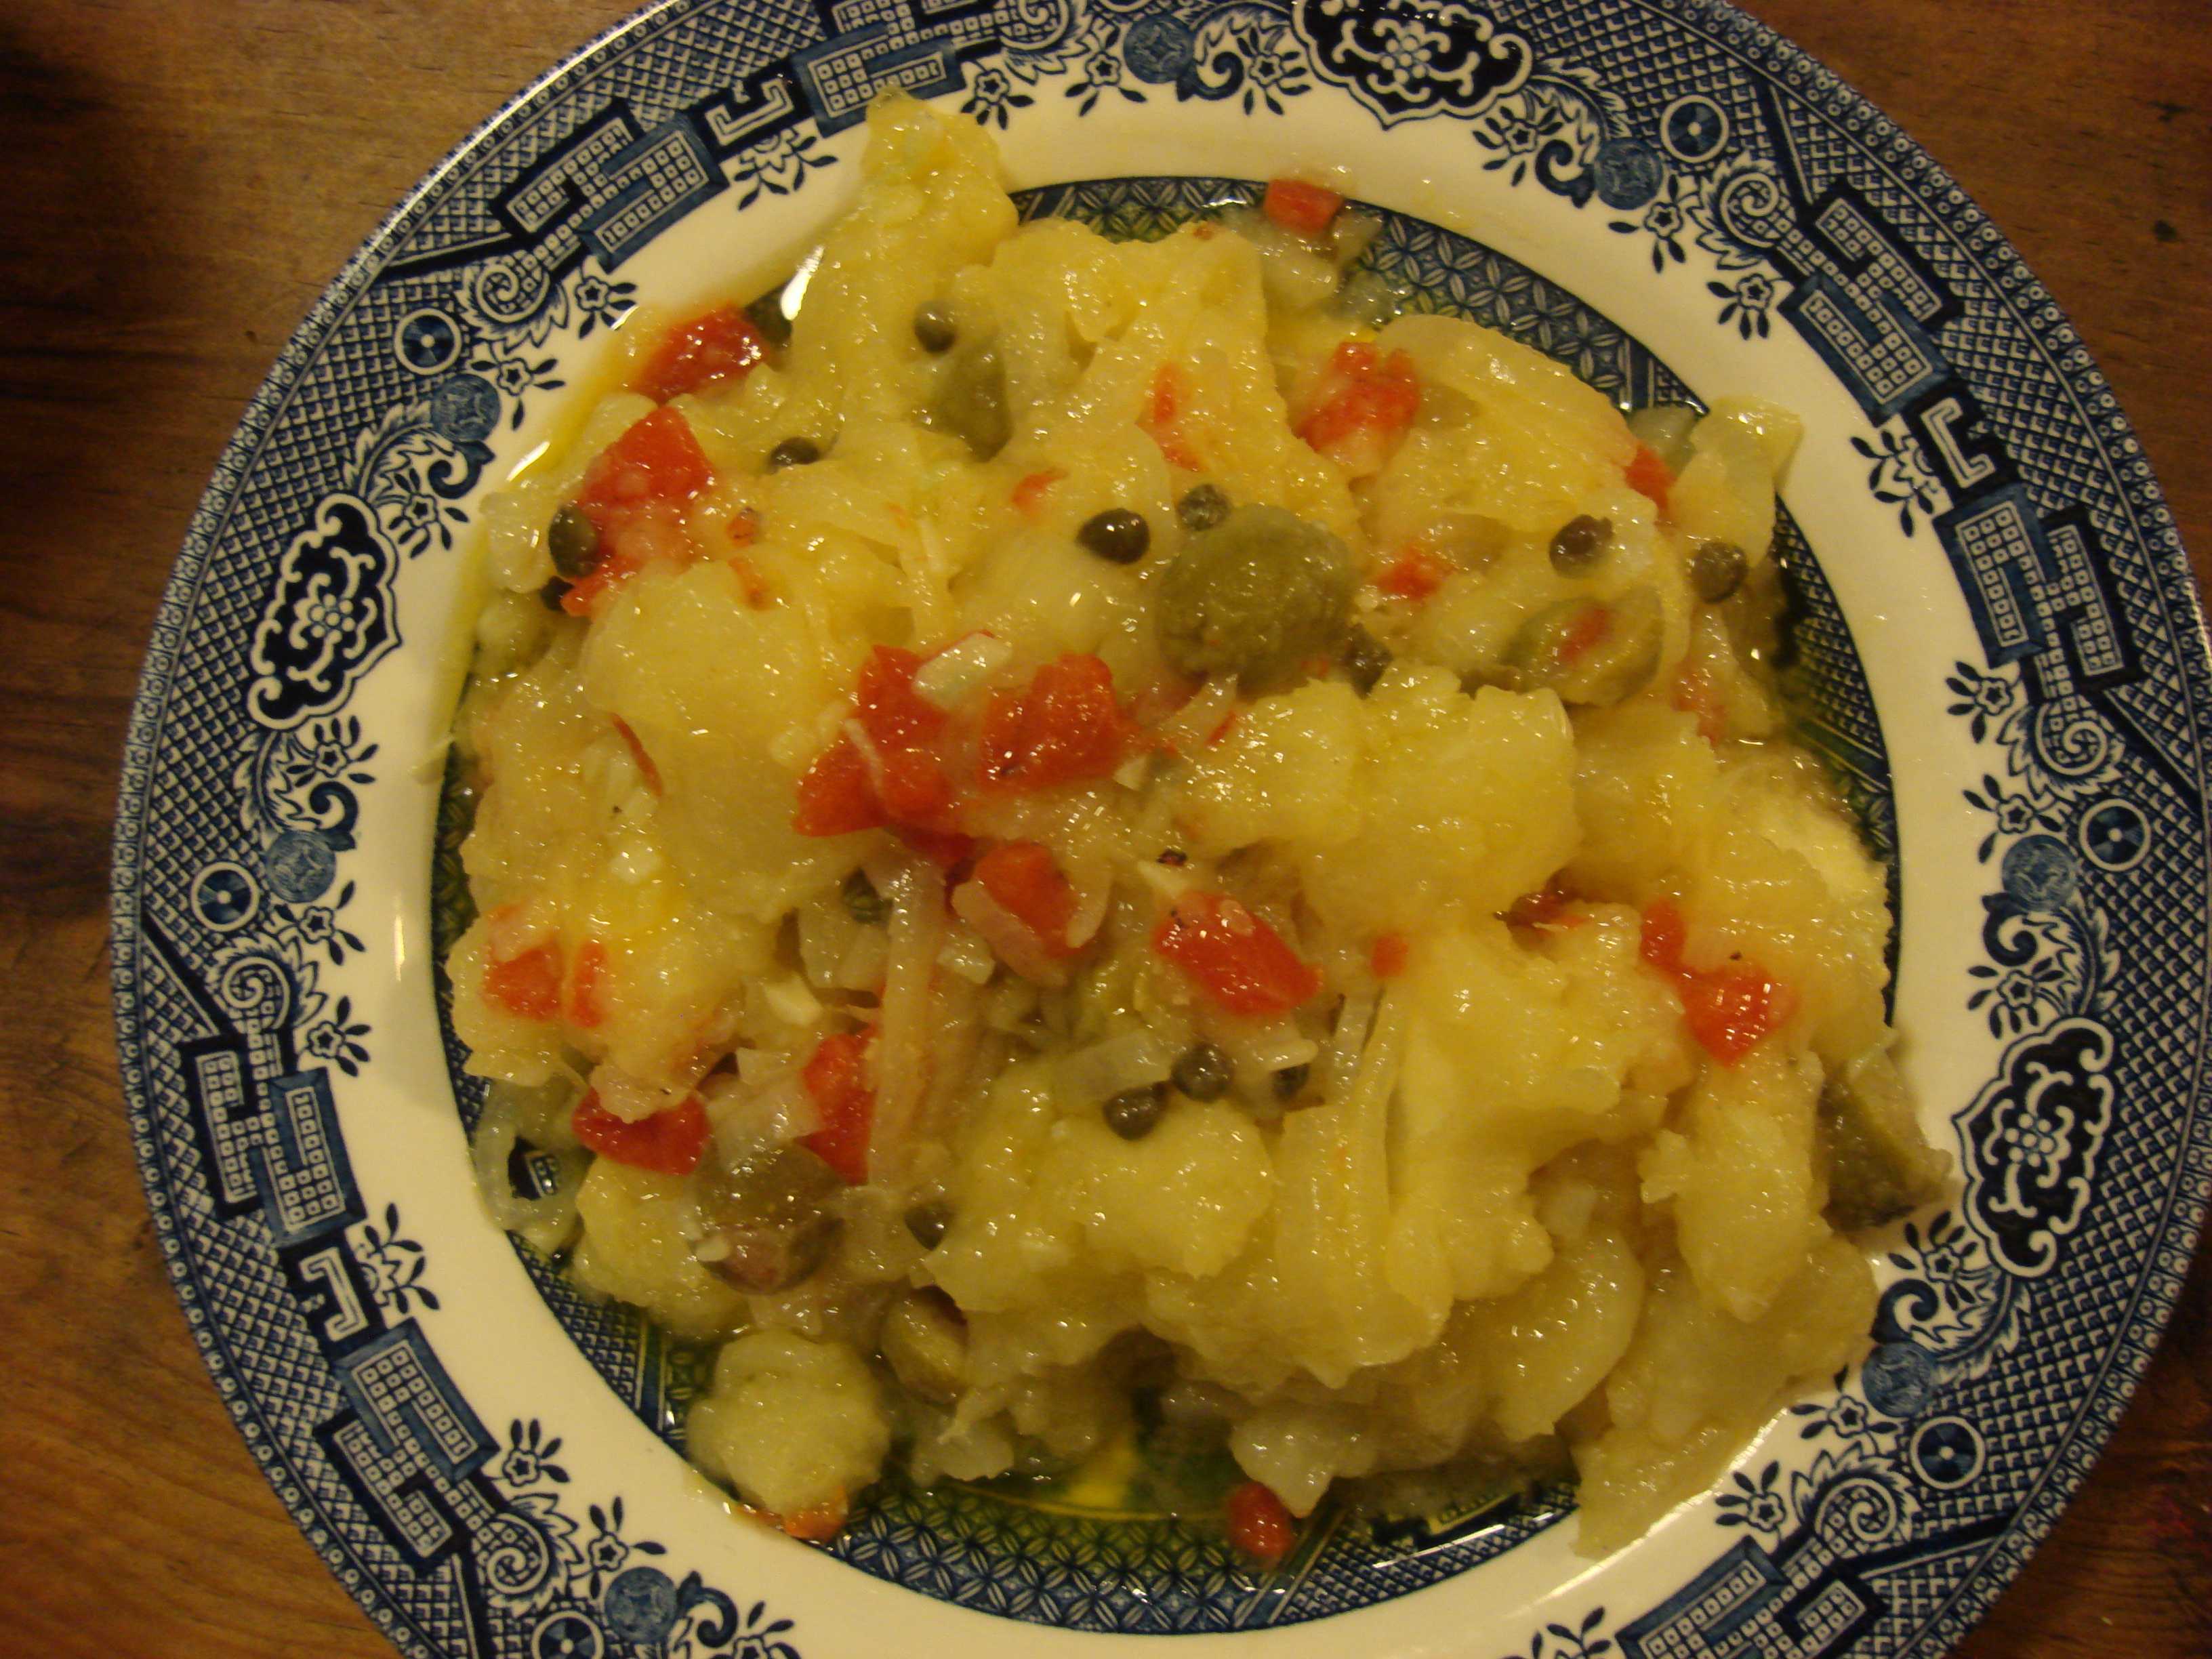
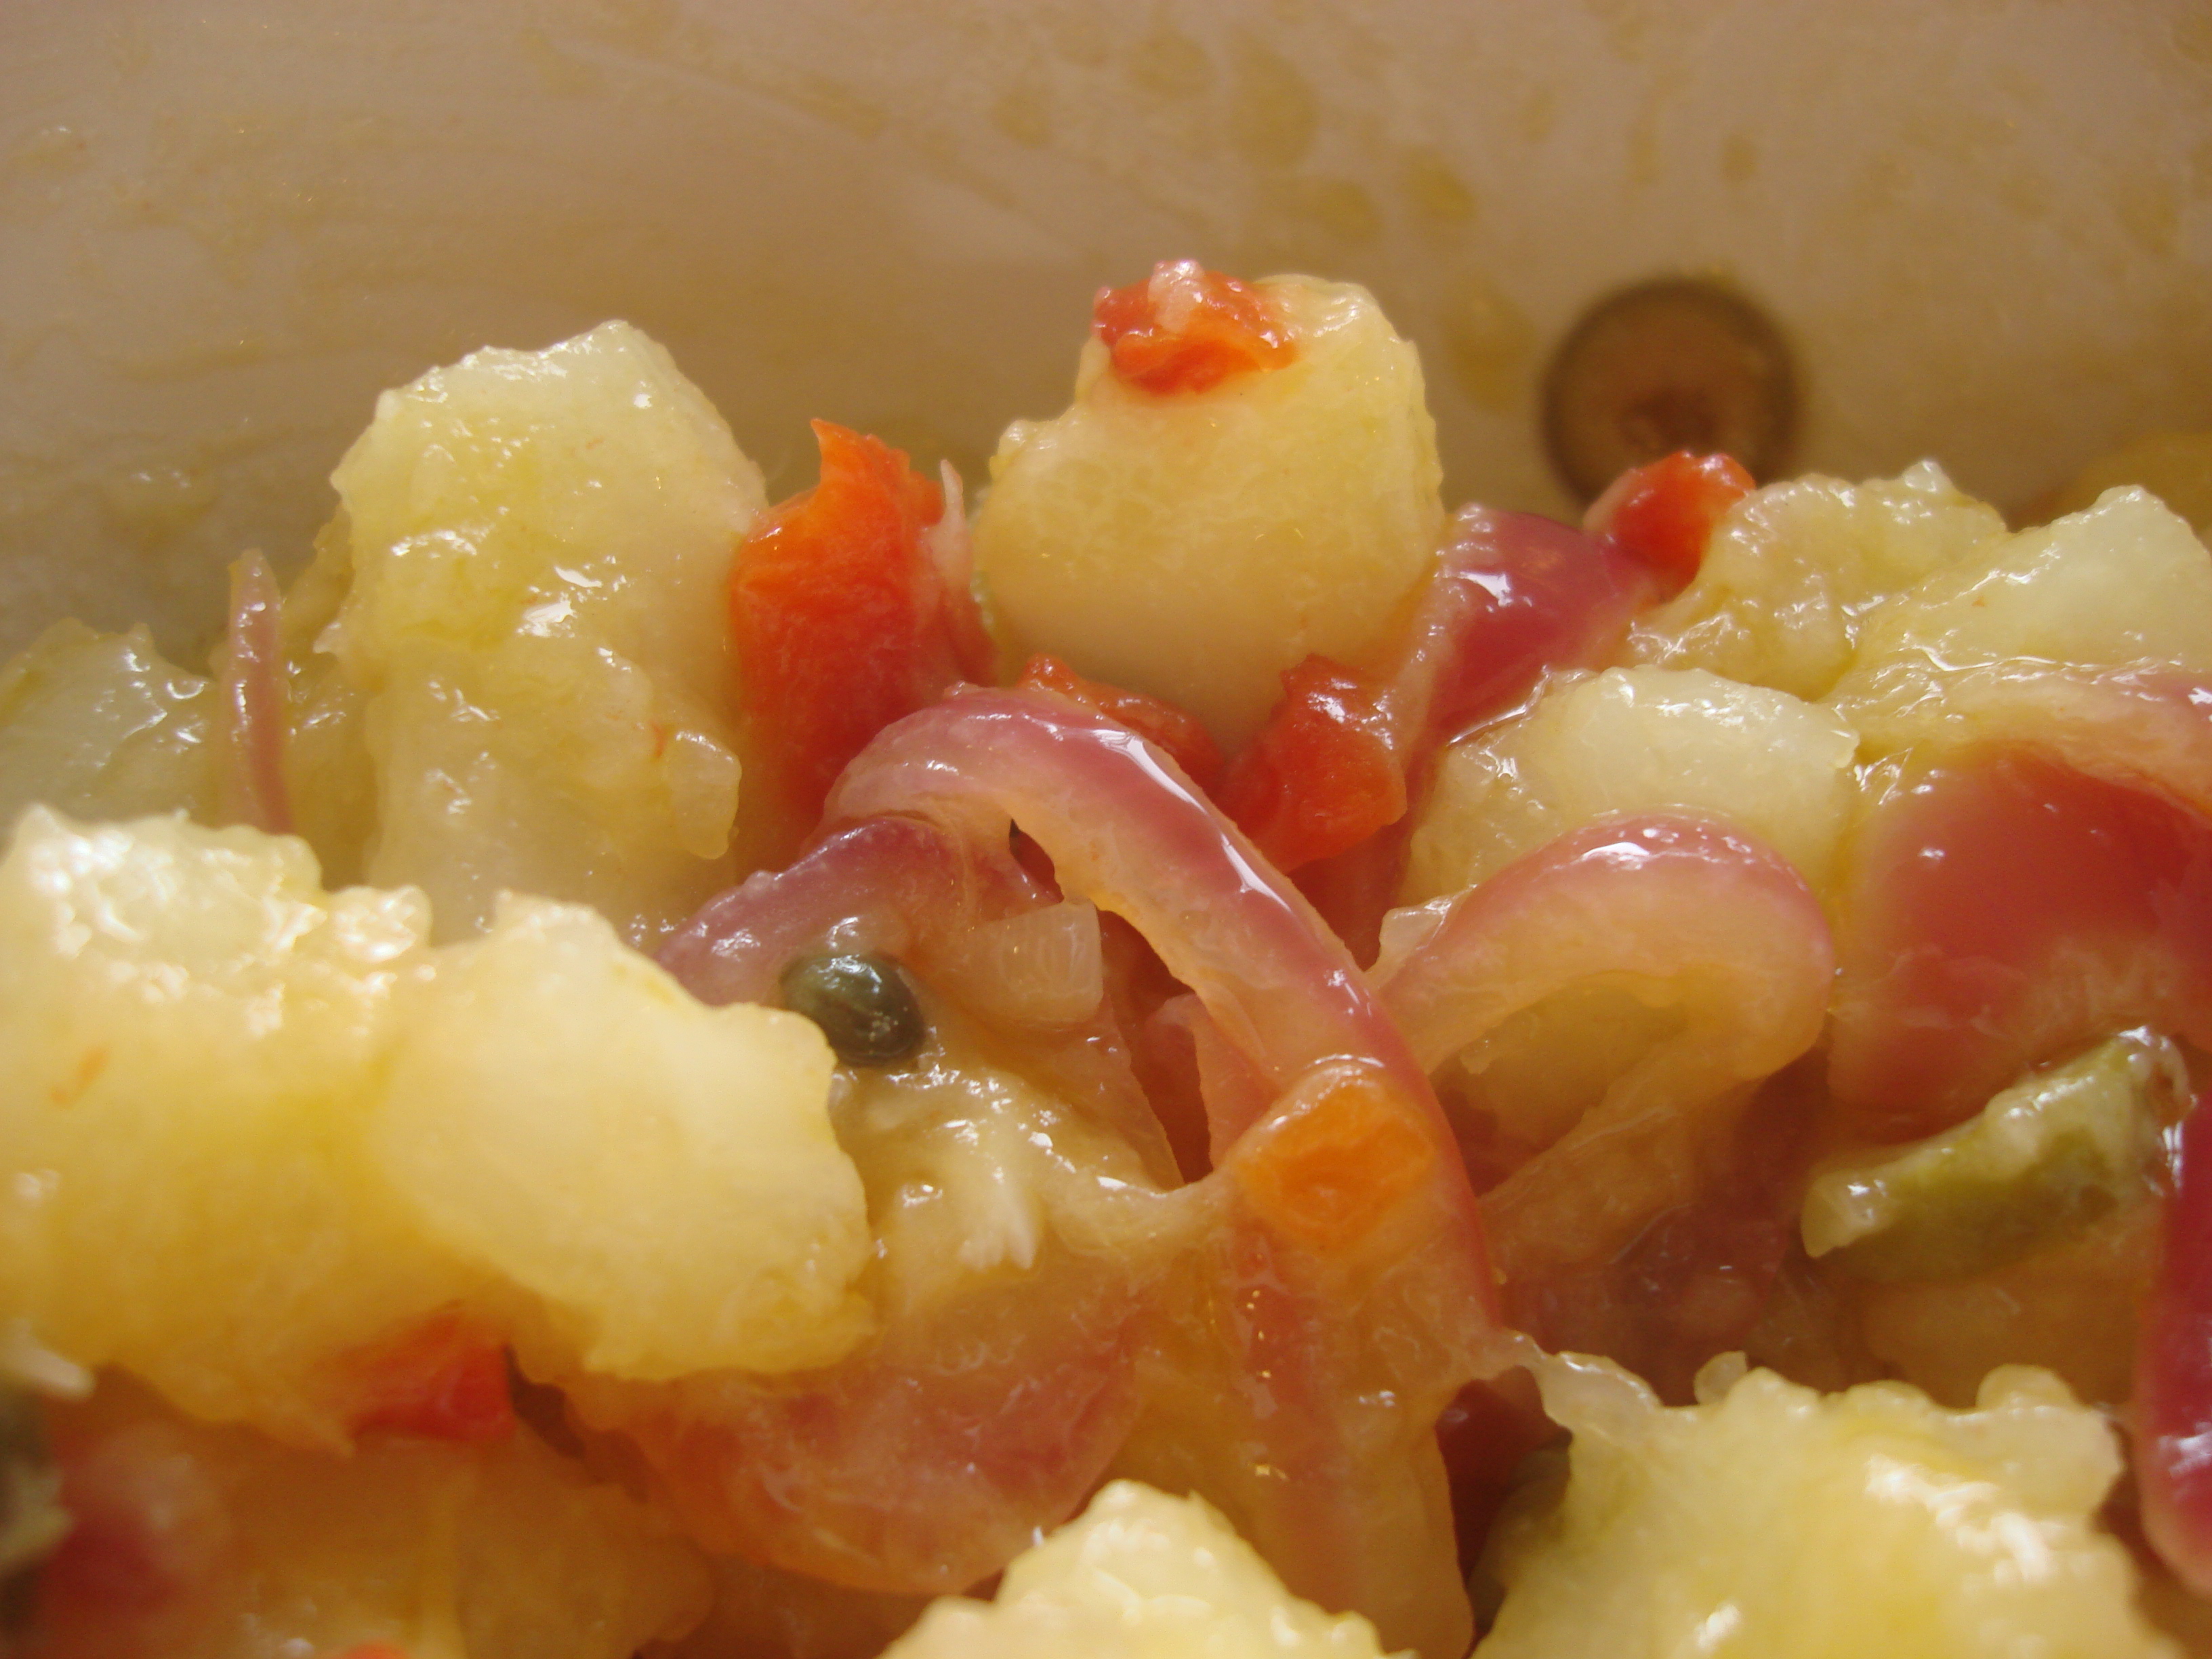
So here is my adaptation of her Chuletas de Pollo al Limón, made with things I had around the house…I used my limes, but whichever kind you find in the supermarket will work just fine. Honestly, my adaptations resulted more from mistakes (I am not very good at following recipes), but that just proves how flexible and resilient this one is. And the leftovers – very adaptable too!

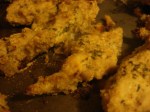
Pollo al Limón Verde – Lime Chicken

 (adapted from Chuletas de Pollo al Limon, Zarela’s Veracruz)

4 tsp soy sauce

2 tsp Worcestershire (chicken or classic) sauce

(if you have Maggi sauce, change the soy/Worcestershire  comb to 2 tsp soy sauce and 1 tsp Maggi sauce)

¼ cup lime juice

1/3 cup olive oil

1.25 lbs boneless skinless chicken thighs, pounded to half the thickness

Mix soy sauce, Worcestershire or Maggi sauce, lime juice and olive oil in a cover/sealable container big enough to hold marinade and chicken together and marinate for at least an hour (if you have time)

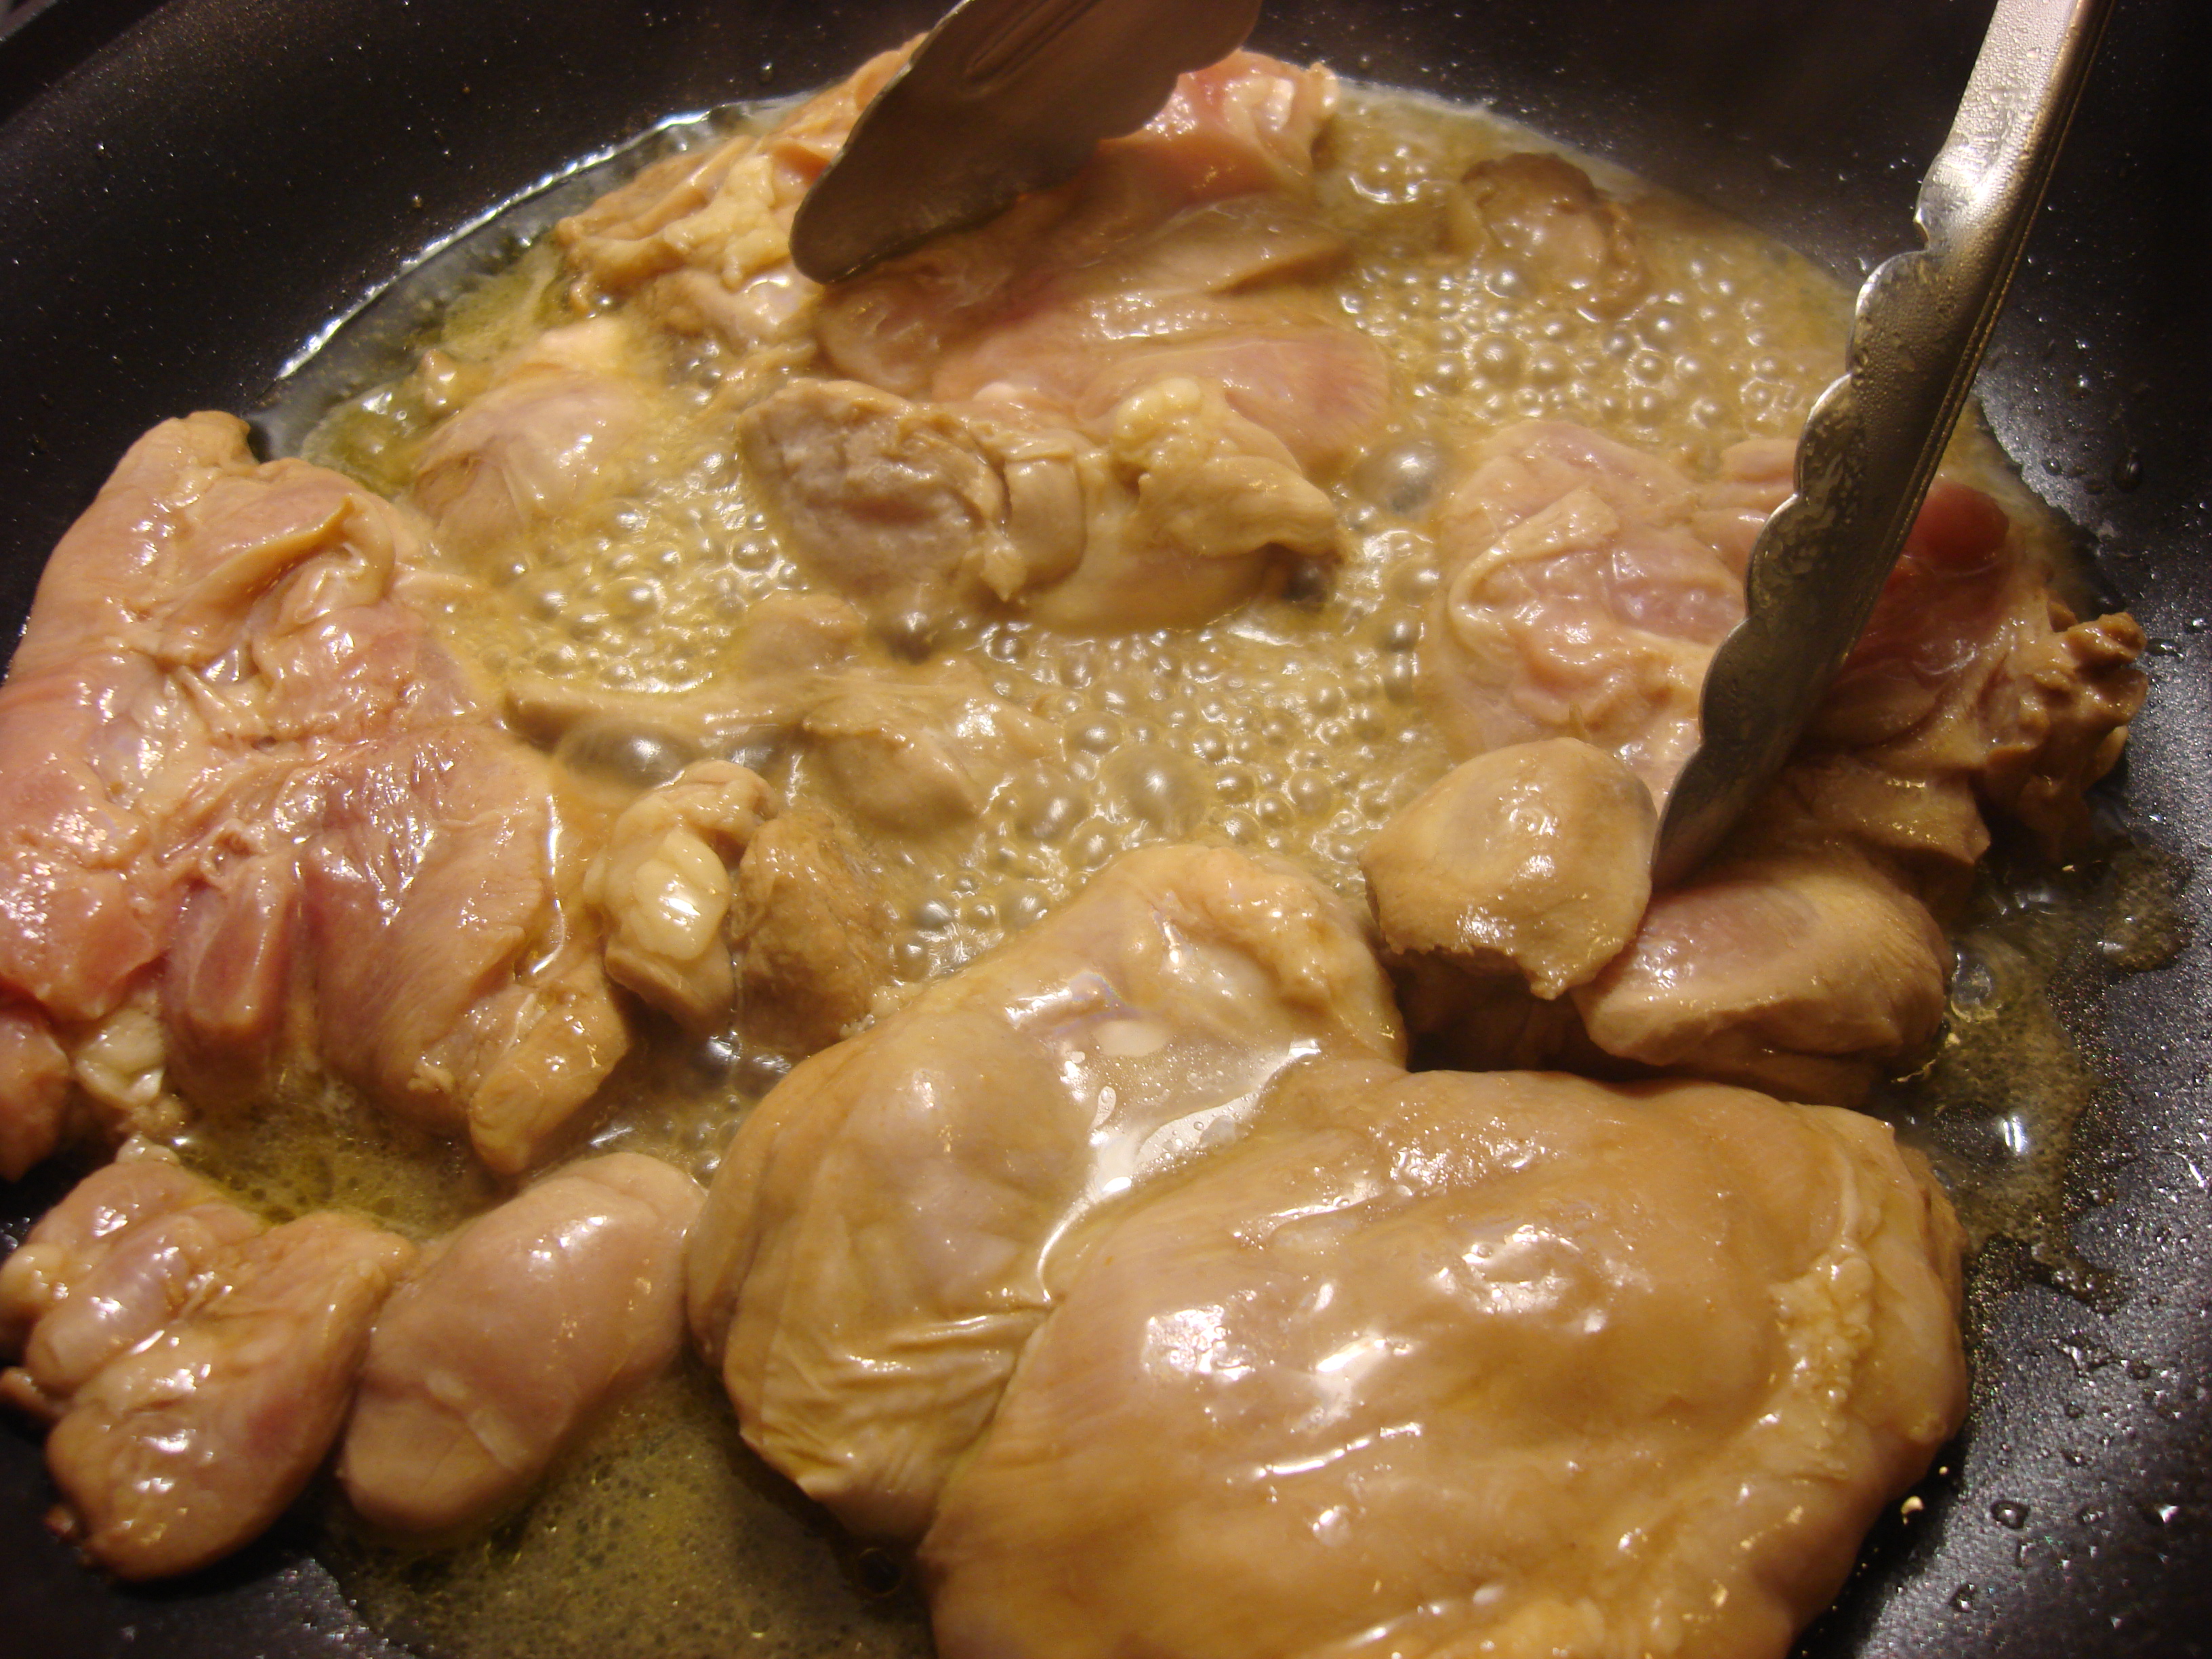
Heat a skillet until fairly hot and place thighs in it with room to spare (reserving marinade). Unless you have a pretty big skillet, you’ll have to do it in batches. Sear to white on each side, then cook an additional  5-6 minutes on each side, lowering heat to medium. When all the chicken is cooked, turn up the heat in the skillet, pour in reserved marinade and boil for a minute. Pour over chicken and serve.

(I loved this dish both straight from the skillet and as leftovers. I sliced it up and added it to a vegetable stir-fry at the end after adding a bit of soy sauce to the vegetables, just to warm up the chicken and it added great substance, texture and taste. This chicken is also good cold with mayo/mustard in a sandwich, wrap or salad.)

Oh. My. Cod. Fresh Filets with Onions and Capers

20 Jan

As a Caribbean person, I often forget the existence of fresh cod.

In my world, cod is called bacalao, usually comes in salt-crusted bricks or paddles, much as it was when it arrived in the New World, masterminded by intrepid Basques and other seafaring peoples, to make an important (and tasty) protein source last and last and last. It has to be soaked for ages with many changes of water and, if you don’t like fishy-fish, you are probably not going to like bacalao.

I promise that I will get to the fresh (non-fishy, non-salty) version in a second and give you a killer recipe that is all flair and no hard work and can be used with any firm-fleshed white fish, but  indulge me for a moment as I take my tastebuds for a saunter down a Puerto Rican Cuisine Memory Lane.

Think batter-fried bacalaitos (best-eaten from a battered pot full of dubious grease bubbling over coals at a palm-roofed beachfront kiosk marshalled by an old lady in rollers and washed down with an ice-cold Medalla beer), or shredded into rice (arroz con bacalao) for the holidays, or dressed with vinaigrette and served with boiled tubers (serenata) on a Lenten Friday, or in a reddish sauce with hard-boiled eggs (bacalao a la vizcaína) any old time.

I am dabbing nostalgic tears from my eyes and nostalgic water from the corners of my mouth right now, overwhelmed by food memory.

Fortunately, my present latitude offers some solace.

As a Caribbean person adapting to living in the cruel Northeastern winter, frozen fish has taken the place of salted fish (and fresh too, to be honest). And so, I recently discovered the wonder of some vacuum-packed slablets of frozen fresh cod (a phrase which only makes sense in contextual comparison to salted fish) at, you guessed it, Costco Warehouse. As it is “Wild Alaskan”, it is also a good choice from a non-polluted environment and in terms of sustainability (visit the Monterey Bay Aquarium Seafood Watch site if you are concerned about that sort of thing http://www.montereybayaquarium.org/cr/cr_seafoodwatch/sfw_recommendations.aspx). I sauteed a couple experimentally just for me and the result was a quick yet good-looking plate of big flakes of fish just sliding apart and yet another way to incorporate capers into a dish.

This one I would definitely serve on date night.

Sauteed Fresh Cod Dressed with Onions and Capers

(tilapia or any firm white fish would work well here)

1 Tbs extra virgin olive oil

1 Tbs butter

2 small slabs fresh cod filet (5-8 oz each)

Salt and pepper

½ medium onion, peeled and sliced thin

1-2 tsp capers, mostly drained

Heat oil and butter together in a heavy skillet at relatively high heat.

Using about ¼ tsp salt, sprinkle fish on all sides. Do the same with the pepper, preferably fresh cracked.

When the foaming of the butter subsides, cook fish on each side at high heat until just white. Then lower heat and cook on each side from 4-6 minutes each (I prefer my fish somewhat undercooked; if you are just learning to cook fish, simply use a fork or knife in the center to check for done-ness: no more translucence).

Remove cod and set on a plate (preferably warm). In the same skillet, sauté the onions in the oil and butter at medium high until wilted and somewhat tender. Add the capers to warm them up. Then spoon the onions and capers over the fish and serve.

This fish would be great over wilted greens, polenta or couscous or with Snap and Go Asparagus. I ate my second slice cold over salad and it was yummy!

Chicken Aversion Averted

10 Jan

I have to say it up front: Chicken grosses me out.

I don’t particularly like working with it raw, I find it boring to eat, and the whole factory chicken thing makes me kind of sick.

There are exceptions of course; chicken soup (sopa de pollo) from the Dominican 4 Restaurant in Farmingdale could make a dead man…resuscitate, shall we say. My dad grills chicken in any number of delicious ways and he also rolls it up with sundried tomatoes and other delicious stuff and bakes it, all with irresistable results. And the ultimate: is there anything lovelier or more civilized on a cold day than a roast chicken with winter vegetables?

Fighting chicken is a useless battle. People love chicken. The average per capita consumption of chicken in the U.S. is somewhere between 60 and 90 lbs per year depending on which graph you are looking at. If you entertain, you probably have to serve chicken at some point.

Kids also like chicken. They eat pounds of chicken nuggets per year (which I assume counts on “consumption of chicken” graphs, although by the looks of a lot of these “chicken” nuggets, there is very little chicken involved; I believe what they call chicken “tenders” are actual chicken, not ground up bits with other ground up stuff).

I have a kid and like all kids whose parents let them watch T.V., he is subject to the relentless McNugget marketing assault . But before I surrender the chicken nugget thing to BK and Mickie D’s, I am trying to romance my son’s texture and flavor palate with something that actually resembles food.

I have two things on my side:

1) that same Dominican 4 Restaurant in Farmingdale and their chicharrones de pollo (fried chicken strips) that are so awesome and delicious that my English-dominant son will say whole paragraphs in Spanish to waitresses he has never met before to make sure he gets them.

And 2) when I make the following oven-baked chicken fingers at home, Leandro gets to hammer the hell out of the chicken breasts before I bread them!

I freeze most of them for good packed lunches (if your daycare or school will re-heat). And to help my chicken aversion, I buy the organic chicken three 1-lb packs at Costco.

Oven-baked Chicken Tenders

2 cups nonfat plain yogurt (you can use buttermilk, but since you can’t buy buttermilk in small containers and I don’t drink it or use it for much else, I substitute yogurt)

2 Tbs mustard

1 tsp salt

2 Tbs dried oregano

2 Tbs dried parsley

2 tsp cumin

3 lbs boneless, skinless chicken breast, pounded (under wax paper) to even thickness and cut into strips (I actually have a meat tenderizer/pounder hammer, but I have used a rolling pin and other creative methods)

2 cups breadcrumbs in a flat plate for coating

Olive oil for drizzling

Heat oven to 400°. Line a baking sheet with a wire rack or lightly grease a baking sheet/al-foil. Mix yogurt and spices in a nonreactive dish. Dip chicken in wet mixture, then coat in breadcrumbs.

Transfer to baking sheet. Drizzle with oil then bake in oven until cooked – 20 minutes (less if you really pounded the chicken). If you use a rack, you don’t have to turn. If you are cooking directly on a baking sheet, turn halfway through. If it hasn’t crisped up, you may want to give it a few minutes crisping on the broiler. If you are planning to freeze and/or reheat (which you probably are, if you are doing 3 lbs!), don’t bother crisping. Serve with whatever dipping sauce you like (we do ketchup!)

Later, you can heat in the oven with tomato sauce and cheese and call it chicken parmesan!

If you are freezing, layer with wax paper.

Three common ingredients = one uncommonly good pasta sauce, FAST

5 Jan

So we spent another evening in the emergency room and Leandro got another four stitches, this time in the forehead. With that kind of excitement going on, you can be sure that once the chocolate ice cream dinner for brave boys was up, I was STILL going to be too tired for anything elaborate in the kitchen.

Marcella Hazan to the rescue. This queen of the kitchen’s Essentials of Italian Cuisine is a much loved and much soiled recipe book over here. These days I don’t have the resources for some of the more ambitious dishes, but her tomato sauce with onion and butter is simple and perfect: three ingredients resulting in one glorious, sweet, rich sauce that you barely have to stir!

I have adapted it slightly to make it even faster (puree, rather than whole tomatoes, adjusted the butter, for example). The beauty of this one is that it can be done in the time it takes you to boil up the pasta.

Marcella recommends potato gnocchi under the sauce, but the pre-prepared ones are generally yucky and I ain’t making gnocchi myself any time soon (oh for the heavenly days that Fabiola made it for me in Rovereto!).

These days I buy fresh ravioli from Fairway Market (no preservatives and a variety of fillings – $6 for 24) and actually freeze it. It breaks off into convenient serving sizes and takes about 15 minutes to cook after you drop them in the boiling water and the boil comes back. They re-heat pretty nicely, so I make extra for my little guy’s lunch box, just adding a dab of butter to the hot ravioli so it doesn’t stick.

I used cheese ravioli this time. “Mama I really love this!”


Steamed broccoli can be dipped in the sauce

Tomato with Onion and Butter

28 oz. can tomato puree

6 Tbs butter

One onion, peeled and cut in half (I prefer red onion for extra sweetness, but use whatever you have; yellow is fine)

Cook all three ingredients together in a deep pot with a lid at medium to low heat until the fat begins to separate from the tomato (about 20 minutes, or the amount of time you spend boiling the pasta). The longer you cook it, the sweeter it gets, so if you have more time, use it!

Spoon over your favorite pasta and serve with loads of good grated cheese (Parmigiano Reggiano or Gran Padano)